Advertisement
Quick Links
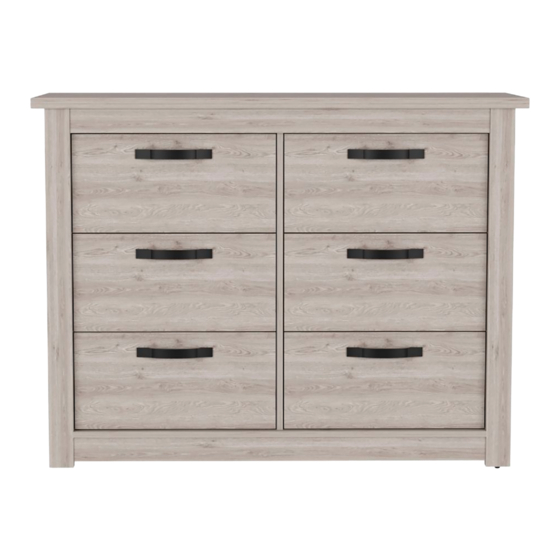
ASSEMBLY INSTRUCTIONS
BECCA 6 DRAWER DOUBLE DRESSER
It's much better if you get some company for this!
FURNITURE
If any parts are broken or missing please contact us at:
1-888-391-01-66 / customerservicetuhome@rta.com.co
Our customer service team will provide you help
to resolve any issues immediatly
Advertisement

Related Manuals for TUHOME Furniture BECCA CLZ 7151


Summary of Contents for TUHOME Furniture BECCA CLZ 7151
- Page 1 ASSEMBLY INSTRUCTIONS BECCA 6 DRAWER DOUBLE DRESSER It’s much better if you get some company for this! FURNITURE If any parts are broken or missing please contact us at: 1-888-391-01-66 / customerservicetuhome@rta.com.co Our customer service team will provide you help to resolve any issues immediatly...
- Page 2 Index What will you need? Where should you start? What’s in the hardware bag? How do the dowels and Minifix system work? (We also explain what they are) Let’s start assembling! How much weight does your cabinet resist? Our last recommendations for taking care of your cabinet What will you need? Hi! my name is Armando, and I’ll be...
- Page 3 Where should you start? This is so IMPORTANT! Over the next few pages is the panel and hardware content for this cabinet. Please make sure that the quantity of each one is correct, and that everything is in good shape. (When the cabinet is already assembled there’s no warranty for this) Panel quantity...
- Page 4 What’s in the hardware bag? Cover caps Wood dowel Spreading bolt Minifix cam Drywall Handle Drawer slides screw Nail-on glide + screw + screws Flat head Wall Fixing Kit screw Steel Leg + Screws H profile Be careful!, try not to lose anything from this bag, its content is necessary for assembling your cabinet.
- Page 5 How do the dowels and Minifix system work? this is so important too! Everytime you’re using one of these connectors during the assembly, you should follow these same steps. Wood dowels They are little wooden cylinders. When joining two panels together, don’t Put in the dowel forget to gently hit inside the indicated...
- Page 6 Let’s start assembling! You can see the last page of this manual to have a full look of the panels of this cabinet.
- Page 7 Flat head screw Turn this panel over...
- Page 8 Drawer slides installation (apply for steps 5,6,10, and 14) The wheel should go towards the front edge of the panel and facing down, like this: Down Flat head screw To recall the slides installation Turn this you can go to the 5th step panel over again.
- Page 10 Turn this panel over To recall the slides installation you can go to the 5th step again. Flat head screw...
- Page 12 Turn this panel over To recall the slides installation you can go to the 5th step again. Flat head screw...
- Page 15 Slide the H profike between the back panels. Slide the back panel inside the grooves.
- Page 17 Turn over the cabinet very carefully!
- Page 18 25 X6 Drywall screw 2"...
- Page 19 28 X6 29 X6...
- Page 20 26 X6 27 X6 Flat head screw...
- Page 21 Fix your cabinet to the wall Make a small hole on the top edge of the furniture top and fix one side of the strip with the 15mm screw and the washer. Stretch the strip and measure on the wall to drill. Drill a hole in your wall to a depth of 30mm using a 6mm drill bit.
-
Page 22: Cabinet Panels
Taking care of your cabinet: Do not paint the cabinet. The cabinet it’s exclusively for indoor spaces. Do not expose it to the direct sun. Clean the metallic hardware with a dry cloth. DO NOT overload the cabinet (see suggested loads) Do not hit or hammer the cabinet (only when indicated here). - Page 23 How much weight does my cabinet resist? *weight in pounds Congratulations! It’s done But don’t go yet! There are some recommendations left for you to take care of your cabinet correctly from now on. SUPER IMPORTANT! We suggest fixing the cabinet to the wall, so we can avoid the cabinet tipping and harming anyone.
-
Page 24: Warranty Policy
PÓLIZA DE GARANTÍA FURNITURE TUHOME Furniture has a 3 year warranty coverage in wooden parts and 1 year warranty coverage in hardware pieces since its manufacturing date, which you can see in the lot number printed on the product box and the assembly instructions leaflet.
Need help?
Do you have a question about the BECCA CLZ 7151 and is the answer not in the manual?
Questions and answers