Advertisement
Quick Links
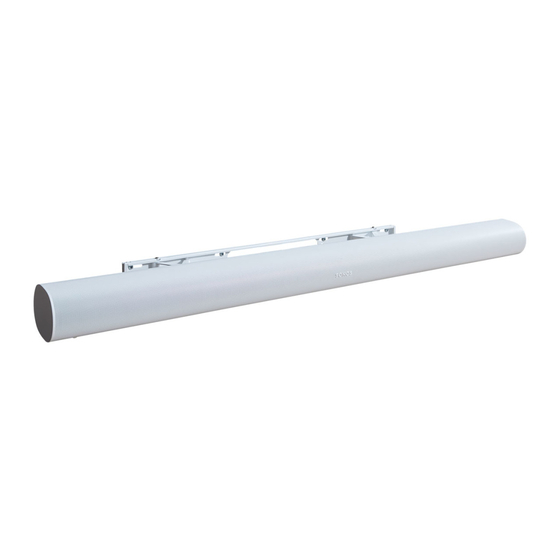
WSSAWM1
SOUNDBAR WALL MOUNT
DESIGNED FOR
Sonos
®
Arc
™
INSTRUCTION MANUAL
This mount is designed
to support Sonos
Arc
®
soundbar and works with
SANUS and other TV
.
mount brands
If you have any questions along the way, our US-based
™
WE'RE HERE TO HELP
install experts are standing by to help.
Call us at:
US:
Or, chat at:
US:
800-359-5520
UK:
0800 056 2853
EMEA:
+31 (0) 495 580 852
SANUS.com/chatSP
Advertisement

Subscribe to Our Youtube Channel
Summary of Contents for Sanus WSSAWM1
- Page 1 This mount is designed to support Sonos ® ™ soundbar and works with SANUS and other TV mount brands WE’RE HERE TO HELP If you have any questions along the way, our US-based install experts are standing by to help.
- Page 2 • Hides all cabling behind the wall • Can power multiple devices • Safe and easy to install with no electrician needed BEFORE IN-WALL POWER KIT FOR SOUNDBAR + MOUNTED TV Model WSIWPSB1-W1 Check out SANUS.com, SONOS.com, or Amazon.com! Available in the U.S. only...
-
Page 3: Weight Limit
IMPORTANT SAFETY INSTRUCTIONS. READ ENTIRE MANUAL PRIOR TO USE. SAVE THESE INSTRUCTIONS Before getting started, let’s make sure this product is perfect for you! CAUTION: To avoid potential personal injuries and property damage: • This soundbar mount is only designed for use with the Sonos ®... - Page 4 Before starting assembly, verify all parts are included and undamaged. If any parts are missing or damaged, DO NOT return the damaged item to your dealer; Contact Sanus (See back page). Never use damaged parts! NOTE: Not all hardware included in this kit will be used.
- Page 5 STEP 1 ATTACH SOUNDBAR MOUNT TO WALL Drywall Installation / Page 5 Drywall + Wood Stud Installation Concrete Block/ Page 7 Solid Concrete Installation Drywall Installation STEP 1A POSITION TEMPLATE CAUTION: Avoid potential personal injury or property damage! ● Drywall covering the wall must not exceed 1/2 in.
- Page 6 INSERT DRYWALL/CONCRETE ANCHORS IMPORTANT: • Use anchors for drywall and concrete only. Do not use with wood studs. • If pilot hole is located on a stud, anchor is not needed. Screw directly into stud. Then use anchors for remaining screws in drywall. SECURELY TIGHTEN...
-
Page 7: Concrete Installation
STEP 1C ATTACH SOUNDBAR MOUNT TO WALL Concrete Installation STEP 1C DRILL REMOVE TEMPLATE REMOVE TEMPLATE POSITION TEMPLATE 3 in. (7.6 cm) CAUTION: Avoid potential personal injury or property damage! ● Minimum solid concrete thickness: 8 in. (20.3 cm) 13/32 in. (10 mm) ●... - Page 8 STEP 2 ATTACH SOUNDBAR TO SOUNDBAR MOUNT OPEN MOUNT BRACKETS CAUTION: Avoid potential personal injury or property damage! The brackets contain potential pinch points during operation. Keep fingers away from pinch points when retracting the brackets. (see arrows) INSERT SOUNDBAR SCREWS ATTACH SOUNDBAR AND SECURELY TIGHTEN ≈...
- Page 9 ADJUSTMENTS RETRACT IMPORTANT: Tighten to a locked position if desired. Otherwise, keep tension loose for free movement. CAUTION: Avoid potential personal injury or property damage! The brackets contain potential pinch points during operation. Keep fingers away from pinch points when retracting the brackets. (see arrows) EXTEND IMPORTANT:...
- Page 10 Legrand assumes no responsibility for accuracy, completeness or sufficiency of the information contained in this document. ©2020 Legrand AV Technologies. All rights reserved. Sanus is a division of Legrand. All other brand names or marks are used for identification purposes and are trademarks of their respective owners.
Need help?
Do you have a question about the WSSAWM1 and is the answer not in the manual?
Questions and answers