Advertisement
Quick Links
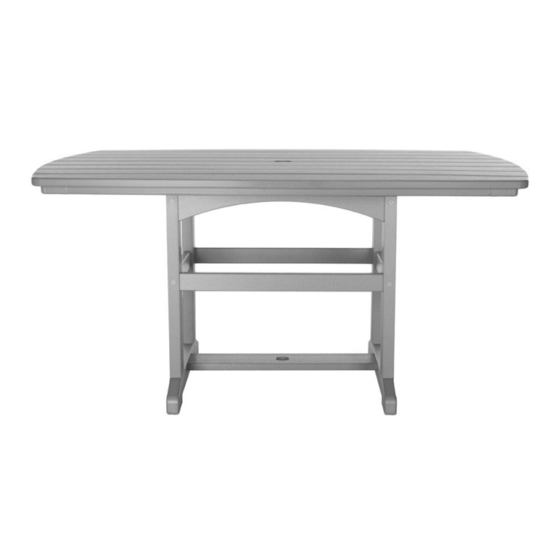
Durawood Large/Small Dining Table
TABLE PARTS
tabletops
2 spreader bars
HARDWARE PACK
Before beginning assembly, make sure you have all parts. Note that not all parts pictured are
to scale.
Congratulations on purchasing this Durawood Dining Table! You're going to love the quality, durability and simple assem bly — plus
the full Residential Lifetime Warranty. QUESTIONS ABOUT THIS PRODUCT? Call our customer service team, (800) 643-3522.
ASSEMBLY INSTRUCTIONS
FIGURE 1
2 leg assemblies
fascia
plates
pole support
plate
4 - 2" Regular Bolts
4 - Washers
4 - Lock Nuts
16 - 2" Screws
1 - Allen Wrench
1 - Square-Head Drill Bit
STEP 1.
STEP 2.
Repeat for opposite side of same Table Leg. Attach second Table Leg using same proce-
dure.
STEP 3.
(FIGURE 3). Repeat with second Spreader Bar.
FIGURE 2
ASSEMBLY INSTRUCTIONS continue, back of page; Residential Lifetime Warranty, back of page
Hardware pack
weight: 5.45 oz
Stand one Table Leg upside down.
Attach Fascia Plate to Table Leg as shown. (FIGURE 1) Secure using 2 Screws.
Insert Spreader Bar into Table Leg (FIGURE 2) and secure with 1 Screw per end
SUGGESTED TOOLS
(NOT PROVIDED)
Standard Phillips Head Screwdriver
•
Drill (Square-Head Drill Bit
•
provided in HARDWARE PACK)
FIGURE 3
Advertisement

Related Manuals for Pawleys Island Durawood


Summary of Contents for Pawleys Island Durawood
- Page 1 Before beginning assembly, make sure you have all parts. Note that not all parts pictured are to scale. Congratulations on purchasing this Durawood Dining Table! You’re going to love the quality, durability and simple assem bly — plus the full Residential Lifetime Warranty. QUESTIONS ABOUT THIS PRODUCT? Call our customer service team, (800) 643-3522.
- Page 2 STEP 4. Insert Pole Plate into Leg Assembly as shown (FIGURE 4). Secure using 2 Screws on each side (FIGURE 5). FIGURE 4 FIGURE 5 STEP 5. Place Table Top upside down as shown (FIGURE 6). STEP 6. Align holes of completed Leg Assembly with holes in metal railing on Table Top. Affix using regular Bolts. Place one Washer onto Bolt, once Bolt is through holes and secure with a Lock Nut.