Table of Contents
Advertisement
Quick Links
Advertisement
Table of Contents

Summary of Contents for TurboTronic Sport-Tronic ElliptiForce X7
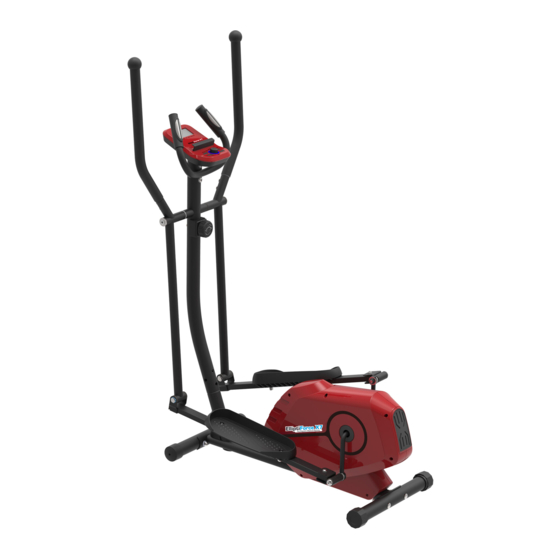
- Page 1 OWNER’S MANUAL FITNESS ELLIPTICAL MACHINE ST-X7 http://www.sporttronic.eu/...
-
Page 2: Safety Instructions
SAFETY INSTRUCTIONS Basic precautions should always be followed, including the following safety instructions when using this equipment: Read all instructions before using this equipment. Read all the instructions in this manual and do warm up exercises before using this equipment. Before exercise, in order to avoid injuring the muscle, warm-up exercise of every position of the body is necessary. -
Page 3: Hardware List
HARDWARE LIST M6 1x M5 1x... - Page 4 ASSEMBLY INSTRUCTIONS 1. Install the front and rear stabilizers Loose the screws in the stabilizer (No.15 and 52), and insert them into the corresponding grooves and tighten with the nuts or bolts in each stabilizer. 2. Install the stand tube Loose the screws in the stand tube (No.2).
- Page 5 3. Install the lower left/right handrail, and left/right pedal tube Place the axle (No.26) and wave washer (No.88) onto the stand tube (No.2), then place the left/ right handrail tube (No.27 and 28) onto the stand tube and tighten. Attach the left/right pedal tube (No.32 and 33) onto corresponding handrail tube, and tighten with the nuts or bolts (left with left-hand thread, right with right-hand thread).
- Page 6 4. Install the upper left/right handrail and left/right pedal Place the left/right upper handrail (No.19 and 20) onto the left/right handrail tube (No. 27 and 28) and fasten. Attach the left/right pedal (No. 40 and 41) onto the corresponding pedal tube (No.32/33) and tighten with lock nut.
- Page 7 5. Install the front handrail Across the sensor wire through the hole of the stand tube and fasten the front handrail...
- Page 8 6. Install the monitor Connecting three sensor wires with the wires on the stand tube, then place the monitor (No. 1) onto the stand tube and fasten.
-
Page 9: Specifications
OPERATING INSTRUCTIONS TENSION ADJUSTMENT For tension adjustment, simply use the tension adjustment knob (18) found beneath the Computer. To increase tension, turn clockwise (+), to decrease tension, turn anti-clockwise (-). HIGH It sets the lowest magnetic force on the level 1 It sets the highest magnetic force on the level SPECIFICATIONS: BUTTONS:... - Page 10 FUNCTIONS : Displays all function TIME→DISTANCE →CALORIES →PULSE→ SCAN RPM/SPEED in sequence Displays the pedaling Rotation Per Minute. The RPM and SPEED will switch to another display in every 6 seconds after exercise starts SPEED Displays the user’s exercise speed 1.
- Page 11 for 8 seconds, and the function will be counting up from zero directly if the training is going. Press “MODE” button for confirmation and skip to next set-up. 4. In SCAN mode shown as “Drawing C”. RPM/SPEED/TM/DIST/CAL/PULSE will skip to display in every 6 seconds.
-
Page 12: Troubleshooting Guide
TROUBLE SHOOTING GUIDE Verify that all the bolts and nuts are locked properly and the turning parts should be turned freely without damaged parts. Clean the equipment with soap and slightly damp cloth only. Please do not use any solvent to clean the equipment. Problem Potential Cause Corrections... -
Page 13: Warm Up Exercises
Warm Up Exercises A successful exercise program consists of a warm-up, aerobic exercise, and a cool-down. Do the entire program at least two and preferably three times a week, resting for a day between workouts. After several months, you can increase your workouts to four or five times per week. - Page 14 Shoulder Lift Lift your right shoulder up toward your ear for one count. Then lift your left shoulder up for one count as you lower your right shoulder. Calf-Achilles Stretch Lean against a wall with your left leg in front of the right and your arms forward.
Need help?
Do you have a question about the Sport-Tronic ElliptiForce X7 and is the answer not in the manual?
Questions and answers