Table of Contents
Advertisement
Quick Links
USER MANUAL
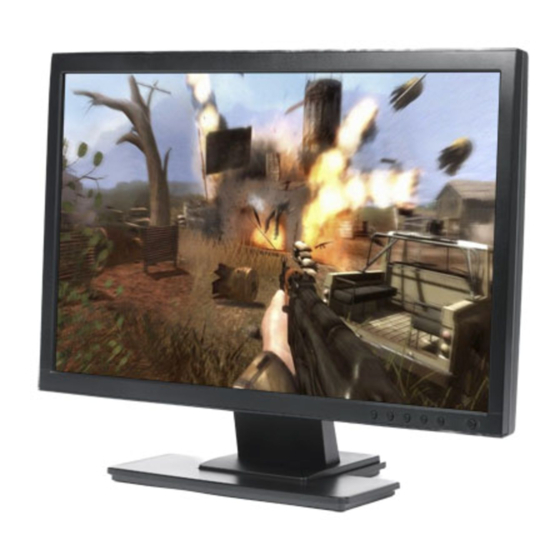
Thank you very much for choosing the iiyama
LCD monitor.
We recommend that you take a few minutes to
read carefully through this brief but
comprehensive manual before installing and
switching on the monitor. Please keep this
manual in a safe place for your future
reference.
ENGLISH
ENGLISH
DEUTSCH
FRANCAIS
NEDERLANDS
Advertisement
Table of Contents


Need help?
Do you have a question about the ProLite E2201W-B1 and is the answer not in the manual?
Questions and answers