
Related Manuals for QD 16-C

Summary of Contents for QD 16-C
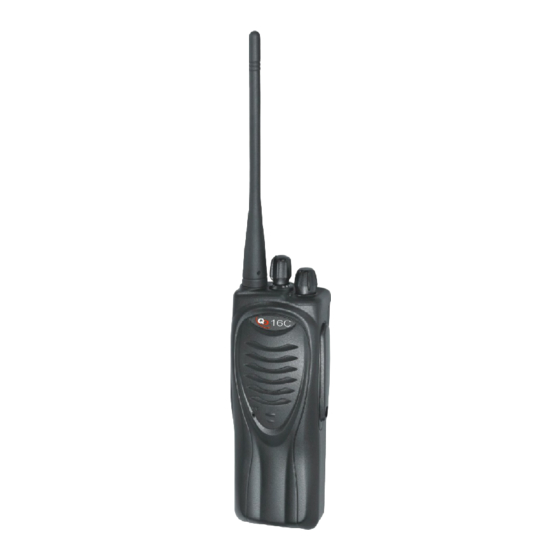
- Page 1 All manuals and user guides at all-guides.com PROFESSIONAL PORTABLE TRANSCEIVER QD16-C USER MANUAL...
- Page 2 All manuals and user guides at all-guides.com PRECAUTIONS Observe the following precautions to prevent fire, personal injury and transceiver damage. Do not modify or attempt to adjust this transceiver for any reason. Do not expose the transceiver to long periods of direct sunlight, nor place it close to heating appliances.
-
Page 3: Table Of Contents
All manuals and user guides at all-guides.com CONTENTS UNPACKING AND CHECKING EQUIPMENT SUPPLIED ACCESSORIES PREPARATION INSTALLING / REMOVING THE OPTIONAL BATTERY PACK INSTALLING THE ANTENNA INSTALLING THE BELT CLIP INSTALLING THE COVER OVER THE SPEAKER / MICROPHONE JACKS INSTALLING THE OPTIONAL SPEAKER / MICROPHONE (OR HEADSET) INSTALLING THE HAND STRAP GETTING ACQUAINTED... -
Page 4: Unpacking And Checking Equipment
UNPACKING AND CHECKING EQUIPMENT Carefully unpack the transceiver. We recommend that you identify the items listed in the following table before discarding the packing material. If any items are missing or have been damaged during shipment contact QD Group. SUPPLIED ACCESSORIES ITEM... -
Page 5: Preparation
All manuals and user guides at all-guides.com PREPARATION INSTALLING/REMOVING THE OPTIONAL BATTERY PACK The battery pack is not charged at the factory. Charge it before use. CAUTION • Do not short the battery terminals or dispose of the battery by fire. •... -
Page 6: Installing The Belt Clip
All manuals and user guides at all-guides.com INSTALLING THE BELT CLIP If necessary, attach the belt clip using the two supplied 3x8mm screws. Note: If the belt clip is not installed its mounting location may get hot during continuous transmission or when left sitting in a hot environment. -
Page 7: Installing The Optional Speaker / Microphone (Or Headset)
All manuals and user guides at all-guides.com INSTALLING THE OPTIONAL SPEAKER / MICROPHONE (OR HEADSET) 1. Insert the speaker / microphone (or headset) plugs into the speaker / microphone jacks. 2. Attach the locking bracket using the supplied 3x6mm screw Note: The transceiver is not fully water resistant while using the speaker /... -
Page 8: Getting Acquainted
All manuals and user guides at all-guides.com GETTING ACQUAINTED... -
Page 9: Programmable Auxiliary Functions
All manuals and user guides at all-guides.com PROGRAMMABLE AUXILIARY FUNCTIONS Your dealer can program each of the Side 1 and Side 2 keys with one of the following auxiliary functions. Refer to their descriptions, starting on page 8. • Key Lock •... -
Page 10: Basic Operations
All manuals and user guides at all-guides.com BASIC OPERATIONS 1. Turn the Power switch / Volume control clockwise to switch the transceiver power ON • A beep sounds if enabled by your dealer 2. Press the key programmed with the Monitor or Squelch Off function to hear background noise, then release the Power switch / Volume control to... -
Page 11: Advanced Operations
All manuals and user guides at all-guides.com ADVANCED OPERATIONS The following functions are programmable by your dealer as described on page 6. KEY LOCK Press and hold the key programmed as Key Lock for 1 second to lock/unlock the transceiver keys. The following keys/functions can still be used when Key Lock is active: Key Lock, Monitor, Monitor Momentary, PTT, Squelch Off, Squelch Off Momentary and Volume. -
Page 12: Priority Scan
All manuals and user guides at all-guides.com Scanning starts from the current channel and ascends through the channel numbers. The LED indicator flashes green. When a signal is received on a channel and signalling matches, the LED indicator lights green. To end Scan, press the Scan or Scan + Temporary Delete key again. -
Page 13: Voice Operated Transmission (Vdx)
All manuals and user guides at all-guides.com VOICE OPERATED TRANSMISSION (VDX) VDX operation allows you to transmit hands-free. This feature must first be activated by your dealer and can only be used if you are using a supported headset. When operating VDX, you must set a VDX Gain level. This setting allows the transceiver to recognize sound levels. - Page 14 All manuals and user guides at all-guides.com 6. Turn the transceiver power OFF and then ON again to activate VDX NOTE • The speaker/microphone is connected to the transceiver while the VDX function is switched ON and VDX Gain level is configured to a higher, more sensitive level.
-
Page 15: Background Operations
All manuals and user guides at all-guides.com BACKGROUND OPERATIONS TIME-OUT TIMER (TOT) The purpose of the Time-out Timer is to prevent any caller from using a channel for an extended period of time. If you continuously transmit for a period of time that exceeds the programmed time set by your dealer (default is 1 minute) the transceiver will stop transmitting and an alert tone will sound. -
Page 16: Channel Annunciation
Although it may seem like you have your own private channel while using CTCSS/DCS, other parties can still hear your calls if they set up their transceiver with the same tone or code. Silverstone Crescent Kyalami Business Park P.O. Box 76117, Wendywood, 2144 Tel. (011) 996-4400 Fax. (011) 466-1878 Web: http:\\www.qd-group.co.za...
Need help?
Do you have a question about the 16-C and is the answer not in the manual?
Questions and answers