Table of Contents
Advertisement
Quick Links
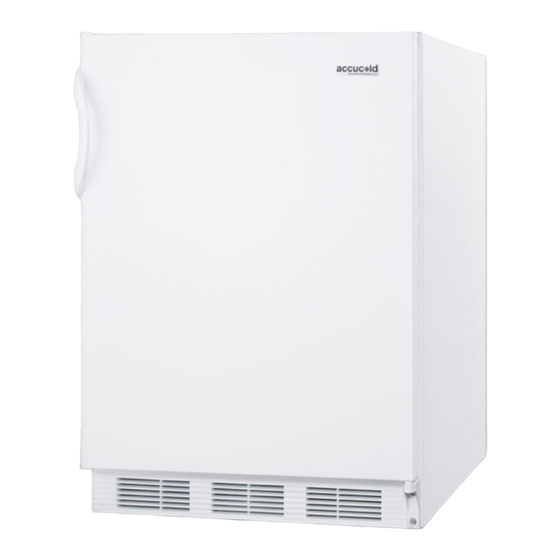
COUNTER-HEIGHT GENERAL PURPOSE
REFRIGERATOR/FREEZER
BEFORE USE, PLEASE READ AND FOLLOW ALL SAFETY RULES AND OPERATING
Write Serial Number here:
Serial No.: _______________________
Models: CT66/AL650 Series
User Manual
INSTRUCTIONS
Felix Storch, Inc.
An ISO 9001:2015 registered company
770 Garrison Avenue
Bronx, NY 10474
www.summitappliance.com
Advertisement
Table of Contents

Summary of Contents for Accucold CT66 Series
- Page 1 COUNTER-HEIGHT GENERAL PURPOSE REFRIGERATOR/FREEZER Models: CT66/AL650 Series User Manual BEFORE USE, PLEASE READ AND FOLLOW ALL SAFETY RULES AND OPERATING INSTRUCTIONS Write Serial Number here: Felix Storch, Inc. An ISO 9001:2015 registered company 770 Garrison Avenue Serial No.: _______________________ Bronx, NY 10474 www.summitappliance.com...
-
Page 2: Important Safeguards
IMPORTANT SAFEGUARDS Your safety and the safety of others are very important. Before the appliance is used, it must be properly positioned and installed as described in this manual, so read the manual carefully. To reduce the risk of fire, electrical shock or injury when using the appliance, follow basic precautions, including the following: • Plug into a grounded 3-prong outlet. - Page 3 • Use two or more people to move and install the appliance. Failure to do so can result in back or other injury. • To ensure proper ventilation for your appliance, the front of the unit must be completely unobstructed. °...
-
Page 4: Location Of Parts
LOCATION OF PARTS TECHNICAL INFORMATION CT66J/CT66W/AL650W (white with wire shelves and no lock) Model Numbers CT66L/CT66LW/AL650LW (white with wire shelves and lock) CT66B/CT66BK/AL652BK (black with glass shelves and no lock) Capacity 5.1 cu. ft. Electrical Input 115V AC/60Hz Rated Current 1.3A Temperature of Freezer 0°F... -
Page 5: Installation Instructions
INSTALLATION INSTRUCTIONS Before Using Your Appliance • Remove the exterior and interior packing. • Before connecting the unit to a power source, let it stand for approximately 2 hours. This will reduce the possibility of a malfunction in the cooling system from handling during transportation. • Remove the crisper, drip tray and shelves and clean them and the interior surfaces of the unit with lukewarm water using a soft cloth. -
Page 6: Extension Cord
To prevent accidental injury, the cord should be secured behind the unit and not left exposed or dangling. The unit should always be plugged into its own individual electrical outlet which has a voltage rating that matches the rating label on the appliance. This provides the best performance and also prevents overloading house wiring circuits that could cause a fire hazard from overheated wires. -
Page 7: Door Handle Installation
For model CT66JL: 1. Unscrew the lower hinge and take off the door. 2. Push the kick plate to the right in the new position. 3. Undo the upper hinge fastener and fix it to the opposite side of the housing, where you have already removed and replaced the fastener with the hole to the opposite side. -
Page 8: Operating Your Appliance
OPERATING YOUR APPLIANCE Temperature Control • A unique dual evaporator system separately cools the refrigerator while keeping the freezer at 0°F. • The refrigerator temperature is controlled with a thermostat knob located inside the unit, towards the upper right-hand corner. Turn the knob clockwise from the STOP (0) position toward the higher numbers for colder temperatures. -
Page 9: Care And Maintenance
CARE AND MAINTENANCE Cleaning Your Appliance 1. Unplug the appliance, turn the thermostat to STOP (0) and remove all contents, including shelves, drip tray and crisper. 2. Wash the inside surfaces with a solution of lukewarm water and vinegar. Wipe dry with a clean, soft cloth. -
Page 10: Energy Saving Tips
Energy-Saving Tips • The unit should be located in the coolest area of the room, away from heat-producing appliances or heating ducts and out of direct sunlight. • Try not to open the door too often, especially when the weather is damp and hot. Once you open the door, close it as soon as possible. -
Page 11: Troubleshooting
TROUBLESHOOTING When using this appliance, you may come across some problems that in many cases result from improper handling and can easily be eliminated. The appliance fails to operate after being connected to the power source. • Check whether the power supply is active and that the thermostat is not set to the STOP (0) position. -
Page 12: Limited Warranty
LIMITED WARRANTY ONE-YEAR LIMITED WARRANTY Within the 48 contiguous United States, for one year from the date of purchase, when this appliance is operated and maintained according to instructions attached to or furnished with the product, warrantor will pay for factory- specified parts and repair labor to correct defects in materials or workmanship.


Need help?
Do you have a question about the CT66 Series and is the answer not in the manual?
Questions and answers