LG LRFCS2523 Series Owner's Manual
French door refrigerator
Hide thumbs
Also See for LRFCS2523 Series:
- Owner's manual (164 pages) ,
- Owner's manual (157 pages) ,
- Owner's manual (60 pages)
Table of Contents
Advertisement
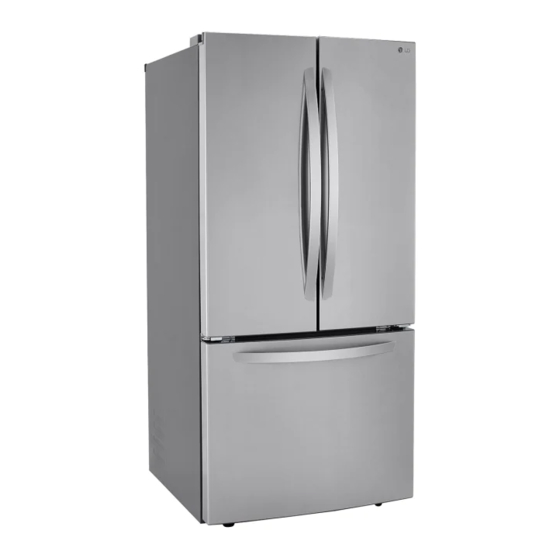
OWNER'S MANUAL
FRENCH DOOR
REFRIGERATOR
Read this owner's manual thoroughly before operating the
appliance and keep it handy for reference at all times.
ENGLISH
LRFCS2503*
LRFCS2523*
LRFCS25D3*
LM65BGSK
LRFNS2503*
www.lg.com
MFL67227315
Rev.05_061920
Copyright © 2019 - 2020 LG Electronics Inc. All Rights Reserved.
Advertisement
Table of Contents


Need help?
Do you have a question about the LRFCS2523 Series and is the answer not in the manual?
Questions and answers