Table of Contents
Advertisement
Advertisement
Table of Contents

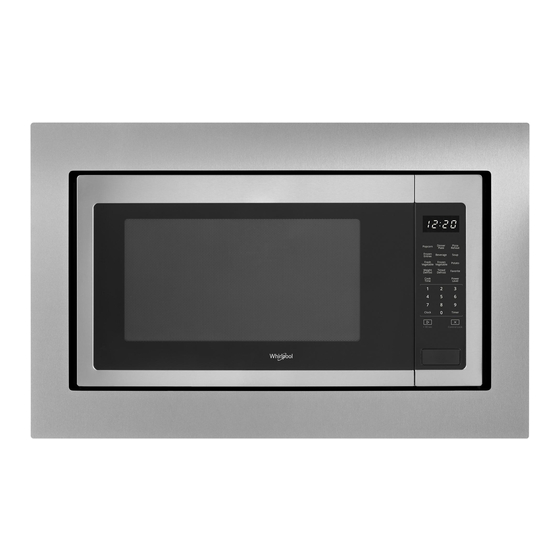
Summary of Contents for Whirlpool WMC50522HW
- Page 1 MICROWAVE OVEN Use & Care Guide For questions about features, operations/performance, parts, accessories, or service, call: 1-800-253-1301 or visit our website at www.whirlpool.com. Table of Contents ..........2 W11083578B Model WMC50522...
-
Page 2: Table Of Contents
TABLE OF CONTENTS MICROWAVE OVEN SAFETY ............3 MICROWAVE OVEN USE ...............8 INSTALLATION INSTRUCTIONS ...........5 Food Characteristics ..............8 Unpacking ..................5 Cooking Guidelines ..............8 Location Requirements ..............5 Cookware and Dinnerware............9 Electrical Requirements ...............5 Aluminum Foil and Metal .............9 PARTS AND FEATURES ..............6 Microwave Cooking Power ............9 Turntable ..................6 Manual Cooking .................10... -
Page 3: Microwave Oven Safety
MICROWAVE OVEN SAFETY Your safety and the safety of others are very important. We have provided many important safety messages in this manual and on your appliance. Always read and obey all safety messages. This is the safety alert symbol. This symbol alerts you to potential hazards that can kill or hurt you and others. - Page 4 IMPORTANT SAFETY INSTRUCTIONS Do not mount over a sink. Liquids, such as water, coffee, or tea are able to be overheated beyond the boiling point without appearing to Do not store anything directly on top of the microwave oven be boiling. Visible bubbling or boiling when the container is when the microwave oven is in operation.
-
Page 5: Installation Instructions
INSTALLATION INSTRUCTIONS Unpacking Electrical Requirements 1. Empty the microwave oven of any packing materials. WARNING 2. Clean the inside with a soft, damp cloth. 3. Check for damage, such as: a door that is not lined up correctly, ■ damage around the door, or ■... -
Page 6: Parts And Features
PARTS AND FEATURES MICROWAVE OVEN CONTROL This manual may cover several different models. The model you have purchased may have some or all of the features shown here. The appearance of your particular model may differ slightly from the illustrations in this manual. A. -
Page 7: Display
Display Clock When power is first supplied to the microwave oven, “0:00” This is a standard 12-hour clock (1:00-12:59). The Clock cannot will appear in the display. If the “0:00” appears in the display at be erased. If the Clock is not set, “0:00” will remain in the display any other time, a power failure has occurred. -
Page 8: Microwave Oven Use
MICROWAVE OVEN USE A magnetron in the microwave oven produces microwaves which Cooking Guidelines reflect off the metal floor, walls, and ceiling and pass through the turntable and appropriate cookware to the food. Microwaves are Covering attracted to and absorbed by fat, sugar, and water molecules in the food, causing them to move, producing friction and heat Covering food helps retain moisture, shorten cook time, and which cooks the food. -
Page 9: Cookware And Dinnerware
Do Not Use Cookware and Dinnerware Cookware and dinnerware must fit on the turntable. Always Metal cookware and bakeware, gold, silver, pewter, non-approved use oven mitts or pot holders when handling because any dish meat thermometers, skewers, twist ties, foil liners such as may become hot from heat transferred from the food. -
Page 10: Manual Cooking
Manual Cooking Favorite NOTE: To cook at 100% power, begin by touching the number Use Favorite to program, store, and recall the top three most keypads to enter cook time, then touch START. frequently used manual cook programs. Each Favorite may have 1 or 2 stages (see the “Cooking in Stages”... -
Page 11: Menu (Sensor And Non-Sensor)
Menu (sensor and non-sensor) The following menu items are preprogrammed for quick and easy cooking/reheating. For added convenience, the available/recommended amounts shown in the following chart are included on the Cooking Guide label (see the “Parts and Features” section for its location). Menu Item Serving Size Instructions... -
Page 12: Weight Defrost/Timed Defrost
Weight Defrost/Timed Defrost The Weight Defrost feature’s preset programs can be used, the To Use Weight Defrost: Timed Defrost feature can be used, or the microwave oven can 1. Place food, uncovered, on the turntable and close the door. be manually set to defrost. 2. -
Page 13: Microwave Oven Care
MICROWAVE OVEN CARE General Cleaning IMPORTANT: Before cleaning, make sure all controls are off and MICROWAVE OVEN DOOR AND EXTERIOR the microwave oven is cool. Always follow label instructions on cleaning products. The area where the microwave oven door and frame touch when Soap, water, and a soft cloth or sponge are suggested unless closed should be kept clean. -
Page 14: Troubleshooting
First try the solutions suggested here. If you need further assistance or more recommendations that may help you avoid a service call, refer to the warranty page in this manual and scan the code there with your mobile device, or visit producthelp.whirlpool.com. -
Page 15: Assistance Or Service
■ impaired, limited vision, etc.). 30" (76.2 cm) MK2220AW/White For further assistance: MK220AB/Black If you need further assistance, you can write to Whirlpool with MK2220AS/Stainless any questions or concerns at: MK2220AV/Black Stainless Steel Whirlpool Brand Home Appliances MK2220AZ/Anti-Fingerprint Stainless Steel... -
Page 16: Warranty
3. The consultant will advise whether the microwave qualifies for repair or replacement. 4. In the event of repair, you may be directed to forward the product to a Whirlpool designated service center. You are responsible for insurance and freight to the designated service center. Please include your name and address on a piece of paper, along with a copy of the proof of purchase (register receipt, charge slip, etc.).


Need help?
Do you have a question about the WMC50522HW and is the answer not in the manual?
Questions and answers