Sign In
Upload
Download
Table of Contents
Contents
Add to my manuals
Delete from my manuals
Share
URL of this page:
HTML Link:
Bookmark this page
Add
Manual will be automatically added to "My Manuals"
Print this page
×
Bookmark added
×
Added to my manuals
Manuals
Brands
Beko Manuals
Dryer
DHY 7340 W
Installation and operating instructions manual
Beko DHY 7340 W Installation And Operating Instructions Manual
Hide thumbs
1
2
Table Of Contents
3
4
5
6
7
8
9
10
11
12
13
14
15
16
17
18
19
20
21
22
23
24
25
26
27
28
29
30
31
32
33
34
35
36
page
of
36
Go
/
36
Contents
Table of Contents
Troubleshooting
Bookmarks
Table of Contents
Table of Contents
Important Safety and Environmental Instructions
General Safety
Electrical Safety
Product Safety
Mounting over a Washing Machine
Intended Use
Child Safety
Compliance with the WEEE Regulation and Disposing of the Waste Product
Compliance with Rohs Directive
Package Information
Technical Specifications
Your Dryer
Overview
Package Contents
Installation
Appropriate Installation Location
Removing the Transportation Safety Assembly
Connecting the Drain
Adjusting the Feet
Electrical Connection
Transportation of the Dryer
Warnings about Sounds
Changing the Illumination Lamp
Electrical Connection
Attention
Electrical Requirements
Fitting a Different Plug
Washer/Dryer Combination
Preparations
Laundry Suitable for Drying in the Dryer
Laundry Not Suitable for Drying in the Dryer
Preparing Laundry for Drying
Things to be Done for Energy Saving
Correct Load Capacity
Operating Th Product
Control Panel
Screen Symbols
Preparing the Machine
Programme Selection
Main Programmes
Extra Programmes
Programme Selection and Consumption Table
Auxiliary Function
Warning Symbols
End Duration
Starting the Programme
Child Lock
Changing the Programme after It Has Started
Cancelling the Programme
Programme End
Maintenance and Cleaning
Cleaning Lint Filter / Loading Door Inner Surface
Cleaning the Sensor
Draining the Water Tank
Cleaning the Filter Drawer
Cleaning the Evaporator
Troubleshooting
Guarantee
What Is Covered
What Is Not Covered
Important Notes
Service
Advertisement
Quick Links
1
Technical Specifications
2
Programme Selection
3
Maintenance and Cleaning
4
Troubleshooting
Download this manual
Condenser
Sensor Dryer
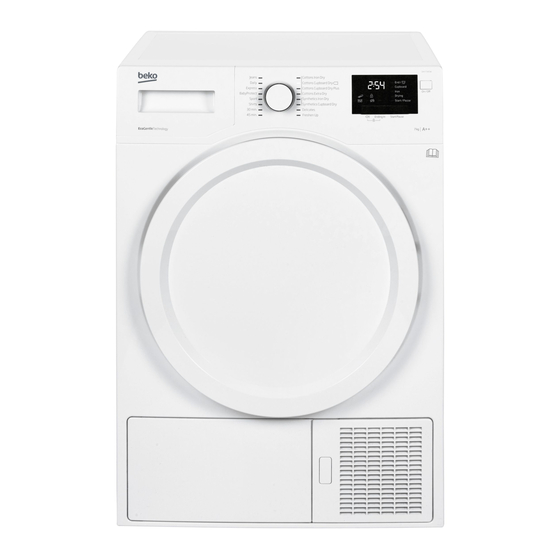
DHY 7340 W
DHR 73431 W
Table of
Contents
Previous
Page
Next
Page
1
2
3
4
5
Advertisement
Table of Contents
Need help?
Do you have a question about the DHY 7340 W and is the answer not in the manual?
Ask a question
Questions and answers
Related Manuals for Beko DHY 7340 W
Dryer Beko DHY 9P56 VW User Manual
(33 pages)
Dryer Beko DHY9P46W User Manual
(29 pages)
Dryer Beko DH 8544 RX User Manual
(69 pages)
Dryer Beko DH 8444 RX User Manual
(68 pages)
Dryer Beko DH8439GRX0WUV User Manual
(25 pages)
Dryer Beko DH 8534 CSRX User Manual
(29 pages)
Dryer Beko DH 8534 CSRX User Manual
(37 pages)
Dryer Beko DH 7533 RXW User Manual
(49 pages)
Dryer Beko DH 7533 RXW User Manual
(65 pages)
Dryer Beko DH9552TXW User Manual
(53 pages)
Dryer Beko DHR83431W User Manual
(29 pages)
Dryer Beko DH 7533 RXO User Manual
(49 pages)
Dryer Beko DH 8433 RXM User Manual
(60 pages)
Dryer Beko DH8733GA0MM User Manual
(53 pages)
Dryer Beko KM80S User Manual
(25 pages)
Dryer Beko DH10MSA User Manual
(32 pages)
This manual is also suitable for:
Dhr 73431 w
Dhr73431 b
5023790037174
5023790037181
Table of Contents
Print
Rename the bookmark
Delete bookmark?
Delete from my manuals?
Login
Sign In
OR
Sign in with Facebook
Sign in with Google
Upload manual
Upload from disk
Upload from URL


Need help?
Do you have a question about the DHY 7340 W and is the answer not in the manual?
Questions and answers