Table of Contents
Advertisement
Quick Links
Advertisement
Table of Contents

Related Manuals for myappliances AMFM60SS


Summary of Contents for myappliances AMFM60SS
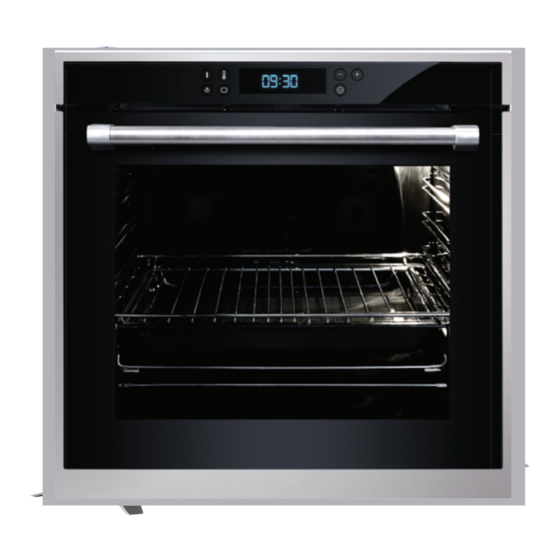
- Page 1 USER MANUAL AMFM60SS MULTIFUNCTION 67L OVEN CUSTOMER CARE 0344 800 1128...
-
Page 2: Using This Manual
Using This Manual This Owner’s Manual contains important information on safety and instructions intended to assist you in the operation and maintenance of your appliance. Please take the time to read this Owner’s Manual before using your oven and keep this book for future reference. -
Page 3: Child Safety
Do not line the oven bottom with aluminium foil and do not place any baking trays or tins on it. The aluminium foil blocks the heat, which may result in damage to the enamel surfaces and cause poor cooking results. Fruit juices will leave stains, which can become indelible on the enamel surfaces of the oven. - Page 4 Make sure the oven is cool before cleaning. Oven interior ● Do not hand - clean the door seal. ● Do not use coarse scouring pads or cleaning sponges. Cleaning Safety(Continued) ● To avoid damaging the enameled oven surfaces, use commercially available oven cleaners. ●...
-
Page 5: Installing The Oven
oven off at the end. Any remaining soil will gradually disappear with each subsequent use of the oven at high temperatures. Disposal Instructions Disposing of the packaging material Disposal Instructions (Continued) The material used to package this appliance is recyclable. Dispose of the packaging materials in the appropriate container at your local waste disposal facility Disposing of old appliances WARNING... -
Page 6: Connecting To The Mains Power Supply
Connecting to the mains power supply Electrical connections must be made as per the connection plate fixed to the back of the appliance by an elctrical fitter who must ensure that the appliance has been connected up in accordance with fitting instructions and local regulations. -
Page 7: Parts And Features
Parts and Features Oven Shelf levels are numbered from the bottom up. Levels 4 and 5 are used mainly for the grill function. Please refer to the cooking guides provided throughout this manual to determine appropriate shelf levels for your dishes. Oven controls 1. - Page 8 How to set the oven for roasting when using the probe ● Insert the probe into the meat. ● Plug the probe into the outlet in the oven. Make sure it is pushed all the way in. If the Probe is inserted correctly, will shows on the display.
-
Page 9: Before You Begin
Using the accessories Probe,wire grill, baking tray and deep pan Positioning the Probe Insert the Probe into the Probe outlet。 Positioning the wire grill Insert the wire grill at any desired level. Positioning the baking tray or deep pan Insert the baking tray into level 4 of the oven and the deep pan into level 1 of the oven Safety shutoff If a cooking time is not entered, the oven will shut itself off after the lengths of time indicated below. -
Page 10: Oven Functions
tion setting at 200 °C for 1 hour before using. There will be a distinctive odor; this is normal, but ensure your kitchen is well ventilated during this conditioning period. Before You Begin Continued Oven functions The features of this oven include the following functions Conventional Food Item Shelf Level... - Page 11 Wire grill/ Dorado & the same size Baking tray 15-20 fish(300-1000g) 3-4 cut on each side (for juice DROP OIL catching) Baking tray 13-20 Fish filets(500-1000g) 3-4 cut on each side DROP OIL Baking tray 25-35 Frozen cutlets (minced meat & with ham, cheese or Mushroom filing) (350-1000g) DROP OIL...
- Page 12 SALT&PEPPER 180-200 Baking tray with a 15-35 Meat or fish steaks wire roast on top (400-800g) DROP OIL,ADD SALT&PEPPER Deep pan Sponge cake(Bisquit) (1000g) Food Item Shelf Level Accessory Time(min) Temperature(℃) 3. Convection Suggested temperature: 170 °C This function bakes foods placed on up to three shelves and is also appropriate for roasting. Cooking is achieved by the heating element on the rear wall and the fan distributes the heat.
- Page 13 Wire grill /Baking tray 10-15 Sausages (for juice catching) 5-10pc Wire grill /Baking tray 10-12 Hunters sausages (for juice catching) 8-10pc DROP OIL Wire grill /Baking tray 8-12 Toasts (for juice catching) 5-10pc Baking tray 18-25 Cheese Toasts 5-10pc “Bliny” (Pancakes) with 180-200 Baking tray 20-30...
- Page 14 preheat) 6. Bottom Heat + Convection Suggested temperature: 190 °C The Bottom Heat + Convection mode is for recipes calling for a moist topping and a crisp base, as with foods like pizzas, quiches lorraine, German-style open fruitcakes and cheese-cakes. Before starting to cook you should preheat the oven.
-
Page 15: Setting The Oven Temperature
Bone-in Boneless 17-20 165℃ 70℃ Lamb (1360 to 2270g) Medium 20-24 165℃ 75℃ Well Fish whole 30-40 total 205℃ Seafood (1360 to 2270g) Lobster Tails 20-25 total 175℃ (170-230g each) Whole Chicken 24-26 175℃ 80-85℃ Poultry (1134 to 1588g) Cornish Hens Unstuffed (453-680g) 50-55 total 175℃... -
Page 16: Delayed Start
2.Touch the Time / Temp /Function Adjust Button “+” or “-“ to set the desired end time. 3.The oven operates with the selected end time automatically after press the Time Button or wait for about 3 seconds. (1) During cooking, you can adjust the previously set end time with the Time Button and Time / Temp /Function Adjust Button for better results. -
Page 17: Cleaning And Care
Check the tempreture ● Press the Temperature Button and “+” Button at the same time to check the tempreture of the test probe. ● Press the Temperature Button and Time Button at the same time to Check the tempreture of probe. -
Page 18: Assembling The Door
3. Loose the Embedding stirp; Clean the sheets with warm water or washing-up liquid and polish dry with a soft clean cloth. Assembling the door Reassemble the door by following the above procedures backwards. Changing the lamp Danger of electric shock! Before replacing the oven light bulb, take the following steps: ●... -
Page 19: Error And Safety Codes
When replacing old appliances with new ones, the retailer is legally obligated to take back your old appliance for disposals at least free of charge. USEFUL CONTACTS SPARES & SERVICE Spares & Service myappliances Phone: 0344 800 1128 Email: uksupport@apelson.co.uk Web: www.myspareparts.co.uk...
Need help?
Do you have a question about the AMFM60SS and is the answer not in the manual?
Questions and answers