Advertisement
Quick Links
10
Channel Vision Technology will repair or replace any defect in
material or workmanship which occurs during normal use of this
product with new or rebuilt parts, free of charge in the USA, for ten
years from the date of original purchase. This is a no hassle warranty
with no mail in warranty card needed. This warranty does not cover
damages in shipment, failures caused by other products not supplied
by Channel Vision Technology, or failures due to accident, misuse,
abuse, or alteration of the equipment. This warranty is extended only
to the original purchaser, and a purchase receipt, invoice, or other
proof of original purchase date will be required before warranty
repairs are provided.
Mail in service can be obtained during the warranty period by calling
(800) 840-0288 toll free. A Return Authorization number must be
obtained in advance and can be marked on the outside of the shipping
carton.
This warranty gives you specific legal rights and you may have other
rights (which vary from state to state). If a problem with this product
develops during or after the warranty period, please contact Channel
Vision Technology, your dealer or any factory-authorized service
center.
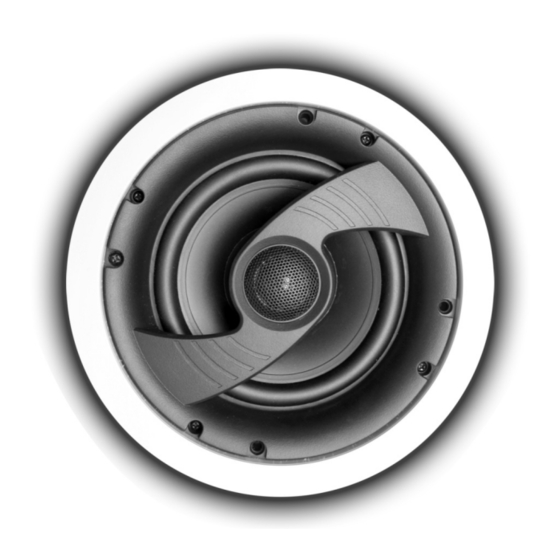
IC612
6.5" IN-CEILING SPEAKER
500-183 rev A2
TM
By
7
Advertisement

Subscribe to Our Youtube Channel
Summary of Contents for Channel Vision IC612
- Page 1 Channel Vision Technology will repair or replace any defect in material or workmanship which occurs during normal use of this product with new or rebuilt parts, free of charge in the USA, for ten years from the date of original purchase. This is a no hassle warranty with no mail in warranty card needed.
- Page 2 For proper phasing, both speakers must be wired alike. Connect red wires to red terminals on the speakers and to red or plus terminals on the amplifier. Install IC612 in the hole. Tighten the mounting screws. The mounting “dogs ears” will rotate outward and grip the drywall.


Need help?
Do you have a question about the IC612 and is the answer not in the manual?
Questions and answers