
Related Manuals for Philips PD9012/85


Summary of Contents for Philips PD9012/85
- Page 1 Always there to help you Register your product and get support at www.philips.com/welcome PD7012 PD9012 Question? Contact Philips User manual Manual del usuario...
-
Page 2: Table Of Contents
Contents Important Important safety instructions Notice Your portable DVD player Introduction What’s in the box Overview of the main unit Overview of the second screen Get started Preparation Connect the second screen Connect power Use your player Turn on Select OSD language Play discs Play options Adjust settings... -
Page 3: Important
1 Important Important safety instructions a Read these instructions. b Keep these instructions. c Heed all warnings. d Follow all instructions. e Do not use this apparatus near water. f Clean only with dry cloth. g Do not block any ventilation openings. Install in accordance with the manufacturer’s instructions. - Page 4 n Apparatus shall not be exposed to dripping or splashing. o Do not place any sources of danger on the apparatus (e.g. liquid filled objects, lighted candles). p This product may contain lead and mercury. Disposal of these materials may be regulated due to environmental considerations. For disposal or recycling information, please contact your local authorities or the Electronic Industries Alliance: www.eiae.org.
-
Page 5: Notice
Notice Any changes or modifications made to this device that are not expressly approved by Philips Consumer Lifestyle may void the user’s authority to operate the equipment. Environmental information All unnecessary packaging has been omitted. We have tried to make the packaging easy to separate into three materials: cardboard (box), polystyrene foam (buffer) and polyethylene (bags, protective foam sheet.) - Page 6 Recycling Your product is designed and manufactured with high quality materials and components, which can be recycled and reused. When you see the crossed-out wheel bin symbol attached to a product, it means the product is covered by the European Directive 2002/96/EC: Never dispose of your product with other household waste.
-
Page 7: Your Portable Dvd Player
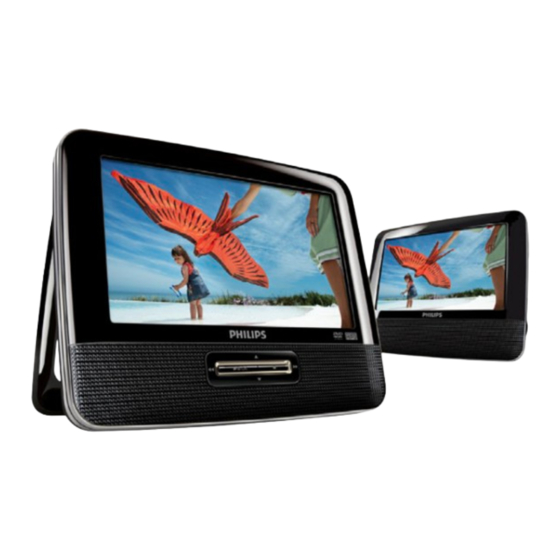
2 Your portable DVD player Congratulations on your purchase, and welcome to Philips! To fully benefit from the support that Philips offers, register your product at www.philips. com/welcome. Introduction Your portable DVD player plays digital video discs that conform to the universal DVD Video standard. -
Page 8: Overview Of The Main Unit
Overview of the main unit a BRIGHTNESS • Adjusts screen brightness. b SETUP • Accesses or exits the setup menu. • Skips to the previous or next title, chapter, or track. d OPEN • Opens the disc compartment. e DISC MENU •... - Page 9 f OPTION • Accesses options relating to the current activity or selection. g AV MODE • Switches between PAL and NTSC mode. h ON/OFF • Turns on/off DVD player. i VOL +/- • Increases or decreases volume. • Headphone jack. k AV OUT •...
-
Page 10: Overview Of The Second Screen
Overview of the second screen DC IN • Power supply socket. AV IN • Audio/video input jack. • Headphone jack. VOL -/+ • Decreases or increases volume. BRIGHTNESS -/+ • Adjusts screen brightness. OFF/ON • Turns off/on the second screen. -
Page 11: Get Started
• Always follow the instructions in this chapter in sequence. If you contact Philips, you will be asked for the model and serial number of your player. The model number and serial number are on the bottom of your player. Write the numbers here: Model No. -
Page 12: Connect The Second Screen
Connect the second screen Caution • Turn off your player before you connect the second screen. A: main unit; B: second screen Connect the supplied AV cable to: the AV OUT jack on the main unit. • the AV IN jack on the second screen. •... - Page 13 A: main unit; B: second screen; C: car cigarette lighter Connect one end of the double-connector end of the AC cable to the DC IN jack on the main unit. Connect the other end of the double-connector end of the AC cable to the DC IN jack on the second screen.
-
Page 14: Use Your Player Turn On
4 Use your player Turn on Slide the ON/OFF switch on the main unit to the ON position. • To turn on the second screen, slide the OFF/ON switch on the second screen to the ON position. Select OSD language You can choose a different language for the on-screen display text. -
Page 15: Adjust Settings
5 Adjust settings Set the main unit To maximize your play experience, use SETUP to fine tune your settings. Press SETUP. » The setup menu is displayed. Use navigation keys to select an option and press OK to confirm. [General] [Language] Select on-screen display language [PBC settings]... -
Page 16: Set The Second Screen
Set the second screen You can also set the second screen. To adjust volume level for the second screen, press VOL -/+ on the • second screen. To adjust the brightness of the second screen, press BRIGHTNESS • -/+ on the second screen. 6 Use more of your player Connect additional equipment Caution... -
Page 17: Connect Power From Household Source
Connect power from household source Caution • Risk of product damage! Ensure that the power supply voltage corresponds to the voltage pointed on the back or the underside of the player. • Risk of electric shock! When you unplug the AC adaptor, always pull the plug from the socket. -
Page 18: Product Information
7 Product information Note • Product information is subject to change without prior notice. Dimensions - Main unit 200 x 155 x 39 mm - Second screen 200 x 155 x 21 mm Weight - Main unit 0.7 kg - Second screen 0.4 kg Power supply Input: 100-240V 50/60Hz 0.3A... -
Page 19: Troubleshooting
To keep the warranty valid, never try to repair the system yourself. If you encounter problems when using the player, check the following points before requesting service. If the problem remains unsolved, register your player and get support at www.philips.com/welcome. No power •... - Page 20 Specifications are subject to change without notice © 2013 Koninklijke Philips Electronics N.V. All rights reserved. PD7012_PD9012_85_UM_Sunplus_V3.0...
Need help?
Do you have a question about the PD9012/85 and is the answer not in the manual?
Questions and answers