
Related Manuals for Electrolux EI24RD65


Summary of Contents for Electrolux EI24RD65
-
Page 1: Guia De Uso Y Cuidado
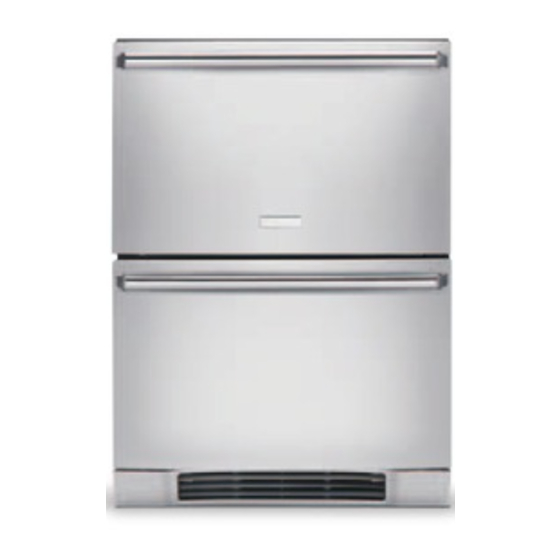
Use & Care Guide Refrigerator Drawers Guia de Uso y Cuidado Cajones de refrigerador Guide D’utilisation et D’entretien Tiroirs de réfrigérateur 241958100 May 2008... -
Page 2: Finding Information
Product Registration Card in the mail. Complete and mail the Product Registration Card as soon as possible to validate the registration date. Please record the purchase date of your Electrolux unit and your dealer’s name, address, and telephone number. _________________________________________... -
Page 3: Table Of Contents
Description of Features ... 8 Alarms ... 8 Sabbath Mode ... 8 Maintenance ... 9 Removing your Refrigerator Drawers ... 9 To Remove Top Drawer ... 9 To Remove Bottom Drawer ... 9 Maintaining Refrigerator Drawers ...9 Exterior Cleaning for Your Stainless Steel Model ...9 Interior Cleaning ...10... -
Page 4: Safety
Obstructing free air flow can cause the unit to malfunction and may void the warranty. • Allow unit temperature to stabilize for 24 hours before use. CAUTION • Use only genuine Electrolux replacement parts. Imitation parts can damage the unit and may void the warranty. -
Page 5: Installation
Installing the Refrigerator Drawers Your Electrolux refrigerator drawers have been designed for built-in installation. When built-in, your refrigerator drawers do not require additional air space for top, sides, or rear. The front grille must NOT be obstructed. NOTE To ease unit installation and removal, it is recommended that the cabinet rough opening dimensions be increased by at least ¼... -
Page 6: Site Preparation
Installation Site Preparation 1 Position the unit on a flat, level surface capable of supporting the entire weight of the unit. Remember the unit will be significantly heavier once it is fully loaded. 2 This unit requires a grounded and polarized 115 VAC, 60Hz, 15A circuit (normal household current). -
Page 7: Start-Up And Temperature Control
Start-Up and Temperature Control Starting the Unit Your refrigerator drawers unit is shipped in the ON position; however, you may turn it ON or OFF by pressing and holding the ON/OFF for three (3) seconds and then releasing the key. -
Page 8: Operation
Operation Description of Features vacation mode Conserves energy by disabling interior lights and keypad inputs. mute sounds Tones emitted by each keypress can be turned off based on user preference. The sounds are muted when the red indicator is lit. The mute sounds key also is used to acknowledge alarm conditions, denoted by a flashing red indicator. -
Page 9: Maintenance
Removing Your Refrigerator Drawers To remove top drawer: 1. Fully extend drawer. 2. Disconnect Molex connector. 3. Remove two screws using Phillips screwdriver. 4. Remove drawer by sliding forward 1/2” and pull up. 5. Reverse procedure to reinstall drawer. To remove bottom drawer: 1. -
Page 10: Interior Cleaning
Maintenance Interior Cleaning - as Required 1 Disconnect power to the refrigerator drawers. 2 Wipe down the interior with a solution of non- abrasive mild detergent and warm water. 3 Rinse with clear water. 4 Reconnect power to the unit. -
Page 11: Troubleshooting
“Installation” Section. • Adjust door gasket. • Adjust temperature warmer. See “Adjusting the Temperature” in the “Start-Up and Temperature Control” section. Allow 24 hours for temperature to stabilize. • Contact a qualified Electrolux Service Technician. • Check for proper door alignment. -
Page 12: Warranty Information
Warranty Information Your appliance is covered by a one year limited warranty. For one year from your original date of purchase, Electrolux will repair or replace any parts of this appliance that prove to be defective in materials or workmanship when such appliance is installed, used, and maintained in accordance with the provided instructions.
Need help?
Do you have a question about the EI24RD65 and is the answer not in the manual?
Questions and answers