Advertisement
Quick Links
Important Precautions
1.
This model mainly applies to swimming pool with flat floor; please refer to instruction of 3)
in 5.3.2 for swimming pool with slope.
2.
In order to prevent severe damage to the cleaner, never power on the unit when it is
outside of the swimming pool.
3.
The power cord must be connected to leakage protective device and appropriate earthed
socket.
4.
Do not operate the cleaner when people are in the pool.
5.
Do not try to move the floaters along the electric cable. Leave them always in the original
positions.
6.
Before power on, make sure the cable is fully released to avoid any winding, which could
affect the cleaner's performance or cause damage.
7.
The filter bags should be cleaned every time you use the unit. This will prevent the dirty
filter bags affecting the normal operation of the cleaner.
8.
The cleaner should be stored in a cool and ventilated place, away from direct sunlight,
when not in use.
9.
The power supply unit should be placed in a shaded area. In order to avoid overheating
and the potential damage of components, never cover the power supply unit.
Only authorized after sales service personnel should open the cleaner's motor assembly
10.
and power supply unit, otherwise the warranty will be invalidated.
11.
In order to avoid any accident/damage, the power supply unit should be steadily placed
at a minimum distance of 3.5m from the pool edge.
12.
Do not use the cleaner beyond the working environment/conditions stated in this manual.
13.
Do not uncover the protective film which is sticked on the operating panel.
14.
Close the filtering system of your pool when use this cleaner.
1
Advertisement

Subscribe to Our Youtube Channel
Related Manuals for Winny HJ1009

Summary of Contents for Winny HJ1009
- Page 1 Important Precautions This model mainly applies to swimming pool with flat floor; please refer to instruction of 3) in 5.3.2 for swimming pool with slope. In order to prevent severe damage to the cleaner, never power on the unit when it is outside of the swimming pool.
- Page 2 Note Putting into or lifting out from pool with the cleaner bottom toward the wall to avoid any possible scratch to the pool surface. 2. Please store the cleaner in flat place, the cleaner body should not touch any hard article to avoid possible damage.
- Page 3 Contents Ⅰ. Introduction································································································P. 3 Ⅱ. Safety········································································································P. 3 Ⅲ. Specifications·····························································································P. 3 Ⅳ . Cleaner Structure························································································P. 5 Ⅴ. Operation Instructions·················································································P. 6 Ⅵ. Trouble Shooting·························································································P. 16 Ⅶ. Packing List································································································P. 16 Ⅷ Warranty·····································································································P. 17...
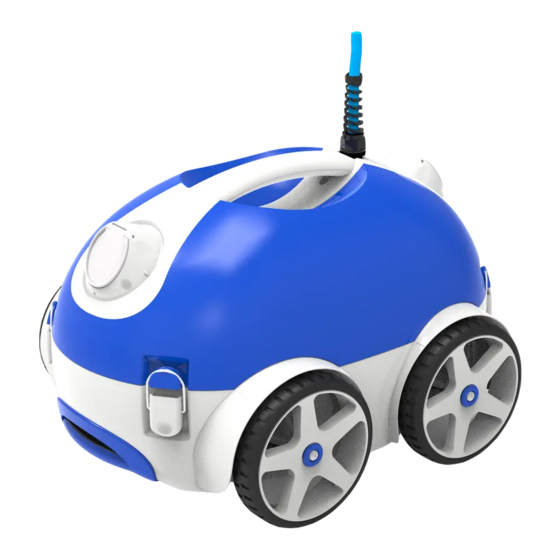
- Page 4 Ⅰ. Introduction: The automatic swimming pool floor cleaner HJ1009 is a new type of highly efficient swimming pool cleaning equipment. Through its advanced computer controlled program, it can clean the pool floor automatically without draining pool water. At the same time, it filters the pool water and gets rid of suspended particles and sediments.
- Page 5 Ⅳ . Cleaner Structure Optional Fig.4-1 Assembly the cleaner according to above structure...
- Page 6 Ⅴ . Operation Instruction 5.1 Cable connection 5.1.1 Plug the cable line into the socket on the power supply unit (note: make sure to plug it in the correct direction and position), and fasten the nuts on both sides of the plug. Match point Turn round this part for locking or loosen...
- Page 7 5.2 Panel operation Fig.5-3 Chart 5-1. Buttons & indicator lights instructions Item Name Specification Function POOL Pool distance selection button Select based on pool width DISTANCE RUN TIME Auto running time selection button STOP Stop button To move the cleaner to a certain FWD/REW Manual forward/backward button location...
- Page 8 moving path of the cleaner.. 5.3.1 Setting of nozzle, speed and moving path 5.3.1.1 In general, there will be better cleaning effect under a slower moving speed. There is less cable twists occur when cleaner moves at bigger curvature radius and below instruction is helpful for a proper setting.
- Page 9 Operator can select a proper nozzle position for different pools, for example, chose slow speed 〇 which leads to big moving radian by putting the symble points at 45º (cleaner moves toward left), or points at 75º (cleaner moves toward right) 5.3.1.3 : Settings of nozzle In most cases, put both of the nozzles at same direction will fit for any shap of pools.
- Page 10 2)Direction at which cleaner moves slower Sketch map Pool distance...
- Page 11 3) Pool with slope floor Sketch map Pool distance Select according to pool size Select according to pool size Note: The above are recommending settings and operator can select a proper nozzle direction based on above principle actual pool situation.
- Page 12 5.4 Methods of puting the cleaner into pool Hold a proper position of the cable by one hand ( be sure that the cable from hand to cleaner will let the cleaner immerges into water but above the floor), hold the cleaner handle by the other hand to put the cleaner into water slowly.
- Page 13 5.5 Cleaning the filter bag Unfold the retaining ring and open the cleaner. Retaining ring Fig.5-11 Press the buckle of one side as well as lift the filter cartridge. Fig. 5-12 Take off the filter cartridge Fig. 5-13...
- Page 14 Open the small buckle and take off the filter bag to wash Fig. 5-14 Reinstall the filter cartridge Put on the filter bag Insert one side of the filter cartridge into the buckle Fig. 5-15 Press the buckle of the other side as well as put the filter cartridge in position. Fig.
- Page 15 5.6 Replacing filter bag Please use new filter bag in case broken as structure bellow Fig. 5-17 5.7 Helpful tips Unplug power connection immediately after use (Do not do it with wet hand or naked foot). The cleaner should not touch pool walls while lifting out to avoid scratching the pool surface or any damage to the cleaner.
-
Page 16: Ⅵ . Trouble Shooting
Damaged during Contact local vendor work transportation Cleaner does not match Contact local vendor local rated voltage Ⅶ. Packing List Item Name Model Quantity (pc) Usage Remarks Cleaner HJ1009 In carton Power supply unit HJ1009 In carton Manual & certificate... - Page 17 Ⅷ. Warranty This product has passed all quality control and safety tests, conducted by the technical department of the factory Warranty information: 1. Warranty period is 2 years and is settled in accordance with the terms established by Directive 1999/44/EC of 25 of May regarding guarantees on the sale of consumer goods as well as the local law in the Country of Purchase within the European Union.
Need help?
Do you have a question about the HJ1009 and is the answer not in the manual?
Questions and answers