Table of Contents
Advertisement
Quick Links
Advertisement
Table of Contents

Related Manuals for Playback Designs MPD-6


Summary of Contents for Playback Designs MPD-6
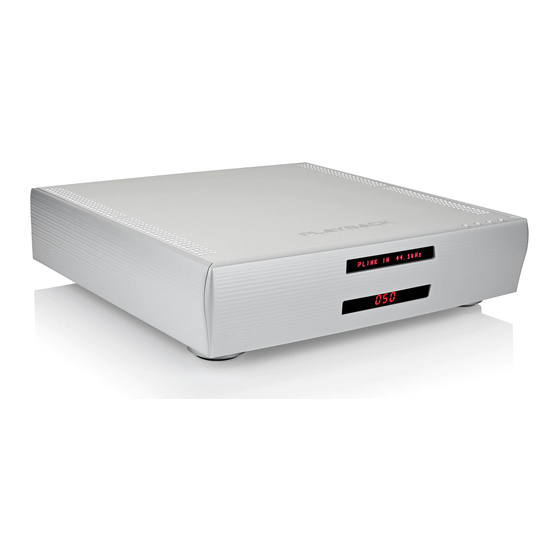
- Page 1 MPD-6 Digital to Analog Converter USER MANUAL EDELWEISS SERIES Version 1.1...
- Page 2 MPD-6 User Manual...
-
Page 3: Important Safety Instructions
Playback Designs will pay for return shipping charges (domestically) back to the owner when the product is sent to Playback Designs within the first 30 days after purchase and the fault can be confirmed by Playback Designs. Otherwise, owner will be responsible for all shipping charges to and from Playback Designs. -
Page 4: Before Using The Product
MPD-6 User Manual Playback Designs products are sold worldwide through authorized dealers with restricted territories. If any Playback Designs product is purchased from non-authorized dealers or from a dealer selling outside his / her authorized territory all warranties will be void. - Page 5 MPD-6, similar to a power cycle. Power: Before connecting the MPD-6 to the AC mains, please make sure you select the correct voltage for your country on the Voltage Selector switch located on the rear panel.
-
Page 6: Front Panel Functions
CONTROL OF ANALOG OUTPUT LEVELS The MPD-6 is equipped with a very high quality analog volume control that is controlled from the remote. If this analog volume control is not desired it can be bypassed in the settings menu. In addition the output level in bypassed mode can be selected between 5 values to optimally match it with your other equipment (see settings and specification chapter for more details). -
Page 7: Remote Control Unit
Opens the settings menu on front panel. Press the DAC button first to select the MPD-6 settings. During normal operation these up and down arrows directly below the DAC button toggle through the active inputs of the MPD-6. MUTE During settings display these buttons toggle through the settings menu. - Page 8 For selecting digital inputs the IR remote provides buttons with up and down arrows right below the DAC button. With these buttons you can select any of the six digital inputs on the MPD-6 by toggling up and down through the list.
- Page 9 In order for your computer to communicate with the MPD-6 and to exchange audio data a custom driver software needs to be installed before you can connect it to the MPD-6. If your computer is a Mac running OSX 10.6.6 or later or you are using a Linux computer you don’t need any driver software. DSD file playback is supported on Mac via the DoP standard, and on Linux computers natively up to DSD4x.
- Page 10 MPD-6. 2. While the MPD-6 has no problem supporting playback via USB while it is switched to a different input (i.e. disc playback, AES or Coax input) it is a good idea to stop playback on your computer before selecting another input.
-
Page 11: Setup Menu
SETUP MENU The MPD-6 has several options that can be displayed and set via remote control. By pressing the DAC button on the remote first and then the SETTINGS button within 5 seconds the top display starts to flash while displaying the first item in the setup menu. -
Page 12: External Clock
In fact, the MPD-6 performs equally well with jittery sources as with higher quality ones. For this reason the MPD-6 does not require an external clock nor does it require to be set up as a clock master. BREAKING IN THE MPD-6 Breaking in the MPD-6 is time consuming but well worth the effort. - Page 13 CHANGING THE FUSE ON THE MPD-6 Inside the power connector on the rear panel of the MPD-6 are two fuses that protect the machine from dangerous power surges. If the machine fails to power up or no light on the front panel is lit after pressing the standby power button on the front panel then proceed as follows to change the fuses: 1.
- Page 14 MPD-6 that may further enhance the sonic performance or add new features. New releases will be distributed as audio wave files. They can be played into the MPD-6 via its USB input just like any other audio file. The MPD-6 processor will automatically detect this file and update the firmware.
- Page 15 Tidal, Quobuz, Deezer and vTuner. It can also be used to stream from network storage (NAS) or from USB flash stick (no HDD supported) that is directly attached its own USB connector (Streamer USB). It is a DLNA renderer and server and also supports the Roon network protocol. It makes your MPD-6 "Roon ready".
- Page 16 4. Check that your tablet is connected to the same network as Stream-X2 5. If not done so already, power on your Stream-X2 (select STREAMER input on your MPD-6). After a fresh power up, it may take a few seconds to start. Just wait until the front panel indicates a valid sample rate.
- Page 17 The volume button to the left of the transport keys can be used to directly control the analog output volume of the MPD-6 if its volume is enabled (see setup menu of MPD-6). 8. In the upper right corner you can select the view between Browser, Queue and Favorites: The browser allows you to browse and select streaming services or files in the list of storage ...
-
Page 18: Creating And Editing Playlists
MPD-6 User Manual CREATING AND EDITING PLAYLISTS 1. Select a song in the browser page. This will automatically take that song to the queue and play it along with any other song that might be in the same album. 2. Switch to the Queue page (press Queue in upper right corner). You will see the following page with... - Page 19 MPD-6 User Manual 6. Select your playlist from the list and the next page will show you the contents of your playlist. 7. In this page you can edit your playlist by pressing the EDIT button or you can add more tracks by...
Need help?
Do you have a question about the MPD-6 and is the answer not in the manual?
Questions and answers