Advertisement
SM1-EJ Microphone Instructions
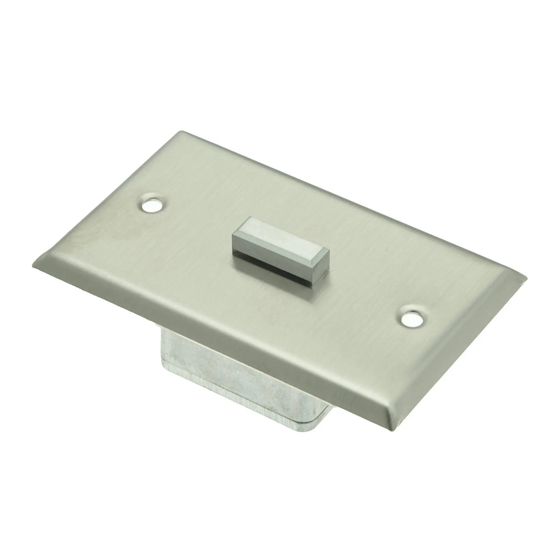
The SM1-EJ is a high quality, 12VDC powered, surface mount, covert Ethernet jack style,
omni-directional, pre-amplified microphone for use with DRVs, IP cameras, etc. Note- the audio
output of the SM1-EJ is jumper selectable "line level" (0db) or "microphone level" (-30db).
SM1-EJ Microphone Placement.
Locate the SM1-EJ Microphone near the area of interest in the room to be monitored. If the entire
room is to be monitored, locate the SM1-EJ in the middle of the room. Do not mount the
microphone near air conditioning vents, light fixtures or electrical equipment. The SM1-EJ should
be placed as close as possible to the subject(s) to be monitored. The SM1-EJ is still useable at
distances of up to 25 feet but is dependent on the level of background noise in the area.
Experimentation in the environment will determine what distances work best.
Cable Run
Run a 22 gauge, stranded, two conductor shielded cable between the SM1-EJ microphone and
the monitoring device. Keep the cable run distance under 1,000 feet and away from AC power
sources, light fixtures and electrical equipment. Connect power to the + terminal, the audio signal
to the "audio" terminal and ground to the – terminal. The Ground of the power and audio signal
must share a common ground for proper operation. See Figure 1 for connection diagram.
Mounting
The SM1-EJ can be mounted flush directly on drywall or in a single gang box. The latter is
preferred, to minimize picking up background noise from other rooms.
Adjusting the SM1-EJ Gain
The SM1-EJ output level is set by selecting the desired volume range and adjusting the gain
control.
The "Volume Range" jumper should be set to the "LO" position when using the SM1-EJ with IP
cameras that utilize "microphone inputs" also known as "Mic. Level" inputs. This sets the
maximum gain of the SM1-EJ's pre-amp to x14. The jumper should be placed in the "HI" position
when using IP cameras with "Line level" inputs of DVRs and I/P cameras. This sets the maximum
gain of the SM1-EJ's pre-amp to x196.
The SM1-EJ is shipped with the gain set at midrange. If the sound at the "head end" is distorted,
rotate the control towards the – mark (counter-clockwise). If the volume at the "head end" is too
low, rotate the control towards the + mark (clockwise).
Setting the SM1-EJ Hi-Cut/Lo-Cut Jumpers
The normal frequency response of the SM1-EJ microphone is 500-13Khz. When both jumpered
"in", The "HI Cut" and "Lo Cut" filters set the SM1-EJ's frequency response to 900-6Khz. Enabling
one or both of the filters is useful when background noise needs to be further reduced and
intelligibility of speech emphasized. We recommend experimenting with the jumper settings to
achieve the best acoustic result for your application.
Advertisement
Table of Contents

Related Manuals for ETS SM1-EJ


Summary of Contents for ETS SM1-EJ
- Page 1 SM1-EJ’s pre-amp to x196. The SM1-EJ is shipped with the gain set at midrange. If the sound at the “head end” is distorted, rotate the control towards the – mark (counter-clockwise). If the volume at the “head end” is too low, rotate the control towards the + mark (clockwise).
- Page 2 Warranty All ETS products carry a one year parts and labor warranty. This warranty does not cover damages as a result of misuse, improper handling of the unit or exposure to extreme temperatures or moisture. At its discretion, ETS reserves the right to repair or replace this unit under the conditions of the warranty. If you experience problems with your equipment call ETS at: 505-888-3923 to obtain a return authorization number.
Need help?
Do you have a question about the SM1-EJ and is the answer not in the manual?
Questions and answers