
Related Manuals for Hipstreet HS-10DTB2


Summary of Contents for Hipstreet HS-10DTB2
- Page 1 HS-10DTB2 User Manual June 2012 Please read this user’s manual carefully before use.
- Page 2 CONGRATULATIONS! Thank you for your purchase of this Hip Street product and we hope you enjoy using it. Please visit our website at www.hipstreet.com. Please ensure that you fully read and understand the information within this user manual prior to using your product. It is advised that you keep this user manual in a safe place for future reference.
-
Page 3: Chapter One - Overview
-- Increase the separation between the equipment and receiver. -- Connect the equipment into an outlet on a circuit different from that to which the receiver is connected. -- Consult the dealer or an experienced radio/TV technician for help Changes or modifications not expressly approved by the party responsible for compliance could void the user's authority to operate the equipment. - Page 4 1-1 Appearance 1-2 Buttons/Ports...
-
Page 5: Standby Mode
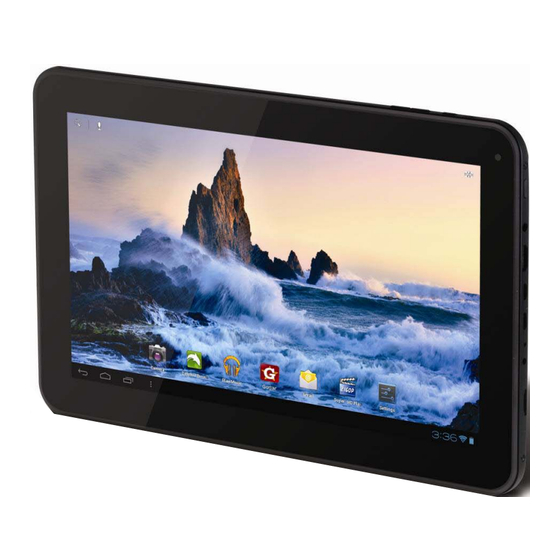
1. Power Button 7. 5V DC Jack 2. 3.5mm Headphone Jack 8. Micro-SD Port 3. Mini-HDMI Port 9. Back Button 4. Micro-USB PC Port 10. Volume Down Button 5. Micro-USB HOST Port 11. Volume Up Button 6. Reset 12. Speaker 1-3 Power ON/OFF and Sleep/Wake mode Power ON Long press the power button for about 3-4 seconds to power ON the tablet. -
Page 6: Lock And Unlock The Screen
Short press the power button to standby the tablet when the tablet is powered ON. Wake up Short press the power button to wake the screen up when the tablet is powered ON and in standby mode. 1-5 Lock and Unlock the Screen Lock The system will automatically lock the screen and enter the standby mode if there is no activity from the user. - Page 7 Once the tablet is unlocked, the Home Screen will appear. 1-6 Home Screen Info...
-
Page 8: Text Input
1-7 Text Input When using the tablet, you can use the on-screen keyboard to enter text, numbers, symbols directly. After tapping and selecting an area to input text, the default keyboard will be automatically displayed. ‐ To switch from letters to numbers, tap ‐... -
Page 9: Chapter Three: Applications
2-1 Browser Internet browsing requires a local wireless network. If there are network issues, please contact your network operator or the service provider. First tap in the Home Screen to enter the Application Menu. Then tap (Settings) to access the Wi-Fi menu. Slide the Wi-Fi switch to the ON position, select the desired local network, enter the password (if required) and tap <connect>... - Page 10 “ to enter camera settings: White Balance, Exposure, Save Video to enter into video mode.
-
Page 11: View Photos And Videos
Setting: White Balance, Timer, Save “ Tap this to start recording a video View Photos and Videos In the Gallery interface, click on the photo to view it, and you can also view the photos in a slideshow 3-2 Photos in the application menu to view your photos, which includes all the pictures. -
Page 12: Video Player
to classify the pictures by time and place. Tap to enter camera mode. to choose an album to edit or delete. to view a slideshow of all photos 3-3 Video Player in the application menu to view your Videos. 3-4 Music... - Page 13 “ in the application menu to listen to your music. Music can be played by artists or album classification. This page displays the songs alphabetically. Tapping on <now playing > will display album being played; there will be lyrics showing under the page to the right.
-
Page 14: File Manager
Month view: Long press to enter Day view and to set new calendar items. Agenda View: This view lists all events. Select an event for all details. Tapping the <today> button at the top-right corner will bring you to current calendar day. (This applies for all view modes) 3-6 Calculator Tap on the keys to enter a calculation. -
Page 15: Connecting To Pc Via Usb
in the application list to open File Manager. This will let you browse, and copy files between the device’s internal memory and Micro-SD card. Use the tabs at the top to browse files from all locations and complete actions such copy/cut/paste/delete/zip/rename by long pressing 3-8 Connecting to PC via USB Step 1: Please connect your USB cable from your PC to your Tablet... - Page 16 Step 5: Please wait a few seconds until the computer connects to your tablet. Once finished, you will see the Android character turn orange in colour and now “Turn on USB storage” will change to “Turn off USB storage” Step 6: Once finished transferring files, please remember to tap “Turn off USB storage” before unplugging the device from the PC 3-9 Downloads in the application menu open view your downloads.
-
Page 17: Add Account
Tap the file to stop or delete its contents. 3-10 E-mail This requires internet connection before use. If there are problems in the network, please contact your network operator. Add account If this is your first time to use email, go into the email interface to set up an account according to the displayed instructions. -
Page 18: Chapter Four: System Settings
Add mail recipients quickly Enter the recipients email address in the “To” input box. Add Attachments to add an attachment. Once a file has been selected, its name will be shown underneath the subject; you can add/remove attachments. Reply/Forward When an email is open, tap to <... -
Page 19: Wallpaper Setting
You can choose the network you want from the list by tapping on it. Tapping the < advanced > option under allows you to view the < IP > and < MAC address > 4-3 Display Brightness The user can adjust the brightness of the screen manually. Wallpaper setting In the wallpaper setting, the user can set wallpaper or live wallpaper they desire;... -
Page 20: Chapter Five: Specifications And Faq
4-5 Date & Time Time setting You can use automatic time settings from the network you are connected to, or you can manually adjust the time zone, set a specific date and time and display 12/24 hour formats. 4-6 Language and Input Language You can choose the language from the many preset languages available. - Page 21 Need assistance? Please call us! If you encounter any difficulties with this product, please visit our website at www.hipstreet.com and review our support section or call us. Our representatives are ready to help you with any questions about your product. We can guide you through connections, first-time use, or any of the...
- Page 22 Customer & Technical Support: 1-888-456-2426 Monday through Friday: 8:30am – 5:00pm EST Email: support@hipstreet.com We want you to start enjoying your product right away! Product and Battery Disposal This product contains a built-in lithium battery and should not be disposed of in normal household waste.
Need help?
Do you have a question about the HS-10DTB2 and is the answer not in the manual?
Questions and answers