Table of Contents
Advertisement
®
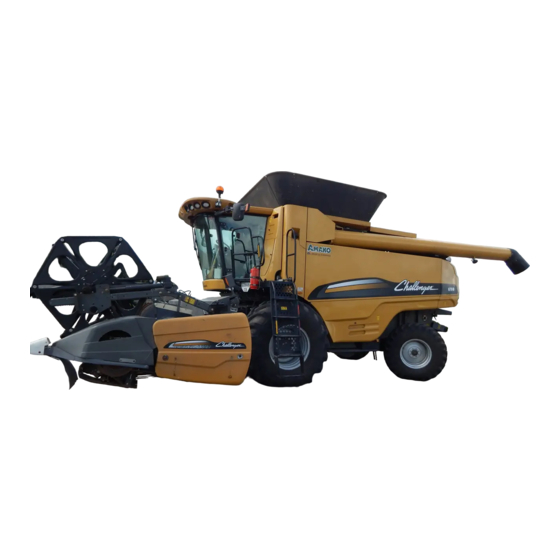
Challenger
660B / 670B
Rotary Combine
SERVICE MANUAL
79032966 A Rev.
CONTENTS
GENERAL INFORMATION ....................................................................................................................................01
SPECIFICATIONS ..................................................................................................................................................02
ENGINE WORKSHOP MANUAL ........................................................................................................................ 03A
ENGINE - DRIVES, COOLING AND FUEL......................................................................................................... 03B
MATERIAL HANDLING..........................................................................................................................................04
MATERIAL DISCHARGE .......................................................................................................................................05
REAR AXLE ...........................................................................................................................................................06
THRESHING AND SEPARATING..........................................................................................................................07
FRONT AXLE...................................................................................................................................................................... 08
HYDRAULICS..................................................................................................................................................................... 09
ELECTRICAL...................................................................................................................................................................... 10
ELECTRONICS................................................................................................................................................................... 11
CAB AND HVAC ................................................................................................................................................................. 12
GRAIN HEADER................................................................................................................................................................. 13
CORN HEADER.................................................................................................................................................................. 14
RESERVED......................................................................................................................................................................... 15
© AGCO Corporation, 2008 All rights reserved.
Part Number 79032966 A Rev. (English)
Printed in U.S.A.
August 2008
Advertisement
Table of Contents


Need help?
Do you have a question about the 660B and is the answer not in the manual?
Questions and answers