Table of Contents
Advertisement
Available languages
Available languages
Quick Links
......................... 2, 3
Owner's Manual
Operating Instructions
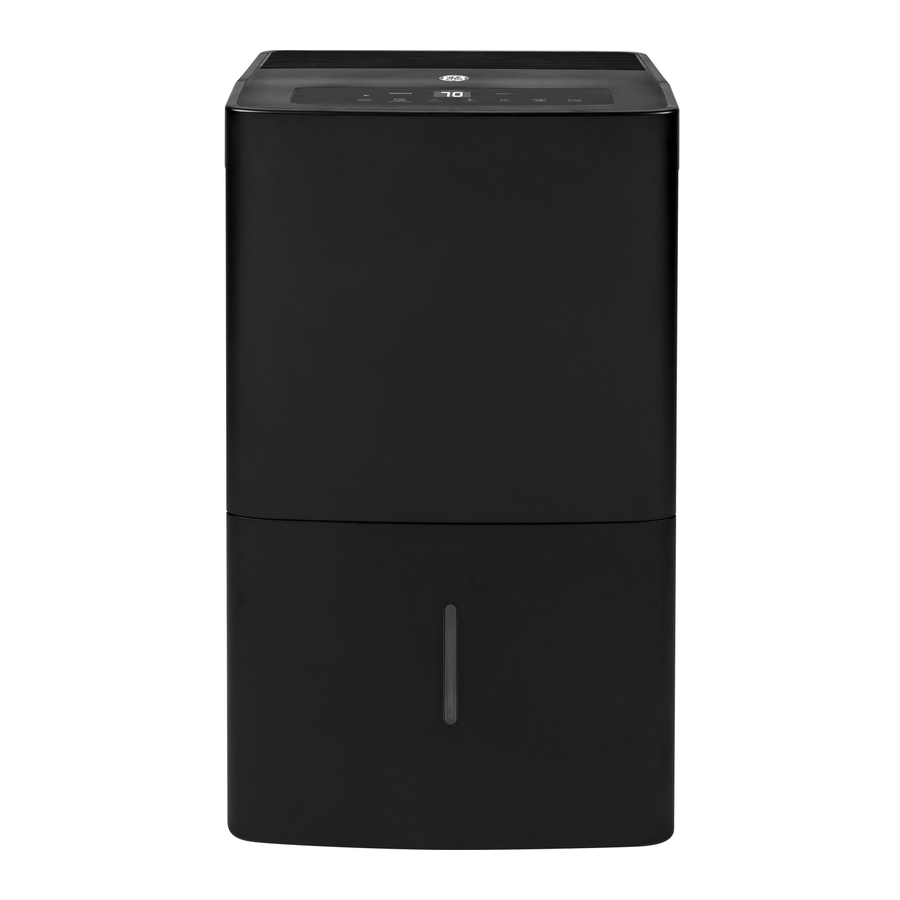
APEH70
on the Dehumidifier .................................... 4
How the Dehumidifier Operates ............ 5
Automatic Defrost ......................................... 5
Choosing a Location .................................... 5
Removing Collected Water .................... 6
Water Level ...................................................... 7
Grille and Case ................................................ 8
Deshumedificador
Water Bucket ................................................... 8
Air Filter ............................................................. 8
Bucket Filter ..................................................... 9
...............10, 11
La sección en español empieza en la página 13
Consumer Support ...................Back Cover
Warranty .........................................................12
.
Write the model and serial numbers
here:
Model # ________________________
Serial # _________________________
You can find them on a label on the back
of the dehumidifier.
49-7750 12-15 GE
Advertisement
Chapters
Table of Contents

Related Manuals for GE APEH70


Summary of Contents for GE APEH70
-
Page 1: Table Of Contents
La sección en español empieza en la página 13 Consumer Support Consumer Support ....Back Cover Warranty ............12 Write the model and serial numbers here: Model # ________________________ Serial # _________________________ You can find them on a label on the back of the dehumidifier. 49-7750 12-15 GE... -
Page 2: Safety Instructions
If the receptacle does not match the plug, the receptacle must be changed out by a qualified electrician Turn the dehumidifier OFF and unplug it before cleaning. GE does not support any servicing of the dehumidifier. We strongly recommend that you do not attempt to service the dehumidifier yourself. - Page 3 WARNING HOW TO CONNECT ELECTRICITY Do not, under any circumstances, cut or remove the third The dehumidifier should always be plugged into its own (ground) prong from the power cord. For personal safety, this individual electrical outlet, which has a voltage rating appliance must be properly grounded.
-
Page 4: About The Controls On The Dehumidifier
About the controls on the dehumidifier. Clean the Filter Bucket Full light indicates High and Low Continuous operation bucket needs to be emptied fan indicator indicator light on indicator light or is not in place in the unit lights Internal Power On Pump On indicator light... -
Page 5: How The Dehumidifier Operates
Using the dehumidifier. When first using the dehumidifier, operate the unit continuously for 24 hours. How the Dehumidifier Operates Automatic Defrost Moist, humid air is drawn over a cold refrigerated dehumidifying When frost builds up on the evaporator coils, the compressor will coil. -
Page 6: Removing Collected Water
Using the dehumidifier. Always make sure the water bucket is locked into place on the dehumidifier. Removing Collected Water There are 2 ways to remove collected water: NOTES: Use the bucket. When the bucket is removed, the unit Maximum lift height is 16ft will shut off. -
Page 7: Water Level
Using the dehumidifier. Water Level The dehumidifier will turn off automatically Bucket Mode: when the bucket is full, or when the bucket is removed or The dehumidifier will turn off automatically when the not replaced in the proper position. bucket is full, when the bucket is removed or when the The bucket must be replaced in the proper position bucket is not pushed in and seated properly. -
Page 8: Care And Cleaning
Care and cleaning of the dehumidifier. Turn off the dehumidifier and remove the plug from the wall outlet before cleaning. Grille and Case To clean the case: To clean the front grille: Use water and a mild detergent. Do not use Use a vacuum attachment or brush. -
Page 9: Bucket Filter
Care and cleaning of the dehumidifier. Bucket Filter Figure 1 - Bucket Filter Location The bucket filter is located inside the bucket near the bottom. See Figure 1. The filter should be checked when cleaning the bucket. If Tabs the filter has any debris on it, gently remove the filter as described below and rinse with warm water. -
Page 10: Troubleshooting Tips
Troubleshooting tips… Save time and money! Review the chart below first and you may not need to call for service. Problem Possible Causes What To Do Dehumidifier The dehumidifier • Make sure the dehumidifier’s plug is pushed completely does not start is unplugged. - Page 11 Troubleshooting tips… Save time and money! Review the chart below first and you may not need to call for service. Problem Possible Causes What To Do Water on floor No condensate hose. • Make sure pump hose is connected if Internal Pump On is selected.
-
Page 12: Warranty
(For customers in the U.S.A.) Staple your receipt here. Proof of the original purchase date is needed to make a warranty claim. For The Period Of: We Will Replace: One Year Replacement unit for any product which fails due to a defect in materials or workmanship. From the date of the The replacement unit is warranted for the remainder of your product’s original one-year original purchase... -
Page 13: Consumer Support La Sección En Español Empieza En La
Instrucciones de seguridad ...14, 15 Instrucciones de operación Acerca de los controles ......16 Cómo funciona el deshumedificador ........17 Descongelado automático ......17 Selección del lugar adecuado ....17 Cómo desechar el agua acumulada ........18 Nivel de agua ........... 19 Cuidado y limpieza Filtre de aire ............ -
Page 14: Manual Del Propietario
Apague el control y desenchufe su deshumedificador antes de hacer cualquier reparación o limpiar. GE no está no apoya que se le proporcione ningún servicio al deshumedificador. Vehementemente recomendamos que usted no intente proporcionar servicio al deshumedificador usted mismo. - Page 15 INFORMACIÓN IMPORTANTE DE SEGURIDAD. LEA TODAS LAS INSTRUCCIONES ANTES DE USAR. ADVERTENCIA COMO CONECTAR LA ELECTRICIDAD Bajo ninguna circunstancia, corte o remueva la tercera púa Donde exista un tomacorriente de dos tomas, es su (tierra) del cable eléctrico. En pos de la seguridad personal, responsabilidad y obligación personal hacer que dicho este electrodoméstico debe siempre conectarse a tierra.
-
Page 16: Acerca De Los Controles
Acerca de los controles del deshumedificador. Luces indicadoras La luz de tanque lleno indica Luz indicadora Luz indicadora de de velocidad de que el tanque debe vaciarse de limpieza de funcionamiento de ventilador alta y baja o que no se encuentra en la filtro operación continua unidad... -
Page 17: Cómo Funciona El Deshumedificador
Cómo usar el deshumedificador. Cuando se disponga a usar el deshumedificador por primera vez, permita que la unidad opere de manera continua por 24 horas. Cómo funciona el deshumedificador Descongelado automático La humedad en el aire pasa por un serpentin deshumedificador. La Cuando se acumule escarcha en los serpentines evaporadores, humedad en el aire se condensa en este serpentin y se drena hacia el compresor se apagará, y el ventilador continuará... -
Page 18: Cómo Desechar El Agua Acumulada
Cómo usar el deshumedificador. Siempre cerciórese de que la tanque de agua esté asegurada en su lugar dentro del deshumedificador. Cómo desechar el agua acumulada Hay 2 formas de desechar el agua acumulada: NOTAS: Use el tanque. Cuando usted saque el tanque de su La altura máxima de elevación es de 16 pies. -
Page 19: Nivel De Agua
Cómo usar el deshumedificador. Nivel de agua El deshumedificador se apagará automáticamente Modo con Cubo: cuando el tanque se llene, o cuando el tanque sea El deshumidificador se apagará de forma automática removido o no sea colocado en la posición apropiada. cuando el cubo esté... -
Page 20: Cuidado Y Limpieza
Cuidado y limpieza del deshumedificador. Apague el deshumedificador y desconecte el enchufe del tomacorriente en la pared antes de limpiarlo. Rejilla y gabinete Para limpiar el gabinete: Para limpiar la rejilla: Use agua y un detergente de baja concentración. No Use una aspiradora con accesorio de cepillo suave use blanqueador ni limpiadores abrasivos. -
Page 21: Filtro Del Cubo
Cuidado y limpieza del deshumedificador. Filtro del Cubo Figura 1 – Ubicación del Filtro del Cubo El filtro del cubo está ubicado dentro del cubo cerca de la parte inferior. Ver la Figura 1. El filtro debe ser controlado al limpiar el Lengüetas cubo. -
Page 22: Solución De Problemas
Ideas para la identificación y solución de problemas… °Ahorre dinero y tiempo! Revise la siguiente tabla primero y quizás no tenga que llamar para solicitar servicio. Problema Causas posibles Qué hacer El deshumedificador El cable eléctrico del • Cerciórese de que la clavija del deshumedificador esté no enciende deshumedificador está... - Page 23 Ideas para la identificación y solución de problemas… °Ahorre dinero y tiempo! Revise la siguiente tabla primero y quizás no tenga que llamar para solicitar servicio. Problema Causas posibles Qué hacer Agua en el piso Sin manguera de condensado . •...
- Page 24 Nota.
- Page 25 Nota.
-
Page 26: Garantía
Garantía de su deshumedificador Grape aquí su recibo. Se requiere facilitar prueba de la fecha de compra original para hacer un reclamo de garantía. Por el período de: Nosotros reemplazaremos: Unidad de reemplazo para cualquier producto que falle debido a defectos en los materiales o en A partir de la fecha el proceso de fabricación. -
Page 27: Ayuda Al Cliente
Póngase en contacto con nosotros GEAppliances.com Si no está satisfecho con el servicio que recibe de GE, póngase en contacto con nosotros en nuestra página Web indicando todos los detalles así como su número de teléfono o escríbanos a: General Manager, Customer Relations... - Page 28 Contact Us GEAppliances.com If you are not satisfied with the service you receive from GE, contact us on our Website with all the details including your phone number, or write to: General Manager, Customer Relations GE Appliances, Appliance Park...
Need help?
Do you have a question about the APEH70 and is the answer not in the manual?
Questions and answers