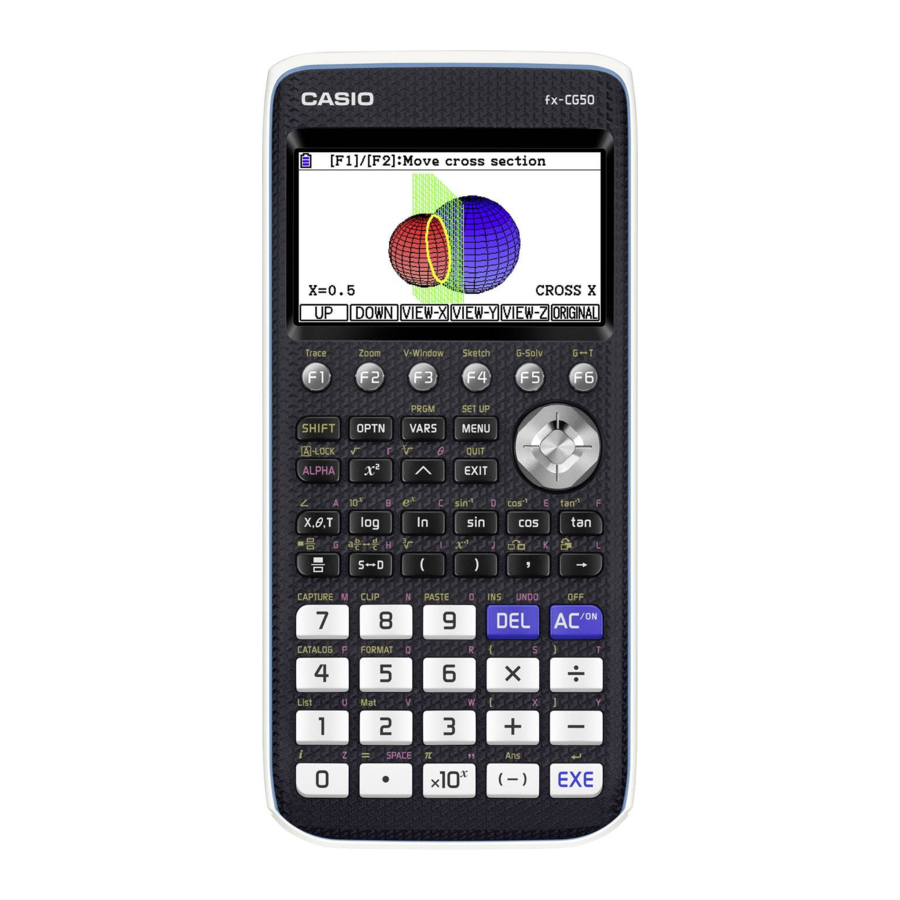
Casio fx-CG50 Hardware User's Manual
Hide thumbs
Also See for fx-CG50:
- User manual (667 pages) ,
- Quick start manual (29 pages) ,
- Setting-up manual (12 pages)
Summary of Contents for Casio fx-CG50
- Page 1 Hardware User’s Guide CASIO Worldwide Education Website http://edu.casio.com Manuals are available in multi languages at http://world.casio.com/manual/calc...
- Page 2 Proper connectors must be used for connection to host computer and/or peripherals in order to meet FCC emission limits. Connector SB-62 Calculator to Calculator USB connector that comes with the fx-CG50 ® Calculator to Windows compatible PC Calculator to Mac OS PC...
-
Page 3: Table Of Contents
1 or 2 kbytes of memory free (unused) at all times. In no event shall CASIO Computer Co., Ltd. be liable to anyone for special, collateral, incidental, or consequential damages in connection with or arising out of the purchase or use of these materials. -
Page 4: Attaching And Removing The
Attaching and Removing the Front Cover u To remove the front cover Before using the calculator, remove the front cover and attach it to the back. u To attach the front cover When you are not using the calculator, attach the front cover to the front. Important! Always attach the front cover to the calculator whenever you are not using it. -
Page 5: Before Using The Calculator For The First Time
Before Using the Calculator for the First Time... Batteries are not loaded in your calculator at the factory. Be sure to follow the procedure below to load batteries and adjust the display brightness before trying to use the calculator for the first time. 1. - Page 6 6. Press 6(Next). This displays the Display Settings screen. 7. Press d to make the screen darker, or e to make it brighter. • 1(INITIAL) returns display brightness to its initial default. 8. Press 6(Next). This displays the Power Properties screen. 9.
-
Page 7: Precautions When Using This Calculator
Precautions when Using this Calculator A progress bar and/or a busy indicator appear on the display whenever the calculator is performing a calculation, writing to memory, or reading from memory. Busy indicator Progress bar Never press the RESTART button or remove the batteries from the calculator when the progress bar or busy indicator is on the display. -
Page 8: Handling Precautions
Handling Precautions • Your calculator is made up of precision components. Never try to take it apart. • Avoid dropping your calculator and subjecting it to strong impact. • Do not store the calculator or leave it in areas exposed to high temperatures or humidity, or large amounts of dust. -
Page 9: Key Layout
Key Layout EN-7... -
Page 10: Display Brightness And Battery Life
Display Brightness and Battery Life k Display Brightness You can select a display brightness value in the range of 1 (least bright) to 5 (brightest). The initial factory default brightness setting is 3. Display brightness will change to a level that is darker than 1 (least bright) if you do not perform any operation on the calculator for about 30 seconds. -
Page 11: Specifications
Specifications Variables: 28 Calculation range: ± 1 × 10 to ± 9.999999999 × 10 –99 and 0. Internal operations use 15-digit mantissa. | > 10 –2 Exponential display range: Norm 1: 10 > | |, | | > 10 –9 Norm 2: 10 >... - Page 12 Auto power off: Power is automatically turned off approximately 10 minutes or approximately 60 minutes after last operation. Ambient temperature range: 0°C to 40°C (32°F to 104°F) Dimensions: 18.6mm (H) × 89mm (W) × 188.5mm (D) " (H) × 3 "...
-
Page 13: Restart And Reset
Restart and Reset u Restart Should the calculator start to act abnormally, you can restart it by pressing the RESTART button. Note, however, that you should only use the RESTART button only as a last resort. Normally, pressing the RESTART button reboots the calculator’s operating system, so programs, graph functions and other data in calculator memory is retained. -
Page 14: Power Supply
Power Supply This calculator is powered by four AAA-size alkaline batteries LR03 (AM4), or four nickel-metal hydride batteries. An icon in the upper left corner of the screen indicates the current battery level. Battery level icon Level 3 Level 2 Level 1 Dead If the following message appears on the display, immediately turn off the calculator and... - Page 15 • Never mix batteries of different types. • Never mix old batteries and new ones. • Never leave dead batteries in the battery compartment. • Remove the batteries if you do not plan to use the calculator for long periods. •...
- Page 16 u To replace the batteries Important! • Never turn on the calculator while the batteries are removed or not loaded correctly. Doing so can cause memory data to be deleted and malfunction of the calculator. If mishandling of batteries causes such problems, correctly load batteries and then perform the restart operation to resume normal operation.
- Page 17 Cet appareil numérique de la classe B est conforme à la norme NMB-003 du Canada. Manufacturer: CASIO COMPUTER CO., LTD. 6-2, Hon-machi 1-chome, Shibuya-ku, Tokyo 151-8543, Japan Responsible within the European Union: Casio Europe GmbH Casio-Platz 1, 22848 Norderstedt, Germany www.casio-europe.com...
- Page 18 CASIO COMPUTER CO., LTD. 6-2, Hon-machi 1-chome Shibuya-ku, Tokyo 151-8543, Japan One or more of the following patents may be used in the product. U.S.Pats. 7,927,221 8,214,413 8,576,230 8,817,027 9,007,376 SA1703-A © 2017 CASIO COMPUTER CO., LTD.


Need help?
Do you have a question about the fx-CG50 and is the answer not in the manual?
Questions and answers