Table of Contents
Advertisement
Advertisement
Table of Contents

Related Manuals for Celestron SkyScout


Summary of Contents for Celestron SkyScout
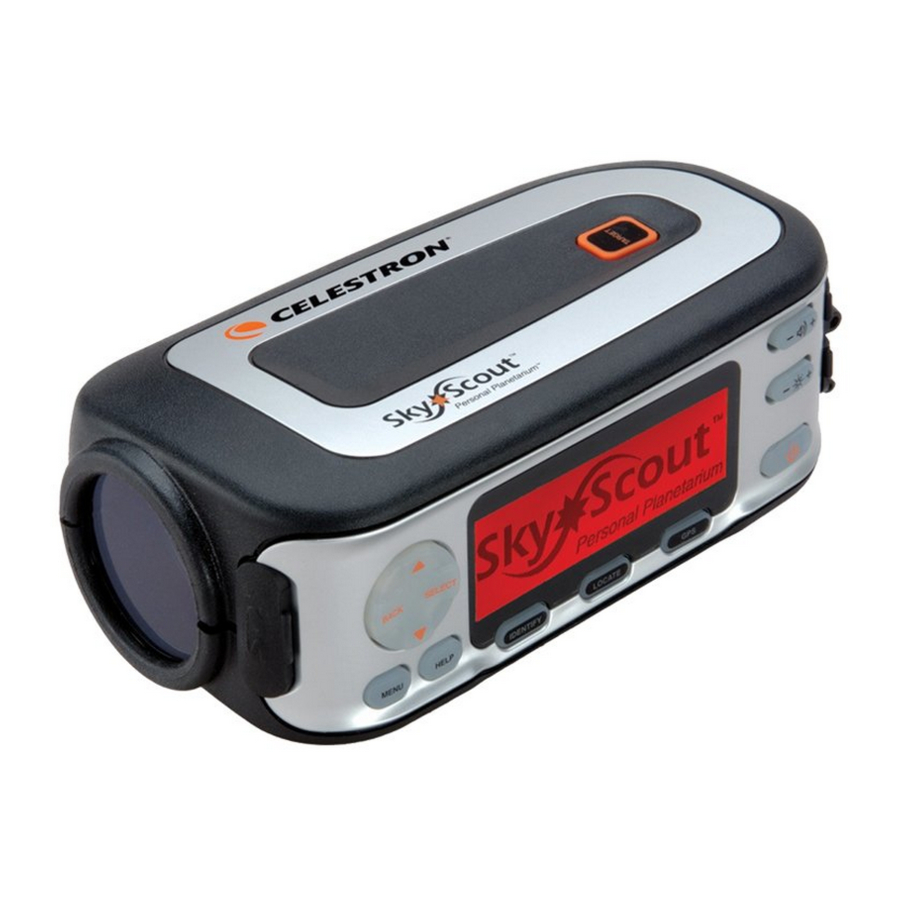
- Page 1 U S E R M A N U A L...
-
Page 2: Table Of Contents
Menu Navigation ......pg 3 Navigating the SkyScout ......pg 4 Identify Mode . -
Page 3: Introduction
Identify Simply point the SkyScout at nearly any star in the sky and click the "target" button. The SkyScout will identify and display the object you are looking at. -
Page 4: Setup
When the indicator is clear, the batteries are low and need to be replaced. Locate Mode Icon - Indicates that SkyScout is in Locate mode and is ready to guide you to the selected object. When this icon appears you will see a red arrow light up when you look through the viewfinder. -
Page 5: Navigating The Skyscout
2. Hold the SkyScout with the smaller viewfinder window closest to your eye and the larger window facing out towards the sky. 3. While looking through the viewfinder, aim the SkyScout at the object in the sky you wish to identify. 4. Align the two illuminated targeting rings so that one fits evenly inside the other. -
Page 6: Locate Mode
Locate Mode The SkyScout has a database of over 6,000 celestial objects that are divided into six custom catalogs that include: Tonight's Highlights - In addition to the many customized object lists, SkyScout also has a Tonight's Highlights feature that uses the internal GPS system to display a custom list of all the best objects visible from your exact location and time. -
Page 7: Locating Objects From The Skyscout Database
6. While looking through the viewfinder you will see a blinking red arrow around the edge of the window. 7. Move the SkyScout in the direction of the red arrow until a different arrow lights up. Avoid making fast or abrupt movements when moving the SkyScout - smooth movements will help you to track more accurately as you get closer to the object. -
Page 8: Exploring Constellations And Asterisms
To trace out the pattern of a constellation, simply select each star one by one and follow the red direction arrow to the selected star. SkyScout will point you to each star that makes up the constellation. -
Page 9: Gps Mode
Settings Menu SkyScout allows you to view and manually enter both the date and time settings as well as the longitude and latitude for your location. If the GPS is linked, it is not necessary to enter this information manually. -
Page 10: C) Updating Time/Location Information
This is usually a result of moving the SkyScout too fast when guiding to an object. When the direction arrows start blinking rapidly it indicates that you are very close to the desired object. Once it gets close, the SkyScout is scanning a very small area of sky to pinpoint the exact object. -
Page 11: Frequently Asked Questions
Can I use my SkyScout in the daytime? Since the SkyScout has GPS, it can locate and identify stars in day as well as night. Obviously it would be difficult to see stars or planets in the daytime, but you can still locate them and learn about them. -
Page 12: A) Installing Skyscout Update Program
1. Use the included USB cable to connect the SkyScout to your computer. 2. Power on the SkyScout. 3. Once on, your computer should recognize the SkyScout as a new device and display the screen below. 4. Insert the SkyScout CD into your computer’ s CD-ROM drive. -
Page 13: Skyscout Specifications
Field of View (FOV)* Eye Distance Targeting Circle (FOV) 0 in 6.5 in 13 in * Actual field of view depends on distance SkyScout is held from your eye. Mechanical • Rubber armored, water resistant body • ”x20 mounting hole 7.2° 3.6°... -
Page 14: Appendix A - Time Zone Map
All numbers are listed in standard time and do not account for local daylight savings time. If you are using the SkyScout when daylight savings time is in effect, add 1 to your UTC. For example, during daylight savings, Los Angeles would add 1 to the UTC of -8 for a corrected result of -7. -
Page 15: Warranty
CELESTRON TWO YEAR WARRANTY A. Celestron warrants this product to be free from defects in materials and workmanship for two years. Celestron will repair or replace such product or part thereof which, upon inspection by Celestron, is found to be defective in materials or workmanship.