Table of Contents
Advertisement
Quick Links
Advertisement
Table of Contents

Related Manuals for Riptide SL

Summary of Contents for Riptide SL
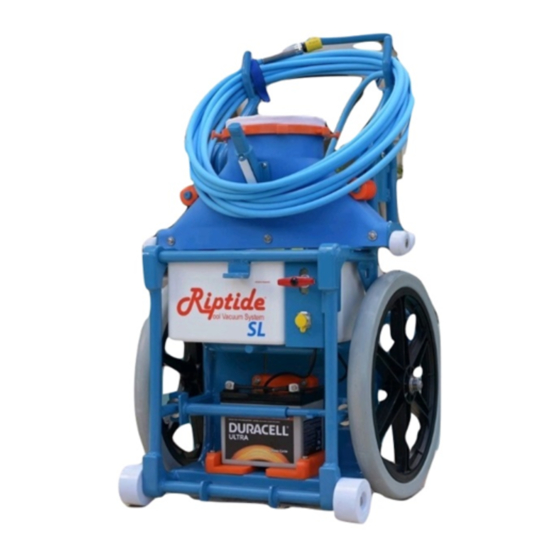
- Page 1 Riptide Pool Vacuum System SL Model 800-735-3029 Sales@riptidevac.com...
- Page 2 Understanding Filter Bag Options There are several different bags available, the hole size in the cloth is measured in microns, the higher the number the larger the hole that is in the filtering cloth. Bags are available in 25,60,75,100,200 and 400 micron.
- Page 3 Attaching/Removing a filter Bag The bags are very easy to attach when done properly, if you don’t find yourself attaching the bags effortlessly with the following instructions, please visit our website to view an instructional video. Scan here to watch video Starting on the opposite side Slide your hands back to the The groove in the bag ring snaps...
-
Page 4: Step 3 Install The Wheels
Cart Assembly Instructions Step 1 Install Battery Pads 1. Lay the cart frame on its side. 2. Assemble the three orange battery pads onto the cart as shown. 3. Before tightening select a battery. (See the section on battery selection.) 4. - Page 5 Cart Assembly Instructions (continued) Step 4 Install The Handlebar 1. Insert the bolts with the heads and washers on the outside as shown. The nuts go on the inside with no washers. 2. Before Tightening see the section on battery selection, the handlebar height is adjustable which allows you to achieve a well balanced cart with any battery.
- Page 6 Transport Rack Assembly Instructions Step 1 Attach Release Handle 1. Install the orange rod through the black bracket and orange dog as shown. The end of the rod must stick all the way through the black bracket ¼ to ½ inch. 2.
- Page 7 Step 2 Attach Bottom Hook Bracket 1. Latch the Transport Rack onto the cart. 2. Adjust the bottom hook bracket tight to the bottom rod on the cart, hold in place as you tighten the bolts. 3. Tighten nut #1 first and nut #2 second. 4.
- Page 8 Transport Rack Assembly Instructions (Continued) Step 3 Assemble The Rest of The Transport Rack Safety Pin Hole for Padlock (Padlock not included) Rubber Bumper Lubricate pivot points (both sides) also spray the dog springs Rod must stick through at least 1/4” Use these holes if you need to lift U-bolts for adjusting...
-
Page 9: Battery Charger Selection
10 seconds, it is the only test we know of that will give absolute and conclusive test results. Check your battery anytime you feel your Riptide isn’t functioning at full power. This is the only tester that will be needed to determine if your... - Page 10 Adjusting the Battery Compartment 1. Before purchasing a battery, lay it on its side to ensure it doesn’t leak acid. 2. After selecting an appropriate battery for your needs slide it into the battery compartment. (See battery selection previous page) Battery Pads 3.
- Page 11 Adjusting the Handlebar height To balance the cart Install the battery. load the cart with everything you will normally carry. Adjust the handlebar to achieve a comfortable height/balance. Heavier Battery Lighter Battery...
-
Page 12: Maintenance
Insert the brush from the bottom Clean under the impeller Your Riptide is equipped with our proprietary Debris Guard. The function of the Debris Guard is to protect the shaft seals of the motor which can be damaged from debris wrapping on the motor shaft. -
Page 13: Steering Knuckle
Steering Knuckle Removing the pole pins for replacement Remove Use a tool (allen key, Remove the pole screwdriver, etc.) to the slide push in the button retainer pins below the slide Button retainer. pushed in below the retainer Retainer Accessories (Sold Separately) Test kit goes here Organizer... -
Page 14: Battery Box
(Sold Separately) The Swing hitch is a device that allow the Riptide to be left in the transport rack and swung out of the way to allow access the bed of your truck or van. It also allows the transport rack to be offset which is very helpful when mounting on a van because it allows unimpeded use of the active door and it can be swung out of the way to gain access through both doors.
Need help?
Do you have a question about the SL and is the answer not in the manual?
Questions and answers