
Subscribe to Our Youtube Channel
Summary of Contents for COMGROW CNC
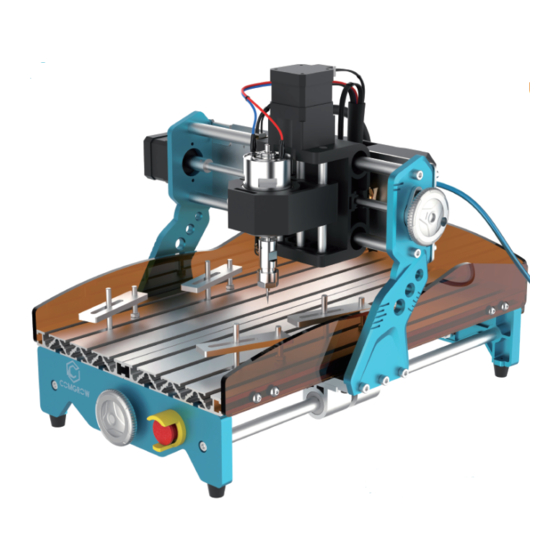
- Page 1 User Manual V1.0 SHENZHEN Comgrow Technology Co., Ltd 13/F, Block 3, JinChengYuan, Tongsheng Community, Dalang, Longhua District, Shenzhen, China, 518109 E-mail: service@comgrow.com Official Website: www.comgrow.com/ Carving Machine...
- Page 2 7. Please place the CNC machine on a stable surface. 8.ROBO CNC machine provides switchable power supply 230 VAC or 110 VAC. It is forbidden to use different power supply, it may lead to machine malfunction or even Software & Driver damage.
- Page 3 Weight 7.5KG material to package your specific product, to discussing which printer is best for newer. Bottom line is, we're here to make 3D printing, laser cutting, and CNC (will release in May. 2021) milling magic happen.Contact us. Drive motor 42 stepper motor,...
- Page 4 Contents Assembly Y-axis base XZ-axis gantry Protective baffle Plug 24V/5A Adapter M5X10 T-nuts M5X10 Screws offline control offline control Spindle motor Spindle Tool holders handle cable handle Wrenches Clamps SD Card USB cable Wire Buckle M5X12 Screws Milling tool kit Brushe M5X12 Screw Hexagonal wrench...
- Page 5 Spindle motor installation Wiring schematic After holding the collet open, slide down the spindle motor. Note: Do not block the spindle fan outlet with the Z-axis chuck. Make sure that at least 2/3 of the length of the Z-axis chuck is clamped to the motor. Y-axis limiswitch cable Y-axis motor cable Power/emergency stop...
- Page 6 Mainboard Module Mainboard Module 1. Install the driver ( software →Driver →CH340SER.exe ) Emergency stop button Z limit Y limit X limit Preview Adjusting switch switch switch Fans pore tool 24V power input USB Port Spindle MOS tube mode power input Offline control handle port Spindle MOS tube...
- Page 7 2. To Determine your Machine's COM port: 3. Open Grblcontrol software(software →Grblcontrol →GrblControl.exe) Click Service Windows XP: Right click on "My Computer", select "Manage", select "Device Manager". Choose COMX port Windows 7: Click "Start" Right click "Computer" Select "Manage" Select "Device Manager" from left panel. Click OK,...
- Page 8 5.Click on the left set of direction buttons with the mouse to verify that the X and Y axes are moving properly. Similarly, click on the rightmost up and down buttons to verify that the Z-axis moves properly. If all of these tests are completed properly, your CNC machine is assembled and wired correctly. Shutting down the machine for use is done in the opposite way to the start-up process.
- Page 9 4. Interface introduction Offline Controller Notice: If you want to run the CNC machine with an offline controller, you must first disconnect the A. Off-line controller button B. Menu PagAe USB cable from the controller board. 1. Connect the memory card to the computer through a card reader, copy the G-code into the memory card, and then insert the memory card into the offline control handle.
- Page 10 C. Move Page D. File Page X-axis positive direction X-axis negative direction Y-axis positive direction Y-axis negative direction Press key [Y+]or[Y-] to select file Z-axis positive direction Press key [OK] to Enter Z-axis negative direction Press key [OK] to Confirm cave Press key [BACK] to pause or run Spindle On/Off...
- Page 11 D. SSet Page Tool setting gauge block The use of tool setting instrument is very convenient for users to determine the working zero position of Z-axis, when tool setting is completed, the system will confirm the current Z-axis position as the zero point of Z-axis working coordinate system. 1.
- Page 12 4. Reasonable choice of raw materials for carving, the shape of the raw material area needs to be larger than the carving range to ensure normal carving. 5. Regular maintenance of CNC machines, you can add lubricating and anti-rust oil to the optical axis to prevent the optical axis rust.
Need help?
Do you have a question about the CNC and is the answer not in the manual?
Questions and answers