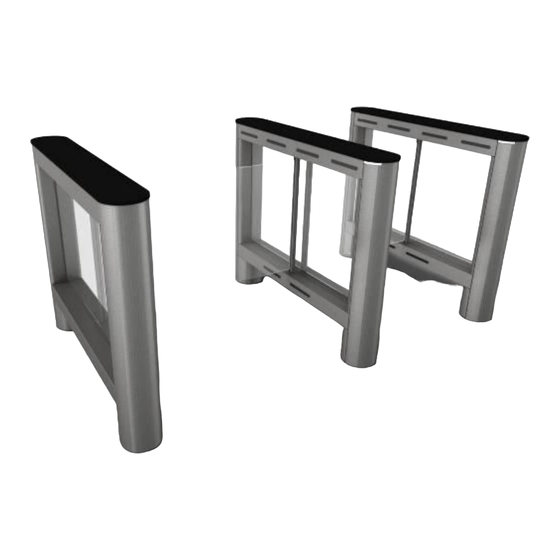

Summary of Contents for Integrated Design Fastlane Glassgate 150
- Page 1 Maintenance Manual ® Fastlane Glassgate 150 ® Fastlane is a registered trademark of Integrated Design Limited...
- Page 2 2. When working with IDL products, we advise turning off the power before taking the lower panels off. There are moving parts within each unit that can cause physical harm when powered. © Integrated Design Ltd Issue A1 August 2012 Page 2 of 15...
- Page 3 4. Check outer cover fixings. If cap-head Allen screws, remove 2. Remove glass 5. Pull outer barrier (see next covers section) 6. Unscrew and remove lower optical cover (see below) © Integrated Design Ltd Issue A1 August 2012 Page 3 of 15...
- Page 4 Remove the glass barrier by pushing it to the right. This will reveal the fixing shaft stubs. The custom washer can also been seen. The lower fixing will drop out if the screw is removed Custom Washer held in place with screw © Integrated Design Ltd Issue A1 August 2012 Page 4 of 15...
- Page 5 Remove cap head and countersunk screws (x2) Type B Enclosure Loosen silver cap head screw Remove black cap at each end head screws Loosen silver button head screw underneath © Integrated Design Ltd Issue A1 August 2012 Page 5 of 15...
- Page 6 When removing the lower optical cover, be aware of the stub shaft cover; this will slide out. Stub Shaft Cover For full access, also remove the other lower optical panel. When working on an Interlane, both glass barriers will need to be removed. © Integrated Design Ltd Issue A1 August 2012 Page 6 of 15...
-
Page 7: Removing The Belt
Brake Motor Assembly Assembly The Motor Assembly is fixed with 4-off rubber-mounted screws. Loosen these, but don’t remove. Loosen; don’t remove (x4) © Integrated Design Ltd Issue A1 August 2012 Page 7 of 15... - Page 8 Remove the four fixings from the brake assembly base. Retain all parts, as these screws are fitted with both plain and shake-proof washers. Remove (x4) © Integrated Design Ltd Issue A1 August 2012 Page 8 of 15...
-
Page 9: Replacing The Belt
5. Apply tension to the belt; tighten the rubber fixings. 6. With appropriate signage in place, apply power to the lane. Check the motor and brake assembly works as expected. Remove power before fitting the covers. © Integrated Design Ltd Issue A1 August 2012 Page 9 of 15... - Page 10 2. Using a 5mm Allen key, loosen the top fixing screws. These are internal screws, which are accessed through a small hole under the upper optical panel. Loosen (x4) © Integrated Design Ltd Issue A1 August 2012 Page 10 of 15...
- Page 11 IDC cable. Pinch standoffs Disconnect IDC plug & lift card (x4) Note: when replacing optical cards, they must be properly addressed, see the Card Addressing section below. © Integrated Design Ltd Issue A1 August 2012 Page 11 of 15...
- Page 12 7. Slide the top, screw-side first, onto the pedestal; then fit the remaining screws with the top in place. 8. Follow the above instructions in reverse, to fit the end caps, reseat the card readers and put the enclosure back in place. © Integrated Design Ltd Issue A1 August 2012 Page 12 of 15...
- Page 13 IDC cable. Disconnect IDC Pinch standoffs plug & lift card (x4) Note: when replacing optical cards, they must be properly addressed, see the Card Addressing section below. © Integrated Design Ltd Issue A1 August 2012 Page 13 of 15...
- Page 14 These diagrams are for the 8-card versions. The earlier models had 6 cards; the lower 2 cards were addressed as ‘4’ and ‘5’. Addressing for a Transmit side (Left) and Receive side (Right) TX Side RX Side © Integrated Design Ltd Issue A1 August 2012 Page 14 of 15...
-
Page 15: Warranty
Company. The terms of warranty are as per Integrated Design Ltd. Conditions of Sale and will not apply to any product which has been modified, or improperly used or repaired after leaving the Company's control.
Need help?
Do you have a question about the Fastlane Glassgate 150 and is the answer not in the manual?
Questions and answers