Advertisement
Quick Links
Installation Instructions
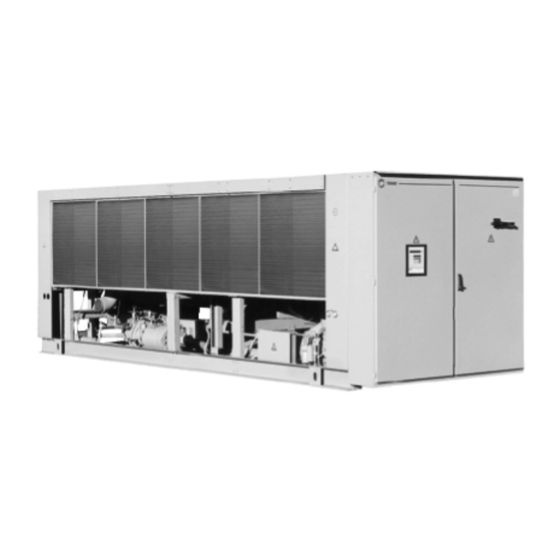
130–400 Ton RTAA Chiller Controls
Upgrade Procedure
MOD01421 and BRD03015 No Longer
Available
Models:
RTAA, KIT16221
Only qualified personnel should install and service the equipment. The installation, starting up, and servicing of
heating, ventilating, and air-conditioning equipment can be hazardous and requires specific knowledge and training.
Improperly installed, adjusted or altered equipment by an unqualified person could result in death or serious injury.
When working on the equipment, observe all precautions in the literature and on the tags, stickers, and labels that are
attached to the equipment.
January 2021
SAFETY WARNING
PART-SVN251A-EN
Advertisement

Related Manuals for Trane RTAA


Summary of Contents for Trane RTAA
- Page 1 Installation Instructions 130–400 Ton RTAA Chiller Controls Upgrade Procedure MOD01421 and BRD03015 No Longer Available Models: RTAA, KIT16221 SAFETY WARNING Only qualified personnel should install and service the equipment. The installation, starting up, and servicing of heating, ventilating, and air-conditioning equipment can be hazardous and requires specific knowledge and training.
-
Page 2: Warnings, Cautions, And Notices
CFCs and HCFCs such as saturated or unsaturated HFCs and HCFCs. Important Responsible Refrigerant Practices Trane believes that responsible refrigerant practices are important to the environment, our customers, and the air conditioning industry. All technicians who handle refrigerants must be certified according to local rules. - Page 3 Non-Trane personnel should always follow local regulations. Copyright This document and the information in it are the property of Trane, and may not be used or reproduced in whole or in part without written permission. Trane reserves the right to revise this publication at any time, and to make changes to its content without obligation to notify any person of such revision or change.
-
Page 4: Replacement Procedure
Electronic component availability has required Trane to obsolete the MOD01421 (1U1 control module) which includes BRD03015. The following procedure describes the process by which you can upgrade your 130–400 ton RTAA chiller to the newer clear language display (CLD) control system, eliminating the need for the obsolete module. -
Page 5: Unit Configuration Settings
Front Panel Current Limit Setpoint Outdoor Air Temperature (optional) Not a Setting Low Ambient Lockout d/E Low Ambient Lockout Setpoint Condenser Entering Water Temperature (Not applicable for RTAA) Condenser Leaving Water Temperature (Not applicable for RTAA) 19(1) Service Pumpdown Circuit 1 d/E 19(2) - Page 6 Replacement Procedure Table 4. Menu P3 External Chilled Water Setpoint d/E External Current Limit Setpoint d/E Ice Machine Control d/E Active Ice Termination Setpoint Not a setting Front Panel Ice Termination Setpoint Return Reset d/E Zone Reset d/E Outdoor Reset d/E Reset Ratio Setpoint Start Reset Setpoint Maximum Reset Setpoint...
- Page 7 Follow proper lockout/tagout procedures to ensure the power cannot be inadvertently energized. For variable frequency drives or other energy storing components provided by Trane or others, refer to the appropriate manufacturer’s literature for allowable waiting periods for discharge of capacitors. Verify with an appropriate voltmeter that all capacitors have discharged.
- Page 8 Replacement Procedure f. Trace square on door as shown in Figure 1, p. g. Cut along the traced lines. h. Deburr the edges of the new hole. Figure 1. Existing cutout and modifications required 5. Install the CLD2 into the control panel door. a.
- Page 9 Re-connect wiring to the 1U1. There are differences between TB4 on the old and new 1U1. Refer to Table 7 when reconnecting wiring to that terminal block. Table 7. Old-to-new wiring terminal positions on CPM Terminal 130-400T RTAA 1U1 New RTAA 1U1 TB4-1 ALARM (COMMON) ALARM (COMMON) TB4-2...
-
Page 10: Chilled Water Pump Control
Connect the IPC communications wires. Note: IPC communications is a daisy-chain communications system that is connected to the J1 connectors on all of the modules in the RTAA control system except for the CLD. i. Inspect all of the J1 connectors on the upper left-hand side of each silver control module and find two open terminals on the IPC communications bus. - Page 11 Replacement Procedure Optional Remote Display Panel If there is a remote display panel connected to your RTAA chiller, the following settings in your CLD will need to be made: ICS Address: 32 Setpoint Source: Tracer A new operating code may be displayed on the remote coded panel that is not listed on the black decal on the front of your remote display.
- Page 12 For more information, please visit trane.com or tranetechnologies.com. Trane has a policy of continuous product and product data improvement and reserves the right to change design and specifications without notice. We are committed to using environmentally conscious print practices.
Need help?
Do you have a question about the RTAA and is the answer not in the manual?
Questions and answers