Advertisement
Quick Links
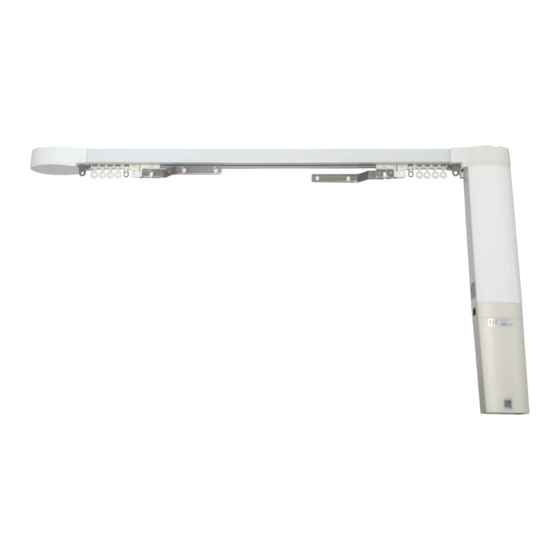
Glide-Aside
Motorised Track
Remote Programming & Operating Instructions
NOTE: Your Glide-Aside track
will be supplied with either
a Handheld Remote Control
or a Wall-mounted Switch
Remote options for controlling
your track. Please follow the
appropriate option as shown
over the following pages.
Battery Setup Wall-Mounted Switch Remote
With Cover ON
LED
To open cover press in the
indents at sides and separate
Note: To check if your battery is correctly installed / in working order simply push a button and the LED on the front will light up.
Tel 0113 250 4499 • Email sales@rca-uk.com • Visit rca-uk.com
®
With Cover OFF
+
+
side
up
Ensure that
the battery
release ribbon
CR2032
is behind the
BATTERY
battery when
it is inserted.
Battery Setup Handheld Remote
LED
LEDs
Remote Front
Remote Front
Single Channel
Multi Channel
Squeeze in 2x side levers
to release battery holder
Remote
Back
–
side
up
CR2430
BATTERY
Advertisement

Related Manuals for Renaissance Glide-Aside


Summary of Contents for Renaissance Glide-Aside
- Page 1 Glide-Aside ® Motorised Track Remote Programming & Operating Instructions NOTE: Your Glide-Aside track will be supplied with either a Handheld Remote Control or a Wall-mounted Switch Remote options for controlling your track. Please follow the appropriate option as shown over the following pages.
- Page 2 NOTE: You should set the OPEN & CLOSE LIMITS when connecting to power for the first time. Ensure the remote LED lights up when a button is pressed – if not then your battery may be flat! 1.1 First, connect the Glide-Aside Track motor to your power supply and turn on at the mains. The LED IS motor will beep quickly 5 times to confirm it is on.
- Page 3 NOTE: You should set the OPEN & CLOSE LIMITS when connecting to power for the first time. Ensure the remote LED lights up when a button is pressed – if not then your battery may be flat! 2.1 First, connect the Glide-Aside Track motor to your power supply and turn on at the mains. The motor will beep quickly 5 times to confirm it is on.
- Page 4 NOTE: The programming/setup process for the Multi Channel remote is the same as that for the Single Channel remote – the only difference being you need to select the specific channel you want to operate your chosen Glide-Aside track first. 3.1 Use the left and right arrows on the remote to move UP/DOWN between the 5 channel options until you reach your desired channel –...
- Page 5 NOTE: You should set the OPEN & CLOSE LIMITS when connecting to power for the first time. Ensure the remote LED lights up when a button is pressed – if not then your battery may be flat! 2.1 First, connect the Glide-Aside Track motor to Battery Setup your power supply and turn on at the mains.
Need help?
Do you have a question about the Glide-Aside and is the answer not in the manual?
Questions and answers