Table of Contents
Advertisement
Quick Links
Please read these instructions completely before proceeding with installation
1. All goods come with a one year manufacturer's warranty against defects.
2. Warranty will be void if the strut is altered for any reason and/or adapted to
applications other than those suggested.
3. Any abrasions or rub marks on the spring portion of the strut will not be covered
under warranty. The customer is responsible for all repair charges.
4. Driving at a low PSI can cause the strut to bottom out. Repeated bottoming out can
cause the strut to fail. Failure resulting from repeated bottoming out is not covered
under warranty.
5. The customer is responsible for all shipping costs to Air Lift Company for all warranty
claims.
6. Please call tech support at 1-800-248-0892 before shipping a product to Air Lift
Company.
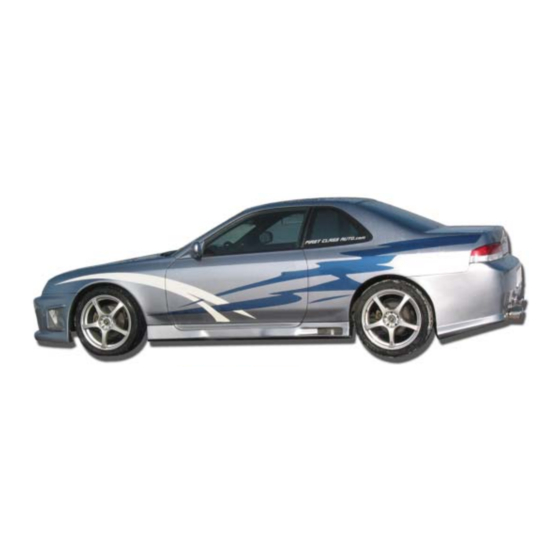
1992-2001 Honda Prelude
Front Kit Part No. 75532
www.airliftcompany.com
Warranty Information
Technical Support
1-800-248-0892
MN-542
(04409)
NPR 4778
1
Advertisement
Table of Contents

Summary of Contents for Easystreet 75532
- Page 1 MN-542 1992-2001 Honda Prelude (04409) NPR 4778 Front Kit Part No. 75532 www.airliftcompany.com Please read these instructions completely before proceeding with installation Warranty Information 1. All goods come with a one year manufacturer’s warranty against defects. 2. Warranty will be void if the strut is altered for any reason and/or adapted to applications other than those suggested.
- Page 2 Hardware Item Description Qty. 35066 Strut Assembly 09333 Rubber Washer 21263 1/4” NPT x 1/2” Tube Elbow Figure 1 IMPORTANT: Always keep safety in mind when working on your vehicle. Completely read these instructions before installing the kit. I. Preparing the Vehicle 1.
- Page 3 III. Assembling the Strut 1. Remove the O.E.M. rubber bumper from the O.E.M. upper strut mount (Figure 2). 2. Mark a notch on a side of the upper strut mount using the grooves in the top of the strut mount as a guide (Figure 3). 3.
- Page 4 VI. Trimming the Upper A-Arm NOTE: It will be necessary to trim the flange off of Trim Trim Trim the upper A-arm in order to make clearance for the Flange Flange Flange flex member (Figure 8). 1. Remove the control arm mounting hardware and replace with bolts (D), flatwashers (E), and nylock nuts (C) being sure to insert them with the bolt heads facing the inside of the control mount in order to provide adequate clearance for the air strut (Figure 8).
- Page 5 V. Before Operating 1. Inflate and deflate system (do not exceed 150 p.s.i) to check for clearance or binding issues. With air springs deflated, check clearances on everything so as not to pinch brake lines, vent tubes, etc. Clear lines if necessary. 2.
- Page 6 Trim the Outer Edge of the Template as Necessary Flip the template over for the remaining side of the vehicle. Thank you for purchasing Air Lift Products Mailing Address: Street Address: AIR LIFT COMPANY AIR LIFT COMPANY P.O. Box 80167 2727 Snow Rd.
Need help?
Do you have a question about the 75532 and is the answer not in the manual?
Questions and answers