Advertisement
Congratulations on the purchase of your CUBO insert unit.
Make life simple with the ultra-versatile Cubo collection. Display, store, divide spaces, and more with this multi-
functional range.
If you have any questions please email
TOOLS REQUIRED:
The Cubo Collection carries a 10 year guarantee against defective material or workmanship, excluding misuse and
normal wear and tear. Obviously, as this unit is customer-assembled we cannot guarantee cabinet failure or damage
from incorrect assembly. All claims need proof of purchase – to ensure this register your CUBO unit at
www.platform10.co.nz.
Follow the installation instructions carefully and take note of the precautions below.
•
Avoid direct sunlight wherever possible.
•
Keep cabinet in a dry place.
•
Wipe off spilt liquids immediately.
•
Avoid placing hot items directly on the surface.
•
To clean, wipe with a clean, slightly damp cloth and buff dry with a soft dry cloth - microfibre is
ideal.
•
Do not allow nail polish, removers, deodorant or other damaging chemicals to come into contact
with the surface
For assembly advice or parts email info@platform10.co.nz or call 0800 710 1010
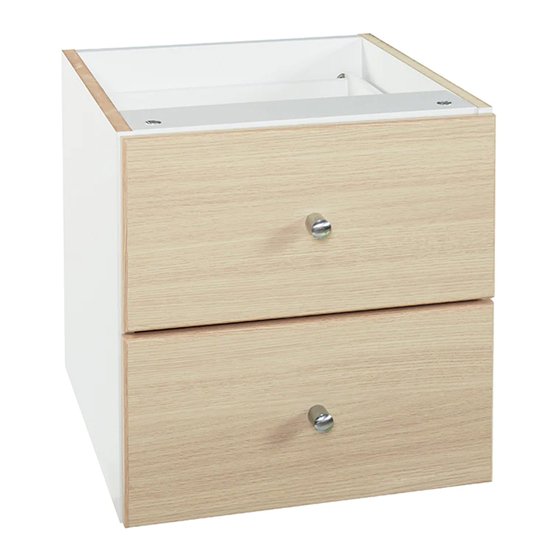
The CUBO Collection
CUB-2DRW / DOOR
Installation Instructions
Stash, store and show off in style!.
info@platform10.co.nz
Size 2 Pozi-screwdriver or simple battery screwdriver.
10 YEAR GUARANTEE
.
or call 0800 7 10 10 10.
Advertisement
Table of Contents

Summary of Contents for CUBO CUB-2DRW
- Page 1 The Cubo Collection carries a 10 year guarantee against defective material or workmanship, excluding misuse and normal wear and tear. Obviously, as this unit is customer-assembled we cannot guarantee cabinet failure or damage from incorrect assembly. All claims need proof of purchase – to ensure this register your CUBO unit at www.platform10.co.nz.
- Page 2 Remove the drawers/door from the unit. Also remove any white cover stickers from the inside of the cell you are about to put the unit into. STEP TWO: Insert the unit into the Cubo frame until the back edge of the unit is flush with the back edge of the shelf. STEP THREE: Use the gold screws provided to screw into place.
Need help?
Do you have a question about the CUB-2DRW and is the answer not in the manual?
Questions and answers