Advertisement
Quick Links
-DSRXPG Alarm Kit
Owner's Manual
Introduction
e ERA
is a
r ra e
receivers
e
e c
i a i
se s r ill ra s i a ireless ra i si
is ser a
al is
r
e ERA
rive a se s r
e l
i receiver
el ul ote
•
e ERA
s
e r
ra
r
ra
i
i s r c i
s se i
i cl
e i
is a
al
•
s l
e receiver s ser a
se i
s
•
e ERA
is
ere
a
•
ERA
s a
e r
li i
e
er
receivers r
•
s rec
e
e
c
se a i ere
receiver s
ca
e er i e
•
e
e ra s i er a er is l
e s
ice i a r
•
ac a e c
e s
R se s r ra s i er la e
scre s
l
i receiver
ERA-DSTX Sensor Specifications:
•
Power source: 9V alkaline battery
•
e ec i
ra
e l
•
ireless ra
e
•
i e si
s
•
era i
e
era re
•
era i
re
e c
Setu Ste
or Setting
Sen or ran
s all a
a er
i cl
e
s alla i
ote
re ass e le
c
le e
Pair
e se s r ra s i er
sec i
i le
Pair ran
itter to ecei er
e s
e se i
s
e ra s i er a
lease see sec i
i le
R se s r c
a i le i
all ERA
ea
i
are e ec e
al
e receiver
R
ic i cl
es
e
e
a ERA receiver
c i
s
i
i s r c i
s are
al
r
re e ails s eci ica i
al ali e a er
i cl
e
ra
e
a ERA receiver
ra
e
e ERA
el
r eac
r
ra
ic
ra s i er ri
ere
e receiver
i ca se
e receiver
e era e
s ivel
is ser
i e
e i
i
i c es
itter
ee
e sec i
i le
a er
e case
il r
ra
e receiver
ee
Once you have
e a
s e as ee e
ance Sen or Setting
Battery Installation:
. e
e
e f ur
u i g
i i
e
. e
e
f f
.
i e
. See e i
i e
. ote
e
re ei er f r
i u e
e
r
Pair ran
itter to ecei er
(Always test unit prior to installation)
s
r
e r
i er
e r
i er
i
ere s
i
ru
e re ei er
e
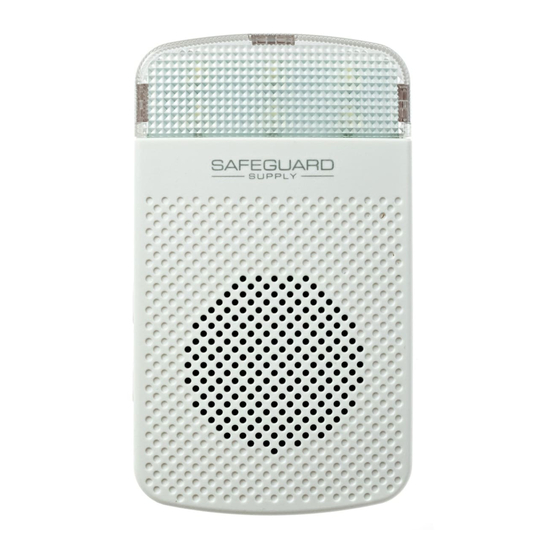
1. Plugin the receiver (figure 5) into a standard wall outlet.
2. Hold down the "mode" button on the receiver until you hear a short tone
sound. A red LED will appear in the strobe lens of the receiver. This
denotes programming mode.
3. By default, the receiver is set to play the "ding-dong" sound. To change
the melody, press the "volume" button to scroll through the available
sounds. Once you hear the melody want, stop pressing the button.
4. Next wave your hand over the "sensor cell" or press the "test" button on
the transmitter/sensor (see figure 4).
5. You should hear a quick chime sound denoting successful pairing of the
sensor to the receiver. If this is the only sensor/transmitter you are
programming, go to the next step. To pair an additional transmitter,
repeat steps 3 & 4.
6. To exit programming mode, hold down the "mode" button (figure 5)
until you hear a short tone sound (approximately 3 seconds).
i
is
i
re 5
re
e
f
e sensor/transmitter
re
ri er figure .
e fr
er
e.
er
e i i
e
er figure .
Pairing ran
itter to ecei er
er ge
e
i
i
u e
ire
e
riggere .
i
re
i
re
r
i
e included receiver, the ERA-RXPG, as well as the
re ei er . B i
r gr
i g
re ei er
e e
e
f r
e
riggere .
i
e
e
f
f r
e u er
ir
e r
i er
re
Advertisement


Need help?
Do you have a question about the ERA-DSRXPG and is the answer not in the manual?
Questions and answers