Advertisement
Quick Links
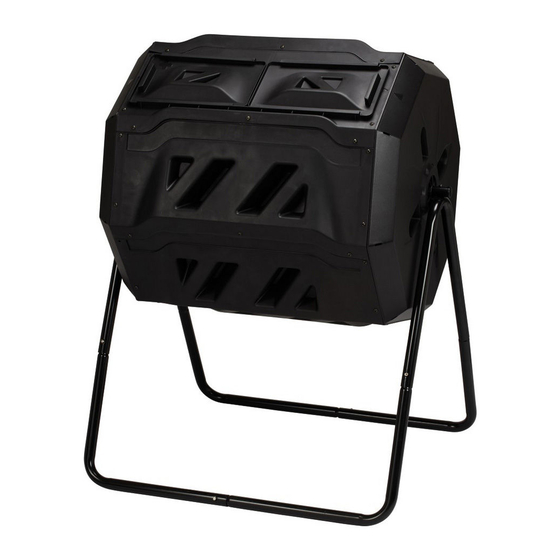
Rotating Composter Instruction Manual
After Sales Support
Call 0871 911 7031
Email
customerservice@gardengearonline.co.uk
Product Code G2198
Thank you for purchasing this product,
which has been made to demanding
high quality standards and is
guaranteed for domestic use against
manufacturing faults for a period of 12
months from date of purchase
1
Advertisement

Related Manuals for Garden Gear G2198


Summary of Contents for Garden Gear G2198
- Page 1 Thank you for purchasing this product, Call 0871 911 7031 which has been made to demanding Email high quality standards and is customerservice@gardengearonline.co.uk Product Code G2198 guaranteed for domestic use against manufacturing faults for a period of 12 months from date of purchase...
- Page 2 For correct usage, please read these instructions carefully before use and keep in a safe place for future reference. INTRODUCTION Congratulations You have made an excellent choice with the purchase of this quality Garden Gear product. By doing so you now have the assurance and peace of mind which comes from purchasing a product that has been manufactured to the highest standards, performance and safety.
- Page 3 General information and warnings • Failure to follow these warnings may result in serious injury or property damage. • Assemble on a level surface. • Excessive temperatures in compost can cause a spontaneous combustion, but this is very rare. Properly aerated and moist compost piles, no matter how hot, are not dangerous.
- Page 4 Assembly Instructions Check that you have all the parts listed below before you start assembly...
- Page 5 How to assemble the composter Note: you will also need a Spanner, Phillips and flat head screwdriver to build the composter. Align the triangles on 2x part A and part C Secure in place using nuts and bolts F. Attach 1 x part B securing with nuts- and-bolts F.
- Page 6 Attach the final 3 part B’s securing in place with nuts and bolts F. Once you have finished securing all part B’s, the composter will look like this. Locate part aa and feed it through the composter from the left-hand side to the right.
- Page 7 Assemble the frame using parts bb cc and dd. Position the composter on the frame and secure in place using nut and bolts The composter is now look like this.
- Page 8 Install the part D & D1 to part C. The composter is now completed, ready for use.
- Page 9 Composting tips and advice Once you have built your composter, it is important to choose a location for it in your garden where it can stand on a flat surface, preferably in direct sunlight. It is also important to ensure that there is enough space around it for the composter to rotate.
- Page 10 are facing the ground and place a small tarp or plastic sheeting on the ground underneath the composter. Open the door and remove the required compost. Close the door and pull the plastic sheeting away from the composter. • The finished compost will contain fine and coarse material. If you would like a fine blend, sift the compost prior to using in potting mixes etc.
- Page 11 Composting troubleshooting Key factors for great compost are: 1. Correct nitrogen/carbon ratio; 2. Correct level of moisture; 3. Good aeration; 4. Regular rotation. Activators can be added to your compost to help speed up decomposition. It includes fallen leaves, grass clippings and well-rotted chicken manure. But sometimes things go wrong, even with composting.
- Page 12 GUARANTEE IMPORTANT Please do not return this product without first calling the Customer Service number below: 0871 911 7031* Thank you for purchasing this product, which has been made to demanding high quality standards and is guaranteed for domestic use against manufacturing faults for a period of 12 months from the date of purchase.
Need help?
Do you have a question about the G2198 and is the answer not in the manual?
Questions and answers