Advertisement
Advertisement
Table of Contents

Subscribe to Our Youtube Channel
Related Manuals for Tangerine TP-Link VR300


Summary of Contents for Tangerine TP-Link VR300
- Page 1 TP-Link VR300 GUIDE FTTN/FTTB tangerinetelecom.com.au Tangerine Telecom © 2022...
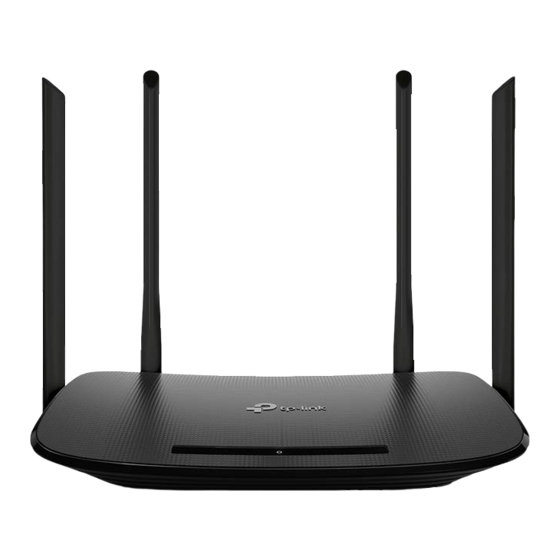
- Page 2 For connecting the modem router to FTTN/FTTB. DSL Port Connect the to the phone socket via phone cable. Used for wireless data transmission. Position them Antennas upright for the best performance. tangerinetelecom.com.au Tangerine Telecom © 2022 TP-Link VR300 Guide – FTTN/FTTB...
- Page 3 Once logged in you will have the option to set up the modem via quick setup (set up wizard. Select the region and time zone as shown in below example. Click ‘Next’. tangerinetelecom.com.au Tangerine Telecom © 2022 TP-Link VR300 Guide – FTTN/FTTB...
- Page 4 Under ‘Internet Setup’ choose the following settings: For FTTN/FTTB NBN Select VDSL and PPPoE and type in the username and password provided in your welcome email. Then click ‘Next’. Example: tangerinetelecom.com.au Tangerine Telecom © 2022 TP-Link VR300 Guide – FTTN/FTTB...
- Page 5 You can change the WiFi name and password here, otherwise click ‘Next’. This ‘Sorry’ message is expected at this stage. Please ignore this message and click ‘Next’. tangerinetelecom.com.au Tangerine Telecom © 2022 TP-Link VR300 Guide – FTTN/FTTB...
- Page 6 Click ‘Finish’. Again, please ignore this ‘Failed’ message and click ‘Finish’. If configured correctly, the ‘Internet Status’ will now say ‘Connected’! tangerinetelecom.com.au Tangerine Telecom © 2022 TP-Link VR300 Guide – FTTN/FTTB...
- Page 7 Select PPPoE for the connection type. Enter the username and password provided in your email from us, and click ‘Save’ to apply the changes. For FTTN/FTTB customers: Ensure that the ‘Operation Mode’ is set to ‘DSL Modem Router Mode’. tangerinetelecom.com.au Tangerine Telecom © 2022 TP-Link VR300 Guide – FTTN/FTTB...
Need help?
Do you have a question about the TP-Link VR300 and is the answer not in the manual?
Questions and answers