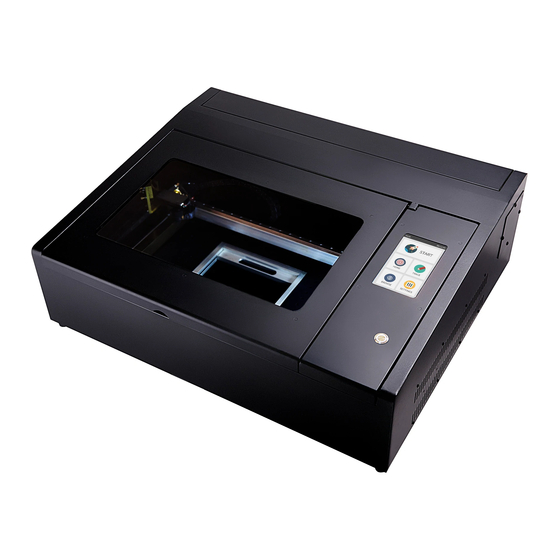
Summary of Contents for Flux Beambox
- Page 1 Beambox Rotary Module Installation Guide 1. Installation 1.1 There are 4 items in the Rotary Module- the main body, T-handle, switch box and 2 pieces of stickers for the switch box.
- Page 2 1.2 Remove the honeycomb platform by lifting out by tabs. 1.3 Place the main body into the machine. The black parts of the main body should be on the right side.
- Page 3 1.4 Remove the first screw on the left side of the right cover and open it. 1.5 Thread both two cables of the switch box through the hole at the top of the partition.
- Page 4 1.6 Unplug the Y-motor cable in the circle from the mainboard.
- Page 5 1.7 There are 2 cables of the switch box. One is plug and the other is receptacle. 1.8 Please insert the plug cable of switch box to the mainboard where you just unplugged.
- Page 6 1.9 Connect Y-motor cable you unplugged from the mainboard to the receptacle cable of the switch box.
- Page 7 1.10 Two cables from the switch box should be connected like the picture below.
- Page 8 1.11 Put on the stickers on the switch box and attach it to the side.
- Page 9 1.12 Insert the black cable of the main body to the switch box. Please keep switch in the off position until prompted to switch it on.
- Page 10 1.13 Install the T-handle into the right side of the main body 1.14 Make sure that the rotary function switch is in the off position. Having it on before being prompted gives confusing error codes.
- Page 11 2. Set Up 2.1 Update the Firmware to the latest version. Machines > [ Your Machine Name ] > Update Firmware. 2.2 Enable the rotary function from Edit > Document Setting > A blue horizontal rotating axis will appear. 2.3 Place your cylindrical object between two rollers. Adjust the distance of two rollers so that the top of the cylinder touches the focusing bar.
- Page 12 2.4 Use camera preview and drag the blue line to the middle of the object. Please keep switch in the off position when using camera preview. 2.5 Since the parts of the cylinder are not all on the focal plane, you will see the result of the preview with a drop.


Need help?
Do you have a question about the Beambox and is the answer not in the manual?
Questions and answers