Advertisement
Quick Links
Advertisement

Subscribe to Our Youtube Channel
Related Manuals for Naxa NT-2500


Summary of Contents for Naxa NT-2500
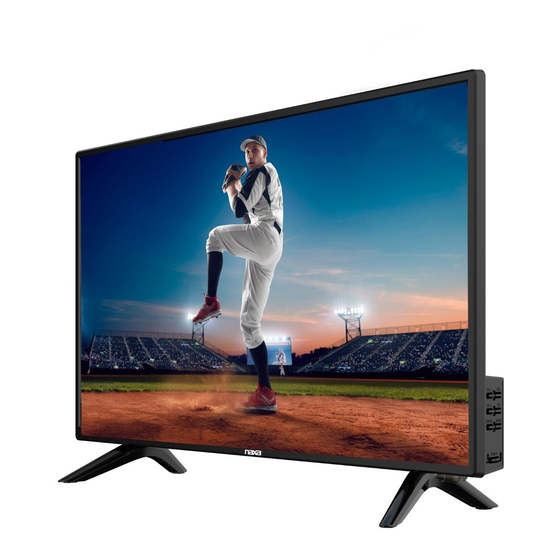
- Page 1 25” CLASS WIDESCREEN FHD TV MODEL NO.: NT-2500...
-
Page 2: Fcc Notice
Do not use acetone, toluene or alcohol Please also visit us on the web at www.naxa.com to get up to the minute news, to clean the TV set. Avoid excess moisture, which can damage inner electronic alerts, and documentation for your device. - Page 3 Safety Safety Immediately pull out the AC power plug if there is an abnormal sound or smell or the LED TV Do not place the LED TV on an unstable has sound but no picture, and contact surface. customer support. The LED TV should be kept free from any moisture and dust to prevent electrical To avoid tripping or damage to the power cord,...
- Page 4 Introduction Features TV uses a TFT LED display screen FHDTV Compatible (480i, 480p, 576i, 576p, 720p, 1080i, 1080p, 2160p) Supports American TV Standards 8VSB/Free 64/256QAM,NTSC System, ATSC System Connect directly to computer to achieve a TV/monitor. Zero X radiation complies with green environment protection requirement Advanced Chroma Processing Closed captioning/Program Control SAP/STEREO/MONO;...
- Page 5 NT-2500 1920 1080 Car cord AC 100-240V~50/60Hz + DC 12V TV reception Overview of front and back panel 2 3W 42 W 22.3 14.6 inch 2.37 kg Remote control sensor / Power indicator VOL +/- Press to increase/decrease the volume.
- Page 6 1. STANDBY: Turn the TV on/off. MUTE STANDBY 2. MUTE: Press to mute the sound. 3. SLEEP: Set the sleep timer. 4. FAV : Select favorite channels. 5. FAV +/-: Press to watch next / previous favorite program. SLEEP ADD/ERASE FAV +/- 6.
- Page 7 General Description Installing Batteries in the Romote Control Installing Batteries Open the battery compartment cover on the back side. Insert two AAA batteries inside the battery compartment with their + and – ends aligned as indicated. Do not mix old and new batteries or different types of batteries.
- Page 8 COXIAL Optical Cable (Not included) AC 100-240V~ AC 100-240V~ COAX CVBS/Y PC AUDIO 50/60Hz 50/60Hz AC 100-240V~ AC 100-240V~ CVBS/Y COAX PC AUDIO 50/60Hz 50/60Hz 5.1 CH audio is possible when the TV is connected to an external device supporting 5.1 CH. We recommend the use of cables with a Ferrite Core.
- Page 9 AC 100-240V~ AC 100-240V~ COAX CVBS/Y PC AUDIO 50/60Hz 50/60Hz CVBS/Y AC 100-240V~ AC 100-240V~ COAX PC AUDIO 50/60Hz 50/60Hz...
- Page 10 Headphone Cable (Not supplied) AC 100-240V~ AC 100-240V~ COAX CVBS/Y PC AUDIO 50/60Hz 50/60Hz AC 100-240V~ AC 100-240V~ COAX CVBS/Y PC AUDIO 50/60Hz 50/60Hz Each PC has a different back panel configuration. The HDMI jacks do not support PC connection. Plug headphone connector into headphone jack on the TV.
- Page 11 Input Source HDMI How to turn the TV on or off 1. Insert the power cord plug into a polarized AC outlet. 2. Press button on remote control or STANDBY button on the LED TV. 3. Normal picture will be displayed on the screen after 6 seconds. If no signal input, "No Signal"...
- Page 13 5. Advanced CEC Control This only adjustable for PC/VGA input signal. Device Auto Power Off : Turn on/off the device auto power off. TV Auto Power On : If this function is enabled, the TV will power on autimatically after turningon an externally connected CEC device. Audio Receiver : Turn on/off the audio receiver.
- Page 14 7. Hotel Menu -Press RIGHT navigation button or ENTER button to enter it. Hotel Mode: turn on/off Hotel Mode. Boot Setting: set Picture Mode, Default Volume, Max Volume, Boot Source. (Boot Channel & Channel Select won’t work if no TV signals.) Hotel Lock: turn on/off Tuner Lock, Keypad Lock or Menu Lock.
- Page 15 Music Playback -Select the MUSIC tab on the USB page. -Press UP/DOWN navigation button to select preferred folder/file and press the ENTER button to enter a folder or play selected file. • Insert a USB memory device, which contains Photo or Music files, into USB slot. •...
- Page 16 If you have any problem, review the solutions for each symptom listed below. The following symptoms may have been caused by inappropriate adjustment rather than actual malfunction of the unit. If the trouble persists, contact the Customer Care Center, see back page for contact details.
Need help?
Do you have a question about the NT-2500 and is the answer not in the manual?
Questions and answers