Advertisement
Quick Links
Advertisement

Summary of Contents for Beckman 7198
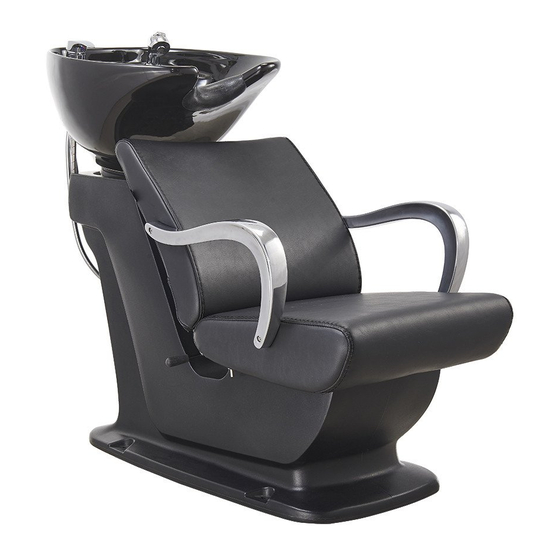
- Page 1 Beckman 7198 INSTRUCTION MANUAL...
- Page 2 List of Parts & Tools 101001 0350/0388 101003 101004 101005 101006 101007 101008 UK size Type USA size ” ” Water supply lines Adapter Drain Hose Connector 3.2cm ” 101009...
- Page 3 Step 1 0350 0350 Sink Base...
- Page 4 Step 2 0350...
- Page 5 Step 3 Undo the access panel by twisting clockwise then using the 4* 14mm washers & gaskets provided fasten the sink to the base.
- Page 6 Faucet Set up Assembly Instruction 4 None Vacuum Breaker Sink Vacuum Breaker Sink 0350 0388 STEP 1 STEP 2...
- Page 7 Assembly Instruction 5 Sprayer Set Up None Vacuum Breaker Sink Unscrew the fastener from Fasten the sprayerhead holder to the sink with the plastic fastener. the sprayerhead holder. 0350 STEP 1 STEP 2 Unscrew the sprayerhead from the sprayer hose. Place the sprayer hose from underneath throught the sprayerhead holder and fasten the sprayerhead to the sprayer hose. STEP 3 STEP 4...
- Page 8 Assembly Instruction 6 Sprayer Set Up Vacuum Breaker Sink no need 0388 Unscrew the sprayerhead from the sprayer hose.
-
Page 9: Vacuum Breaker
Plumbing Instruction 7 None Vacuum Breaker Vacuum Breaker Sink Sink Vacuum breaker hose Sprayer Hose Shower Hose... - Page 10 Plumbing setup: *removable back panel to route both water supply lines and make all connections. 0350 Neck Rest Drain Pipe 2” / 5cm ” / 16cm Blue water pipe (connect to cold water) Red water pipe (connect to cold water)
- Page 11 Floor plumbing setup: All connection pipes are enclose within the base unit. Water supply lines are routed into the unit via circle opening on the back of the base. ” / 22cm 37” / 94cm...
- Page 12 Wall plumbing setup: Circle opening on removable back for drain pipe exit ”-51 ” / 123cm-130cm Please leave minimum 7 ” / 20cm of space measuring from finished wall to the back of the sink to allow sinks tilting position.
- Page 13 Secure the backwash on the floor by the provided floor anchors. Topview 8” / 20.5cm ” / 53.6cm ” / 1.4cm BACK FRONT...
Need help?
Do you have a question about the 7198 and is the answer not in the manual?
Questions and answers