Advertisement
Quick Start Programming Guide using a PC Serial Port
1
. Requirements
Alarm Panel
•
"Contact Id" compatible panel with tone dialing.
•
Existing PSTN Service (for backup communication lines).
•
PC with RS-232 serial port.
•
Console cable for the IPDACT-2(UD).
Power
Voltage Range
Current (Maximum) 12VDC
Current (Maximum) 24VDC
Internet Access
Either a static IP address (always the same) or a dynamic IP address (could be different every time
a connection is made) are possible.
2. Checklist¹
a.
IPDACT-2(UD) console access password (default is 24680).
b.
Installer password, required to execute the register command.
c.
IP address, subnet mask and gateway for IPDACT-2(UD)
d.
IPDACT-2(UD) account number or client number.
e.
IP address, and UDP Port number of the VisorALARM central station.
1
Please obtain the following information from your central monitoring station.
2
If you have a DHCP server in the network to which the IPDACT-2(UD) connects, these parameters can be obtained automatically.
Dm387-Iv3
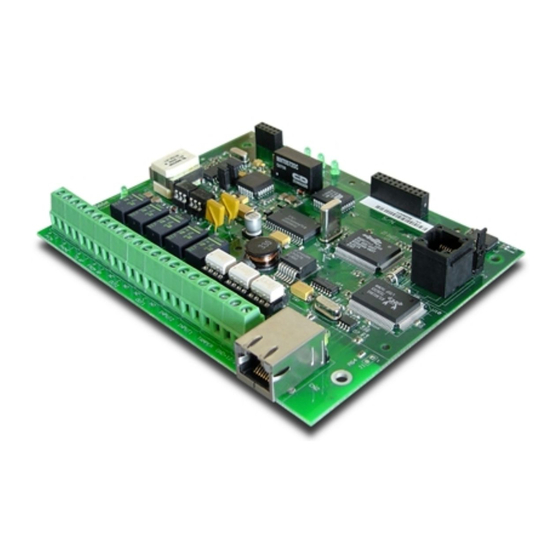
IPDACT-2/IPDACT-2UD
IP Communicator
IPDACT-2(UD) Dm 387-Iv3
Model TS563/2
10-28 VDC
IPDACT-2:
IPDACT-2UD: 185 mA (NSC), 230 mA (Alarm)
IPDACT-2:
IPDACT-2UD: 98 mA (NSC), 155 mA (Alarm)
firealarmresources.com
180 mA (NSC), 230 mA (Alarm)
93 mA (NSC), 136 mA (Alarm)
2
1
Advertisement
Table of Contents

Related Manuals for Fire-Lite IPDACT-2

Summary of Contents for Fire-Lite IPDACT-2
- Page 1 IP address, and UDP Port number of the VisorALARM central station. Please obtain the following information from your central monitoring station. If you have a DHCP server in the network to which the IPDACT-2(UD) connects, these parameters can be obtained automatically. Dm387-Iv3...
- Page 2 IEEE 802.3 interface. 4. IPDACT-2(UD) Default Configuration Through a short circuit in the IPDACT-2(UD) P1 jumper during the start up process, you can configure the IPDACT-2(UD) with the default factory settings. The process for this is as...
- Page 3 Female Jack Connect the serial cable to the IPDACT-2(UD) as shown above, the other end to a PC serial port and use a terminal emulation program (Windows HyperTerminal for example) configuring the serial port to 9600 bps, 8 data bits, 1 stop bit, without parity and no flow control.
- Page 4 If in the LAN network where the IPDACT-2(UD) is installed, you have address assignment through DHCP, go to step 3. If this is not the case, carry out the following steps: Press the “b” key followed by ENTER. You will be asked for the IP address.
Need help?
Do you have a question about the IPDACT-2 and is the answer not in the manual?
Questions and answers