Advertisement
OUTDOOR ACRYLIC MIRROR INSTALLATION GUIDE
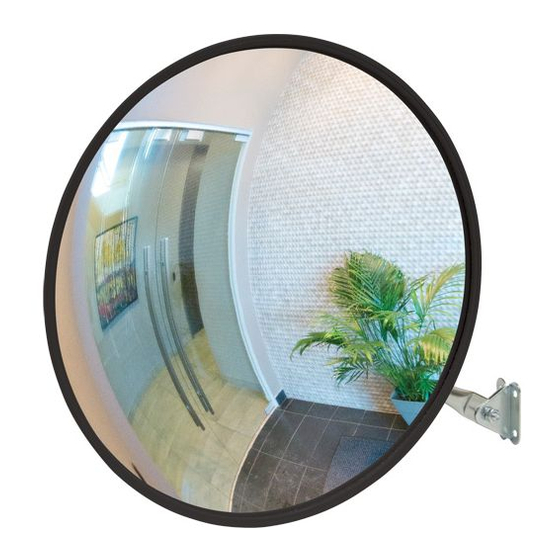
1.
Decide the appropriate place to site the mirror to give maximum vision.
2.
Fix J-Bracket to wall or ceiling using suitable mounting hardware (ie: screws, bolts). Allowing
enough room to slide the mirror on to the J-Bracket.
3.
Unscrew the adaptor from the J-Bracket. Thread the adaptor into the back of the mirror.
4.
Peel protective film off around the immediate edge of the mirror.
5.
Slide the adaptor and mirror over the J-Bracket and adjust mirror to the desired position.
Note: For outdoor installation - make sure the arrows on the back are pointing UP. This
will allow the vent hole in the bottom of the mirror to drain any moisture.
6.
Tighten the locking bolt on the adaptor securely.
7.
When the mirror is securely in position, totally remove the protective film from the mirror.
Tel: +01252 343949
Email: contact@convexmirrorshop.co.uk
Û
Û
Install With
Arrows
Pointing Up
Advertisement
Table of Contents

Summary of Contents for Convex OUTDOOR ACRYLIC
- Page 1 OUTDOOR ACRYLIC MIRROR INSTALLATION GUIDE Decide the appropriate place to site the mirror to give maximum vision. Fix J-Bracket to wall or ceiling using suitable mounting hardware (ie: screws, bolts). Allowing enough room to slide the mirror on to the J-Bracket.
- Page 2 OPTIONAL U-BOLT KIT INSTALLATION GUIDE 450mm and 600mm Mirror Size: Hold the U-Bolts around the pole. Thread the U-Bolts around the J-Bracket and through the U-Bolt Flat plate. 900mm Mirror Size: Hold the U-Bolts around the pole. Thread the U-Bolts through one side of the J-Bracket and through the U-Bolt Flat plate.
Need help?
Do you have a question about the OUTDOOR ACRYLIC and is the answer not in the manual?
Questions and answers