Table of Contents
Advertisement
Advertisement
Table of Contents

Subscribe to Our Youtube Channel
Summary of Contents for b'Twin Count 14+
-
Page 2: Table Of Contents
CONTENTS COMPUTER AND SENSOR ASSEMBLY ........................................3 A WORD FROM THE PRODUCT MANAGER ......................................5 SCREEN LAYOUT ................................................5 ICONS USED ................................................5 BUTTONS ..................................................5 MENUS ..................................................5 BEFORE YOUR FIRST RIDE ..................................6 (and after changing the battery) STARTING A SESSION ..............................................8 DURING THE SESSION .............................................8 STOPPING A SESSION ............................................ -
Page 3: Computer And Sensor Assembly
COMPUTER AND SENSOR ASSEMBLY mi/h km/h km/h total reset total reset mi/h km/h km/h total total reset reset mi/h km/h km/h total reset total reset mi/h km/h km/h total total reset reset... - Page 4 0.2 in 5 mm max...
-
Page 5: A Word From The Product Manager
A WORD FROM THE PRODUCT MANAGER Thank you for purchasing the COUNT 14+ computer Equipped with ANT+ technology that guarantees the transmission of data without interference, it can also receive information from several sensors: speed, cadence (pedaling rate) and heart-rate monitor (optional). Your COUNT 14+ computer also has a memory that enables you to analyse your performances on the computer itself or your PC using our «Geonaute Software»... -
Page 6: Before Your First Ride (And After Changing The Battery)
Press on B1 and B2 to switch from one menu to another. This is indicated with the 2 arrows at the bottom of the screen. To enter a menu, press on S. This is indicated by displaying «OK» on the screen. Navigation within each menu will be explained in the corresponding sections. - Page 7 Once you have adjusted all the units, you automatically switch to the following setting (GENDER). You can now adjust all the settings in the same manner. For faster adjustment, you may hold B1 or B2 down, to display the values more quickly.
-
Page 8: Starting A Session
- 2nd method: STARTING A SESSION In the main menu, press on B1 or B2 to choose the DEPARTURE menu. Press on S to start a session. For 2 seconds, the screen displays the remaining memory time in which to save the values recorded during the ride (displayed in hh:mm). - Page 9 speed/distance mode cadence mode heart rate mode (only if enabled in the menu OPTION, a chest strap is an optional accessory) time mode mode double display (only available when in motion, not when stationary, and if the heart rate mode has been enabled in the OPTION menu) A pictogram at the bottom of the screen indicates your current mode.
-
Page 10: Stopping A Session
TIME MODE Indicated by the following pictogram: This mode features the following functions: - SESSION TIME: time elapsed since the beginning of the ride (this is only measured while in motion, not when stationary). - TIME: time DOUBLE DISPLAY MODE Indicated by the following pictogram: This mode is only available if you have enabled heart rate mode and when in motion (not when stationary)! This is a specific mode which simultaneously displays the current cadence and heart rate. - Page 11 To switch from one menu to another use B1 and B2.. To enter a menu, press on S. Use B1 and B2 to navigate within the menu and press on S to confirm. Menu explanations: VIEW REPORT Use this menu to view the reports from all the sessions you have saved.
-
Page 12: Option Menu
Please note : You may quit the REPORT menu at any time and return to the main menu by pressing on B1 and B2 simultaneously for 2 seconds. This is a shortcut to avoid having to navigate through to QUIT to quit the menu. TRANSFERRING DATA TO THE PC You can transfer your ride data on your COUNT14+ computer to your PC. - Page 13 To leave the OPTION menu, go to the QUIT screen and confirm with S. You are now returning to the main menu. At any time, you can leave the OPTION menu by pressing B1 and B2 simultaneously for 2 seconds. This is a shortcut to avoid having to navigate through to QUIT to quit the menu.
- Page 14 You will find the size on the side of your tyres. If your tyre size is not on the list, you can enter a specific size by selecting «OTHER» in the list. You must then enter the circumference of the wheel in mm. There are 2 methods to work out the circumference: - 1st method: - 2nd method: TOTAL KM: to change the total distance already covered.
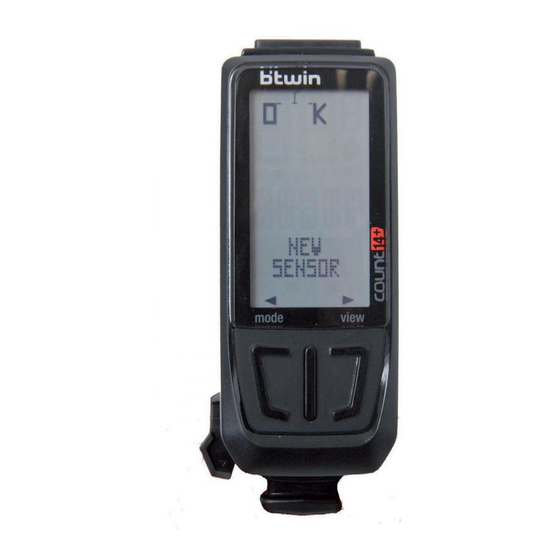
- Page 15 UNITS Choose your unit system: European (km, kg, cm) or imperial (mi, lbs, inches). Press S to enter the menu and press S a second time to make the unit flash. Select it with B1 and B2 and confirm with S. SENSORS If you have purchased a new optional sensor (heart-rate monitor or speed/cadence sensor) for your COUNT14+, you will have to pair it with the computer before using it.
Need help?
Do you have a question about the Count 14+ and is the answer not in the manual?
Questions and answers