
Summary of Contents for SolutionAir elicent REC-Duo 100
- Page 1 Heat recovery unit Instruction Manual ENGLISH v1.4 WARNING: The equipment must only be installed by a specialised technician! Read and apply the manual before carrying out the installation. Keep this manual in a safe place. Page 1 / 17...
-
Page 2: Table Of Contents
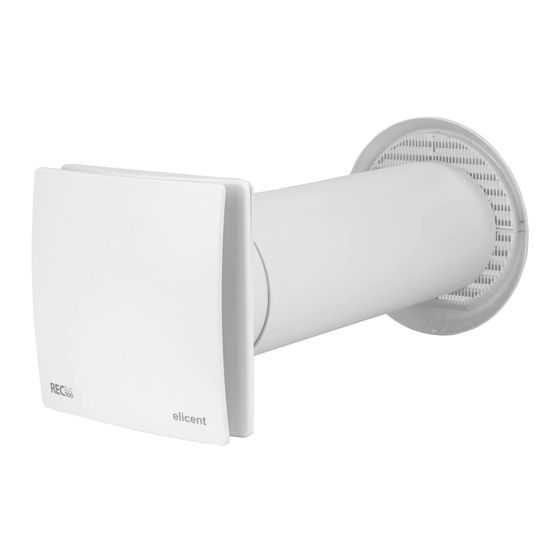
Dear Customer, The product you purchased is a heat recovery extractor fan without ducting, suitable for wall mounting. To ensure optimum operation and a long life, read this manual carefully in order to correctly install, use and maintain the product. Following all the instructions ensures reliability and long life, both mechanically and electrically. -
Page 3: Warning Advice
WARNING ADVICE WARNING: Serious injury or death can be caused if these instructions are not applied! Do not use this product for uses that are different from those for which it has been designed. After removing the product from its packaging ensure that it is complete and undamaged; if in doubt, immediately contact a qualified electrician. -
Page 4: Troubleshooting
TROUBLESHOOTING PROBLEM CAUSE AND REMEDY The appliance does not switch on There is no voltage. Check the main switch and/or the electrical connections. The impeller does not turn Check that its movement is not obstructed. This device is equipped with a manual reset protection system that in the event of a mechanical obstruction in the rotation will switch off the engine. -
Page 5: Operating Principle
OPERATING PRINCIPLE Extraction Cycle (Push) Intake Cycle (Pull) 60 seconds 60 seconds DIMENSIONS Main Unit – REC-Duo 100 EXTERNAL VENT EXTERNAL COWLING (PLENUM) Page 5 / 17... -
Page 6: Box Contents
BOX CONTENTS Ventilation Unit Power supply plate cover Power supply plate External vent (2 parts) Telescopic tube Ceramic heat exchanger Filters (already assembled on the heat exchanger) Screws for fixing the wall power supply plate cover Wall plugs Screws for fixing power supply plate 11. -
Page 7: Installation Diagram
INSTALLATION DIAGRAM Notes − If total wall thickness is greater than 22cm, it can be considered to install the duct without cowling. − For retrofit projects we recommend to use always the cowling to allow a correct installation of the trade seal. −... -
Page 8: Installation Location
INSTALLATION LOCATION The location of the installation should preferably meet following requirements: − High position in the room on the wall (above 2m height) − Next to a timber/steel wall frame (to fix the wall mounting bracket) − Reasonable sheltered place from outside (from wind, rain, sun) −... - Page 9 Wiring to and from switch Power Supply Plate Plan wiring from and to wall switch: After installing the gib board over the 3 options to go through power supply plate. mounting wall bracket, cut out the whole (Switch is not included) and line up the power supply plate on top.
-
Page 10: Wiring Diagram
REC-Duo Unit External Cladding Insert the REC-Duo unit into the duct. The Complete external cladding around the power connectors need to line up and the cowling in accordance with NZ building plate snaps into a magnetic mount. standards. WIRING DIAGRAM Wiring diagram for 24h/7d operation It is recommended to include a main switch to power off the whole unit for e.g. -
Page 11: Timer And Humidistat
TIMER AND HUMIDISTAT Timer (TM) and humidistat (HY) threshold regulation TM Timer This function is present in the REC-Duo 100, REC-Duo MHY and REC DUO 100 PLUS RC models. Adjust the trimmer TM (screw - red) to set the timer operating time (only extraction from 0 to 30 minutes). HY Humidistat This function is present in the REC DUO 100 MHY and REC DUO 100 PLUS RC models. -
Page 12: Speed Selection
SPEED SELECTION Selecting the 24h operating speed REC-Duo 100 and REC DUO 100 MHY Models with two possible operating speeds for continuous operation (24 h) with alternating flows (Push-Pull). Select the speed simply by moving the jumper as shown in the figure below, to one of the two positions (see table). -
Page 13: Remote Control
synchronised with the other devices. If the MASTER device is removed (see "Legend of the ventilation unit status"), cancel the synchronization of all installed devices. Then repeat the above sequence of re-synchronization of the entire product group. PAIRING REMOTE CONTROL TO THE VENTILATION UNIT Press the "RESET"... -
Page 14: Specific Functions Of The Remote-Control Rec Duo 100 Plus Rc
SPECIFIC FUNCTIONS OF THE REMOTE-CONTROL REC DUO 100 PLUS RC RESTORE FACTORY SETTINGS Press for a few seconds and simultaneously release the 0, 1, 6 and 7 KEYS on the remote control. The LED will flash and PURPLE. When they stop flashing, the devices will return to the previous mode, but with the factory-set values. -
Page 15: Modesl & Operation
MODESL & OPERATION REC-Duo 100 24h/7d operation: Alternating flow heat recovery mode (push-pull) at one of the two fixed speeds that can be selected in the installation phase (see paragraph SPEED SELECTION). (II) Manual Boost: For faster air circulation, it is possible to activate the maximum speed (boost) that only works in extraction, via remote control (light switch or dedicated switch or RLS switch - not included in the supply). -
Page 16: Legend Of The Ventilation Unit Status
LEGEND OF THE VENTILATION UNIT STATUS DESCRIPTION STATUS PLUS GREEN EXTRACTION ● ● ● ● YELLOW INTAKE ● ● ● ● BOOST WITH TIMER ● ● ● ● FLASHING RED DIRTY FILTER NEEDS CLEANING ● ● ● BLUE MHY OPERATING ●... -
Page 17: Cleaning And Maintenance
When the LEDs turn violet, the reset successfully completed. Use always the supplied awl key to press the "RESET" button. DO NOT USE METALLIC OBJECTS! CUSTOMER SERVICE Contact: Solutionair Customer Service Email: enquiries@solutionair.co.nz Phone: 0800 484 3269 Page 17 / 17...
Need help?
Do you have a question about the elicent REC-Duo 100 and is the answer not in the manual?
Questions and answers