Table of Contents
Advertisement
Quick Links
Advertisement
Table of Contents

Summary of Contents for Deity TC-1
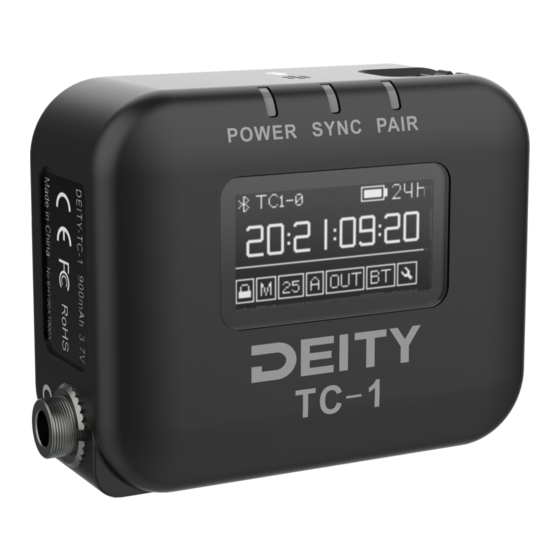
- Page 1 Timecode Box TC-1 Wireless Timecode Expanded Product Manual English...
-
Page 2: Fcc Compliance Statement
Foreword Thank you for purchasing the Deity Timecode Box TC-1. Instructions Please read this product manual carefully. Keep this product manual. Always include this product manual when passing the products on to third parties. Heed all warnings and follow all instructions in this product manual. -
Page 3: Intended Use
Intended Use Intended use of the Deity Timecode Box TC-1 includes: The user has read the instructions of this manual. The user is using the products within the operating conditions and limitations described in this product manual. - Page 4 2. Timecode Box TC-1 Kit Locking TRS to TC-1 Locking TRS to TRS Locking TRS to 5P Timecode (3 pcs) Coiled Audio Cable BNC Timecode Cable (1 pc) Cable (1 pc) (1 pc) USB-A to 3x USB-C USB-C to USB-A...
- Page 5 Input/Output Connecting to Recording Devices The Timecode box TC-1 can be used with nearly any recording devices: cameras, audio recorders, smart slates and more. Before connecting your synced TC-1 to each device with the prope adapter (included in the box), make sure to set the correct output volume.
-
Page 6: Functions And Operations
Long-press the MENU/BACK button to turn the TC-1 on. Long-press it again and a pop-up window appears to let you select to turn off the TC-1 or not. It also functions as a "back" button while navigating the various menus and setup screens to return to the previous screen or menu item. - Page 7 5. Built-In Microphone The TC-1 has a small built-in microphone on top of the device. It can be used to record reference sound on DSLR cameras or devices with a stereo 3.5 mm mic input.
- Page 8 Auto Jam mode or Jam Once And Lock mode. It can also be jam-synced via a 3.5mm cable. Auto Jam: In this mode your TC-1 waits to be jam-synced by an external timecode source. The system default mode is Auto Jam.
- Page 9 10. Channel Setting If you don’t have a mobile device at hand, you can synchronize TC-1 units with each other via wireless sync technology if they have the same channel setting. The system defaults channel is group A.
- Page 10 12. TC Setting When the TC-1 working mode is set to "Master Run," there are three options for TC setting: SYNC: Feed timecode to other devices. SET: Feed timecode to other devices starting from 00:00:00:00 or any custom timecode starting point.
- Page 11 (3) Enter ”SYS RESET“ option in the menu to reset the system and restore the default settings. (4) Enter “FIRMWARE” option to see which FW version your TC-1 is running. Rotate the function control wheel , to view the MAC address of your TC-1.
- Page 12 You can use the included 3.5mm cable or a suitable adapter cable to Jam the TC-1 to an external timecode. Follow the steps below: Set TC-1 mode to Auto Jam or Jam Once And Lock and set out type as L-IN. When connected to 3.5 mm cable, TC-1 automatically detects and takes over incoming frame rate and timecode immediately on jam-sync.
- Page 13 * SYNC LED slowly flashing red indicates that TC-1 is waiting to be syncronized or syncronization was unsuccessful. * SYNC LED quickly flashing indicates that the syncronization is on-going. * SYNC LED staying green indicates that TC-1 stays at Master Run mode or syncronization was successful .
- Page 14 (3) Wireless Sync via Sidus Audio™ The Sidus Audio™ App for the TC-1 allows you to wirelessly sync a number of TC-1s with each other via Bluetooth. (Tested with more than 20 units). You can synchronize, monitor, set up, perform firmware updates and change basic parameters of your TC-1 via Sidus Audio™...
-
Page 15: Specifications
Detailed product manual for Timecode box TC-1 can be found on www.deitymic.com -14-...
Need help?
Do you have a question about the TC-1 and is the answer not in the manual?
Questions and answers