Table of Contents
Advertisement
Quick Links
Advertisement
Table of Contents

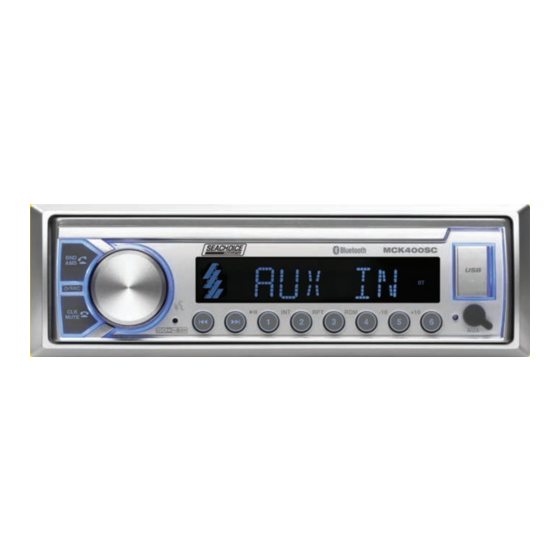
Summary of Contents for SEACHOICE MCK400SC
-
Page 2: Table Of Contents
CONTENTS Precautions & Warnings ..........................1 ............................... Installation Installation Procedures .......................... Installation Opening ..........................Wiring Connections ..........................3 Remove of the Main Unit ........................3 Overview of The Components ........................4 General Operation ............................5 Turn Unit on/off ............................Change the Source(SRC) ......................... -
Page 3: Precautions & Warnings
PRECAUTIONS Precautions & Warnings • To reduce the risk of fire, electric shock, and interference, do not attempt to repair this unit yourself. Refer all service to a qualified technician. • Some MP3/WMA files may not be playable. • Keep the volume at a reasonable level to avoid distracted driving. High volume levels may make it difficult to concentrate on traffic and road conditions while driving. -
Page 4: Installation
INSTALLATION Installation Procedures First complete the electrical connections and then check for correctness. Installation Opening This unit can be installed in any dashboard Having an opening as shown below. 2.05 inches 7.20 inches Insert mounting sleeve into the dashboard and bend the mounting tabs out with a screwdriver. -
Page 5: Wiring Connections
INSTALLATION(CONT.) Connect all wiring harness and slide the head unit into the mounting sleeve until it clicks into place. Wiring Connections Radio Antenna White: Front Left PRE-AMP Output Red: Front Right PRE-AMP Output Red: Rear Right PRE-AMP Output ACC + (Red) GND - (Black) White: Rear Left PRE-AMP Output ANT + (Blue) -
Page 6: Overview Of The Components
Overview of The Components (power) / SRC (source) button VOL (volume) knob, (Push-To-Talk) button, SEL (select/menu) button BND(BAND) / AMS(automatic store station, automatic music search) (answer call) button (pause/play), Preset station 1 button INT (intro), Preset station 2 button RPT (repeat), Preset station 3 button RDM (random), Preset station 4 button -10(previous 10 tracks), previous folder, Preset station 5 button +10(next 10 tracks), next folder, Preset station 6 button... -
Page 7: General Operation
General Operation Turn Unit on/off, Change the Source • Press the /SRC button to turn on the unit. Press and hold the /SRC button to turn off the unit. • Press the /SRC button to select the different modes: Radio, USB(with USB device inserted), AUX-IN (aux audio input) and BT(Bluetooth) modes. -
Page 8: Radio Operation
Radio Operation Switch Between USA area and Europe area Frequency In radio mode, press and hold the SEL button (volume knob) to enter audio / function, then press the SEL button repeatedly to access the state of the US and EU frequency, then rotate the volume knob to switch between US (USA) and EU(europe) frequency. -
Page 9: Usb Operation
USB Operation Play MP3/WMA music inside a USB stick. Insert the USB stick with MP3/WMA musics into the USB port, it will play automatically. Note: the USB port also supports charging mobile phone, the maximum charging ability is 5V/1A. Select Next Track or Previous Track In the USB mode, briefly press the button to play the the next or previou track. -
Page 10: Aux Audio Operation
2. When the phone finds the car audio system, the “Seachoice 72101” name will be displayed. 3. Choose the “Seachoice 72101” from the device list to pair and connect with the car audio system. Upon confirming, the BT logo will stop flashing. -
Page 11: Push-To-Talk
Bluetooth Operation 1. After pairing, connecting and enabling streaming audio from a compatible mobile device, press the SRC button to enter BT mode and the “BT AUDIO” will be shown on the LCD display. 2. When a mobile device is paired, music played through that device will automatically be heard through the car audio system. -
Page 12: Troubleshooting
TROUBLESHOOTING If you suspect something is wrong, immediately switch power off. Do not use the unit in abnormal condition, for example without sound, or with smoke or foul smell, can cause fire or electric shock. Immediately stop using it and call the store where you purchased it. Never try to repair the unit by yourself because it is dangerous to do so. - Page 13 SPECIFICATIONS General Power supply Requirement : DC 12V 50W X 4CH Maximum power output : Speaker impedance : 4 - 8 Ohm Unit Dimensions(WxHxD) : 7.0 X 2.0 X 4.25 inches Weight : 1.32 Lb (0.6 kg) Fuse : 10 A RADIO Frequency Range USA / EUROPE: 87.5 MHz - 107.9 MHz / 87.5 MHz - 108.0MHz...
Need help?
Do you have a question about the MCK400SC and is the answer not in the manual?
Questions and answers