Advertisement
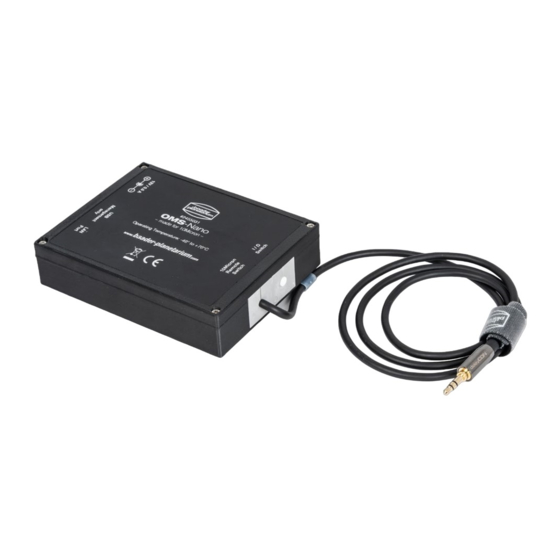
Thank you for your purchase of the Remote-Switch OMS-Nano for 10Micron Mounts. It is
used to turn your 10Micron mount on and off from remote.
To ensure optimal performance, please read this instruction manual before using the
OMS-Nano, we recommend that you study this manual before installing and using it.
– EN ver. 01/2022 –
BAADER PLANETARIUM
Zur Sternwarte 4 • D-82291 Mammendorf • Tel. +49 (0) 8145 / 8089-0 • Fax +49 (0) 8145 / 8089-105
www.baader-planetarium.com • kontakt@baader-planetarium.de • www.celestron.de
Instruction Manual and
Recommended Use
G
M
B
H
Advertisement
Table of Contents

Summary of Contents for Baader Planetarium OMS-Nano
- Page 1 Instruction Manual and Recommended Use Thank you for your purchase of the Remote-Switch OMS-Nano for 10Micron Mounts. It is used to turn your 10Micron mount on and off from remote. To ensure optimal performance, please read this instruction manual before using the OMS-Nano, we recommend that you study this manual before installing and using it.
- Page 2 Completion of the Work ..........8 Scope of Delivery OMS-Nano switch Power supply unit with adapters LAN-cable USB-cable Manual: OMS-Nano Remote-Switch for 10Micron Mounts...
- Page 3 Note: The rocker switch on the control box of the mount is out of operation after plugging in the jack plug of the switching module. If you unplug the connection cable from the 10Micron control box, it will power up/shut down. This makes a manual operation possible. © Baader Planetarium GmbH...
- Page 4 Network Settings Open network and internet-settings on your computer (on the example of Windows 10) Go to Ethernet – Settings: Choose Change adapter options: Right-click on Ethernet and choose Properties. Manual: OMS-Nano Remote-Switch for 10Micron Mounts...
- Page 5 Select Internet Protocoll Version 4 and click on Properties. Enter the following IP data. Your computer must be in the range 192.168.0.0 to 192.168.0.255; the IP-adress 192.168.0.123 is occupied by the OMS-Nano. To finish this process klick OK and close the setting windows.
- Page 6 The configuration web interface opens. This address can also be saved as a book- mark in the web browser, so that the next time the browser is opened, the switching module is easier to find. Manual: OMS-Nano Remote-Switch for 10Micron Mounts...
- Page 7 Under the menu item Relays, all necessary settings for the functions of the two relays can be made. Under Relays-No. 1 the preset values for the control of the mount can be viewed. not change these values! Relay 1 is activated by pressing the 10 Micron Pulse button. © Baader Planetarium GmbH...
- Page 8 .com © Baader Planetarium GmbH. All Rights reserved. Products or instructions may change without notice or obligation. Images and illustrations may differ from the original products. We reserve the right of errors. Reproduction of this instruction manual, complete or in parts, only with written permission by BAADER PLANETARIUM Zur Sternwarte 4 •...
Need help?
Do you have a question about the OMS-Nano and is the answer not in the manual?
Questions and answers