Sign In
Upload
Download
Table of Contents
Contents
Add to my manuals
Delete from my manuals
Share
URL of this page:
HTML Link:
Bookmark this page
Add
Manual will be automatically added to "My Manuals"
Print this page
×
Bookmark added
×
Added to my manuals
Manuals
Brands
C.P.Bourg Manuals
Binding Machine
BB3002 PUR
Operator's manual
C.P.Bourg BB3002 PUR Operator's Manual
Hide thumbs
1
2
Table Of Contents
3
4
5
6
7
8
9
10
11
12
13
14
15
16
17
18
19
20
21
22
23
24
25
26
27
28
29
30
31
32
33
34
35
36
37
38
39
40
41
42
43
44
45
46
47
48
49
50
51
52
53
54
55
56
57
58
59
60
61
62
63
64
65
66
67
68
69
70
71
72
73
74
75
76
77
78
79
80
81
82
83
84
85
86
87
88
89
90
91
92
93
94
95
96
97
98
99
100
101
102
103
104
105
106
107
108
109
110
111
112
113
114
115
116
117
118
119
120
121
122
123
124
125
126
127
128
129
130
131
132
133
134
135
136
137
138
139
140
141
142
page
of
142
Go
/
142
Contents
Table of Contents
Troubleshooting
Bookmarks
Table of Contents
Table of Contents
Introduction
Warning Pictograms
Instructions for Safe Use
Specifications for BB3002 with PUR Versapail System
Specifications for BB3002 with PUR Compact System
Space Requirements for BB3002 with PUR
What Is PUR
Working with PUR
General Description
Specifications
Description of the Gluing Process
Description of Various Parts of the Binder
Vibrating" Module (Jogger)
Milling Module
Glue Gun
Cover Clamp
Creasing Module (Optional)
Cover Loading
Binder Output
Reception of Books in the BBR Module (Optional)
PUR C Glue Consumption
Using the Binder
Operating Procedure
Powering up the Binder
Configuring the Binder
Preparing the Binder
Binding a Book
Switching the Binder off
To Start the Dust Collator
Powering up the Binder and Heating the Glue Gun
Heating the Glue/Gun
Starting the TIMER - Main Switch in ON2 Position
The Binder Controls
Function of the Buttons on the Loading Console
Function of the Pedal
Indicator Light above the Loading Area
Safety Barriers
Emergency Stop Button
Reinitialising the Binder
Graphical Interface (UI)
General Description of the Graphical Interface
PREFERENCES" Menu
AUTOMATIC" Menu
Accessing the Automatic Menu
Programming the Automatic Menu
COUNTER Menu
UNIT Mode
SERIES Mode
SEMI-SERIES" Mode
Additional Functions for PUR C
ADVANCED" Menu
ADVANCED Menu: Managing Parameters for Cover Clamping
Selecting "With Cover" or "Without Cover" Mode ("BLOCK" Mode)
In "WITH COVER" Mode
In "WITHOUT COVER" Mode
ADVANCED MENU: Managing Binding Parameters
Setting the Carriage Movement Speed
Selecting Milling and the Milling Depth
Setting Front and Back Glue Cut-Offs
Setting the Thickness of the Glue Film
JOB" Menu
Correction of the Paper Pile Thickness to be Bound
Setting the Thickness of the Glue Film
Setting Lateral Pressure
Setting the Spine Pressure
Setting the Glue Drying Time before Cover Nipping
Setting the Glue Drying Time During Cover Nipping
Activation/Deactivation of the Jogger + Adjustment of the Amplitude of the Vibration: BB3002
Activation/Deactivation of Milling + Selection of Milling Depth
Book Output Mode
Configuring Front and Back Glue Cut-Offs
Adjusting the Creasing Position
Adjusting the Cover Position
FILE" Menu
To Create and Save a New Job
To Open an Existing Job
To Delete an Existing Job
TIMER" Menu
ALARM" Menu
Setting the Date and Time
Opening/Closing the Cover Clamps
Restarting the Graphical Interface, the PLC and Communication between Them: BB3002
Ergonomics
Easy and Flexible Operation
Daily Productivity
Electrical Specifications
Space Requirements
BB3102 with EVA System
BB3102 with PUR Compact System
Paper Size
BBL Performances
BBL Loading
User Interface Menu for Bbl
Main Screen
TOOLS" Menu
PREFERENCES" Menu of the BBL
ALARM" Menu
Troubleshooting Guide Bbl
Using the Binder with the Bbc
Introduction
General Description
Operation Modes
Perfect Binding Mode (on - Line)
Perfect Binding Mode (Near - Line)
Stacking/Compiling Mode
Padding Mode - (Not Available in PUR Version)
Electrical Specifications (BBC)
Paper Size
Space Requirements
BB3202 with EVA System
BB3202 with PUR Compact System
BBC Performances
User Interface Menu for Bbc
Main Screen
TOOLS" Menu
PREFERENCES" Menu of the BBC
ALARM" Menu
Jam Clearance for Bbc
Advertisement
Quick Links
1
Table of Contents
2
Troubleshooting Guide Bbl
Download this manual
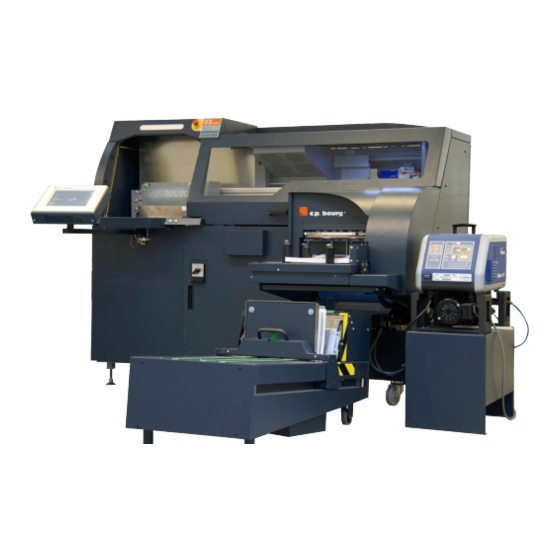
For BB3002, BB3102 and BB3202
with PUR VersaPail system and PUR Compact system
OPERATOR
MANUAL
Initial issue: 05/08
Latest revision: 12/14
9.134.089
Table of
Contents
Previous
Page
Next
Page
1
2
3
4
5
Advertisement
Table of Contents
Need help?
Do you have a question about the BB3002 PUR and is the answer not in the manual?
Ask a question
Questions and answers
Related Manuals for C.P.Bourg BB3002 PUR
Binding Machine C.P.Bourg Bourg Binder 3001 Operator's Manual
(51 pages)
Binding Machine C.P.Bourg BB3202 PUR Operator's Manual
(142 pages)
This manual is also suitable for:
Bb3102 pur
Bb3202 pur
Table of Contents
Save PDF
Print
Rename the bookmark
Delete bookmark?
Delete from my manuals?
Login
Sign In
OR
Sign in with Facebook
Sign in with Google
Upload manual
Upload from disk
Upload from URL


Need help?
Do you have a question about the BB3002 PUR and is the answer not in the manual?
Questions and answers