Advertisement
Quick Links
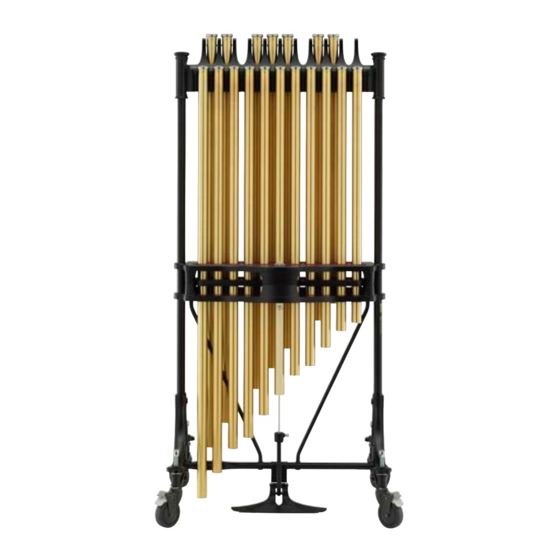
T-CHIME ASSEMBLY GUIDE
PARTS:
• High-end wheel assembly with stationary wheel
• Low-end wheel assembly with swivel wheels
• Lower crossbar
• Handle
1. The T-CHIME will arrive in a separate box from the
YCH-6018 or YCH-7018 chimes. As you unbox the
Tough-Terrain Frame, you will see that the T-CHIME
handle is not attached. Additionally, a small metal bar
will be located between the low-end and high-end
wheel assembly. This bar is for shipping purposes only
and may be discarded.
1.
Yamaha T-CHIME Assembly Guide V1.0 - March 2021
YOU WILL NEED:
1. Hex key provided with the T-CHIME
2. Hex keys provided with the Yamaha YCH-6018
and YCH-7018 chimes
2. The concert frame for Yamaha chimes will come fully
assembled. If you have already purchased the YCH-6018
or YCH-7018 chimes, it will need to be disassembled for
reassembly on the T-CHIME frame.
2.
Assembly guide online: yamaha.io/tchime
3. Remove the T-CHIME from the box. Place the high-end
wheel assembly with stationary wheels on the ground.
3.
Page 1 of 6
Advertisement

Related Manuals for Yamaha T-CHIME


Summary of Contents for Yamaha T-CHIME
- Page 1 • Lower crossbar and YCH-7018 chimes • Handle 1. The T-CHIME will arrive in a separate box from the 2. The concert frame for Yamaha chimes will come fully 3. Remove the T-CHIME from the box. Place the high-end YCH-6018 or YCH-7018 chimes. As you unbox the assembled.
- Page 2 6. Attach the T-handle to the low-end wheel assembly using wheels on the ground. blies to attach them together. Finger tighten the screws. the hex key provided in the T-CHIME box. Lock the swivel Do not fully tighten the screws in each wheel assembly casters when completed.
- Page 3 Yamaha T-CHIME Assembly Guide V1.0 - March 2021 Page 3 of 6...
- Page 4 16. Remove the screw that attaches each tube post to the 17. Remove each vertical tube post from the concert frame. 18. Place both tube posts in the T-CHIME frame. Do not fully wheel assembly with a hex key. There is one on each tighten the screws on each side yet.
- Page 5 22. Attach the lower crossbar on the pedal rod assembly to 23. Attach both lower cross bars onto the T-CHIME tube 24. Replace the damper box over the top of each tube post. the T-CHIME with the screws from the concert frame.
- Page 6 The blank space in the pull rod should face the bolt. raise the pedal during transport. Ensure the pedal is working correctly. 31. Carefully replace each chime tube onto the T-CHIME 31. Congratulations — you’re done! frame. Yamaha T-CHIME Assembly Guide V1.0 - March 2021...
Need help?
Do you have a question about the T-CHIME and is the answer not in the manual?
Questions and answers