Table of Contents
Advertisement
Advertisement
Table of Contents

Summary of Contents for AVMATRIX PKC3000
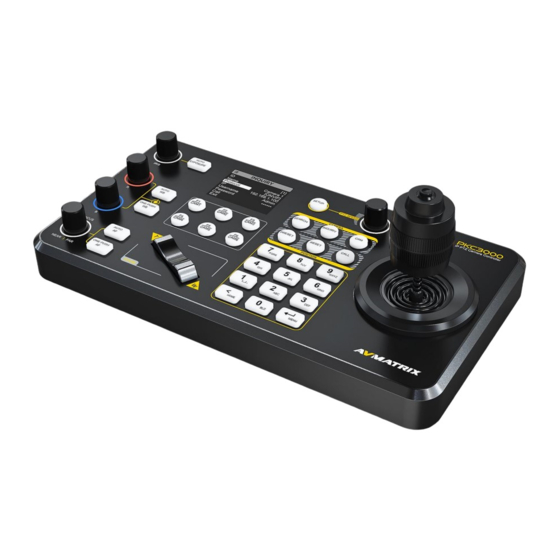
- Page 1 PTZ CAMERA JOYSTICK CONTROLLER...
- Page 2 USING THE UNIT SAFELY Before using this unit, please read below warning and precautions which provide important information concerning the proper operation of the unit. Besides, to assure that you have gained a good grasp of every feature of your new unit, read below manual of PVS0615U video switcher. This manual should be saved and kept on hand for further convenient reference.
-
Page 3: Table Of Contents
CONTENT 1.Brief Introduction...............................1 1.1 Overview................................. 1 1.2 Main Features..............................1 2.Interfaces................................... 2 2.1 Interfaces................................ 2 2.2 Interface definition............................2 2.3 Specification..............................3 3.Control Panel................................5 3.1 Description..............................5 3.2 Keyboard Button............................6 4.Menu Settings................................8 4.1 STATUS................................8 4.2 SETUP................................8 4.2.1 IP Config..............................9 4.2.2 LED setting............................... 10 4.2.3 Theme setting............................10 4.2.4 Assigned key.............................11 4.2.5 Version............................... -
Page 4: Brief Introduction
1.Brief Introduction 1.1 Overview PKC3000 is a professional PTZ camera controller that supports RS-422 / RS-485 / RS-232 / IP control, connects up to 255 cameras, provides the ability to control aperture, focus, white balance, exposure, and real-time speed control, and provides more refined camera settings in controlling PTZ cameras, widely used in education, conference, remote medical, medical services and many other industry sectors. -
Page 5: Interfaces
2.Interfaces 2.1 Interfaces Power Switch DC 12V Power TALLY GPIO RS232(PELCO-D,PELCO-P,VISCA) RS-422/485(PELCO-D,PELCO-P,VISCA) IP(ONVIF,VISCA Over IP) 2.2 Interface definition TALLY RS-232... -
Page 6: Specification
TALLY Function RS-232 Function Camera1 Camera2 Camera3 Camera4 Camera5 Camera6 Camera7 RS-422/485 RS-422/485 Function Function Color 1(RS-485) Orange/White 2(RS-485) Orange Green/White Blue Blue/White Green Brown/White Brown 2.3 Specification Interfaces IP(RJ45)、RS-232、RS-485/RS-422 IP Protocol: ONVIF, VISCA Over IP CONNECTIONS Control Protocol Serial Protocol: PELCO-D, PELCO-P, VISCA Serial Baud Rate 2400, 4800, 9600, 19200, 38400 bps... - Page 7 Display 2.2 inch LCD Joystick 4D joystick (Pan/Tilt/Zoom/Lock) Camera shortcut 6 channel User-assignable keys×6, USER Keyboard INTERFACES Rotation button×5, Rocker×1,Seesaw×1 Camera Address Up to 255 Up to 255 Preset Note: 95 preset bit part of the camera for menu call Power PoE/ DC 12V POWER...
-
Page 8: Control Panel
3.Control Panel 3.1 Description Camera Quick Access Control (Aperture/exposure/white balance/focus function settings) 6 Camera Call Up& User-assignable keys(Default 6-camera quick connect) Seesaw button (Zoom control) Menu knob (Use for pan/tilt speed, zoom speed control and PTZ camera menu settings) Non-menu status knob to adjust the head rate and PTZ camera own menu settings. -
Page 9: Keyboard Button
3.2 Keyboard Button Camera Quick Access Control Press the AUTO EXPOSURE button to turn on automatic exposure. In non-auto exposure mode, turn the IRIS knob to manually adjust the camera aperture value.and the status is displayed at the bottom right of the screen. Press the AUTO WB button to turn on automatic white balance. - Page 10 Multi-function digital panel The numeric panel allows you to enter numbers, letters, etc. The following keys are multiple use buttons "<" (HOME key): Short press to delete the previous character,long press the key to return to the starting position. "0 key"...
-
Page 11: Menu Settings
values (Suitable for PTZ1270 series) Rotate the PTZ joystick left and right to access the next sub-menu (Suitable for PTZ1270 series) The button on the PTZ joystick is the Locked button, which locks the operation. 4.Menu Settings 4.1 STATUS The status page displays the camera address, camera name, control protocol and protocol related information (IP Address, baud rate and other information). -
Page 12: Ip Config
4.2.1 IP Config Select the IP Config option and press the menu knob to configure the IP of the controller. Network There are two ways to acquire the IP: Dynamic (IP configured by router) and Static (set IP freely by yourself). -
Page 13: Led Setting
Gateway Set the GateWay according to current IP address. The default setting is 192.168.5.1. Save the configuration when network setting finish. 4.2.2 LED setting Turn on the LED mode, the key light on the panel is always on, turn off the LED mode, the key light on the panel is off. -
Page 14: Assigned Key
4.2.4 Assigned key Assigned keys can be configured as shortcuts to activate camera functions.Long press the F button to quickly execute the corresponding function of the configuration, short press to quickly connect the corresponding camera. From the keyboard settings menu, move the cursor to the specified "Key" field, select the shortcut key to be configured and click on the rotary speed knob to apply the function to the shortcut key. -
Page 15: Version
4.2.5 Version Enter the menu to check the APP version and MCU version of the PTZ camera controller. 4.2.6 Track loop When the Track loop is on, the camera will repeat the recorded track. When the Track loop is off, the camera will only play back the looped track once. The track recording procedure is described in (4.6) 4.2.7 Reset Clear all keyboard settings, and restore factory default. -
Page 16: Search
4.3 Search The controller supports both VISCA-IP and ONVIF protocols to search cameras, you need to configure the network first. Confirm that the camera and the controller in the same LAN segment that the camera IP and the controller IP only the last paragraph is different, such as the camera IP 192.168.5.163, the controller IP 192.168.5.177, only in the same network segment to achieve the search function, press the SEARCH button on the panel and select VISCA-IP, ONVIF protocol through the menu. -
Page 17: Camera Position Setting
When the camera cannot be searched or the connection information of the camera needs to be added manually, it can be achieved by INQUIRY key. First, select the serial number of the camera that needs to be modified or added, the status page will show that the connection timeout is ignored, and then press INQUIRY key to modify the connection information to achieve the operation of adding the camera manually. -
Page 18: Track Recording Setting
4.6 Track recording setting Setting a track recording: On the alphanumeric keyboard, enter the preset number of the desired track, such as "11", and then long press the "PRESET" button to start recording the camera track, after recording, press the "PRESET" button to Save the preset and finish recording. -
Page 19: Ptz Camera Controller Connection
5.PTZ camera controller connection 6. RS-232 connection diagram... -
Page 20: Rs-485 Connection Diagram
7. RS-485 connection diagram 8. RS-422 connection diagram... -
Page 21: Ptz Camera Remote Control
9.PTZ camera remote control Wireless remote control of the PTZ camera can be achieved with the TS3019's serial pass-through function. 10.Accessories This PTZ camera controller is equipped with a 12V power adapter and a 9 PIN GPIO connector.
Need help?
Do you have a question about the PKC3000 and is the answer not in the manual?
Questions and answers