Sign In
Upload
Download
Table of Contents
Contents
Add to my manuals
Delete from my manuals
Share
URL of this page:
HTML Link:
Bookmark this page
Add
Manual will be automatically added to "My Manuals"
Print this page
×
Bookmark added
×
Added to my manuals
Manuals
Brands
Flying Voice Manuals
Gateway
G504
User manual
Flying Voice G504 User Manual
Hide thumbs
Also See for G504
:
User manual
(82 pages)
1
Table Of Contents
2
3
4
5
6
7
8
9
10
11
12
13
14
15
16
17
18
19
20
21
22
23
24
25
26
27
28
29
30
31
32
33
34
35
36
37
38
39
40
41
42
43
44
45
46
47
48
49
50
51
52
53
54
55
56
57
58
59
60
61
62
63
64
65
66
67
68
69
70
71
72
73
74
75
76
77
78
79
80
81
82
83
84
85
86
87
88
89
90
page
of
90
Go
/
90
Contents
Table of Contents
Troubleshooting
Bookmarks
Table of Contents
Table of Contents
About this User Guide
Contacting Flyingvoice
Cross References
Feedback
Purpose
Declaration of Conformity
Part 15 FCC Rules
Notes
Warnings
Warnings and Notes
Chapter 1 Product Description
G504/G508
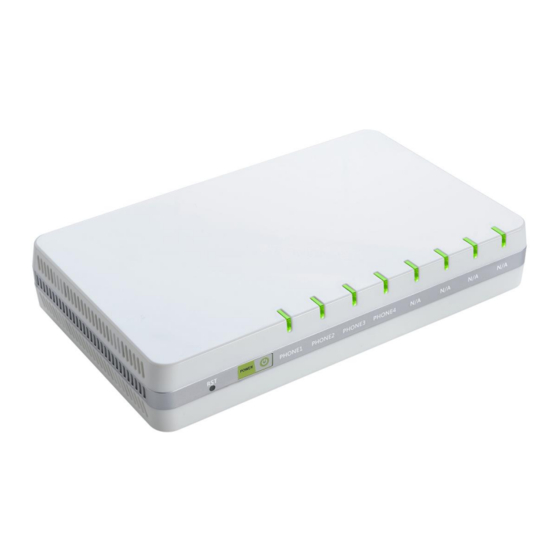
LED Indicators and Interfaces
G504
G508
Hardware Installation
Chapter 2 IVR Voice Prompt
Interactive Voice Response (IVR)
Start IVR
IVR Description
Chapter 3 Basic Settings
WEB Page
About Password
URL Format
WEB Interface Introduction
SIP Account Register
Register One by One
Batch Registration
Basic Function
Calling Phone or Extension Numbers
Direct IP Calls
Call Hold
Call Transfer
Conference
Chapter 4 Web Interface
Login
Status
Network
Wan
Lan
LAN Port
Vpn
Dmz
MAC Clone
Port Setting
Routing
SIP Account
Account
FXS Settings
SIP Settings
Voip Qos
Phone
Preferences
Dial Rule
Call Log
Administration
Management
Firmware Upgrade
Scheduled Tasks
Provision
Snmp
Diagnosis
Operating Mode
System Log
Logout
Reboot
Chapter 5 Ipv6 Address Configuration
Introduction
Ipv6 Advance
LAN Dhcpv6
Configuring Ipv6
Viewing WAN/LAN Port Status
Chapter 6 Troubleshooting Guide
Configuring PC to Get IP Address Automatically
Cannot Connect to the Web
Forgotten Password
Advertisement
Quick Links
Download this manual
Table of
Contents
Previous
Page
Next
Page
1
2
3
4
5
Advertisement
Table of Contents
Need help?
Do you have a question about the G504 and is the answer not in the manual?
Ask a question
Questions and answers
Related Manuals for Flying Voice G504
Adapter Flying Voice FTA5102 User Manual
(82 pages)
Gateway Flying Voice G508 User Manual
(90 pages)
This manual is also suitable for:
G508
Table of Contents
Print
Rename the bookmark
Delete bookmark?
Delete from my manuals?
Login
Sign In
OR
Sign in with Facebook
Sign in with Google
Upload manual
Upload from disk
Upload from URL


Need help?
Do you have a question about the G504 and is the answer not in the manual?
Questions and answers