Advertisement
Quick Links
Advertisement

Related Manuals for Fanvil i61


Summary of Contents for Fanvil i61
- Page 1 Quick Installation Guide www.fanvil.com...
-
Page 2: Package Contents
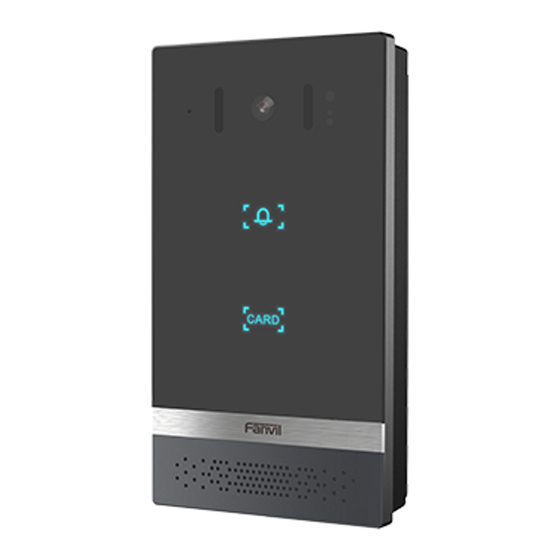
Package Contents Video Door Phone Connector 8 CM Hole 1 Hole 1 i61&i62&i63&i64 Hole 3 Hole3 Hole3 Quick Installation Guide Mounting Template Quick Installation Guide Hole 1.Custom wall hanging Hole 2.86 Box Hole 3.Gang-BOX Hole 2 Hole 2 Hole3 Hole3... - Page 3 MIC Camera MIC Camera Photoresistor Photoresistor IR LED IR LED TOF sensor TOF sensor DSS Key DSS Key Dialing key Speaker Speaker RFID area RFID area 2) Interface description Open the rear case of the device, there is a row of terminal blocks for connecting the power supply, electric lock control, etc.
-
Page 4: Installation Diagram
Withourt the power to open the door Installation Diagram Panel Main Body Back Shell Wall Bracket Figure 3-1 Figure 3-1 Three Major Parts of i61 Wall mounting Step 1: Installation preparation A. Check the following contents: B. Tools that may be required: Phillips screwdriver,hammer, RJ45 crimper... - Page 5 Step 2: Drilling Figure 3-2 Wall Mounting / Built-in A. Place the mounting template with dimensions on the surface of a wall in a desired flat position. B. Use an electric drill to drill the 4 holes marked on the mounting template. It is recommended to drill about 50mm deep.
- Page 6 C. Connect the cables of RJ45, power, and electric-lock to the motherboard socket as mentioned in connectors description (refer to Section 2). D. Connect the terminal of the wired cable to the motherboard socket (refer to Section 2). E. Test whether there is electricity by doing the following: Press the # button for 3 seconds to get the IP address of intercom by voice.Input access password or press the indoor switch to check electric-lock installation.
- Page 7 Method 1: Open the iDoorPhone Network Scanner. Press the Refresh button to search the device and find the IP address.( Download address: http://download.fanvil.com/tool/iDoorPhoneNetworkScanner.exe ) Method 2: Long press DSS key for 3 seconds(after power-on for 30 seconds), and when the speaker beeps rapidly, Press the speed-dial button within 5 seconds, and the system will automatically announce the IP address by voice.
- Page 8 Step 2: Add the SIP account. Set SIP server address, port, user name, password and SIP user with assigned SIP account parameters. Select “Activate”, and then click Apply to save this setting. Step 3: Setting DSS key Set the DSS key as shown below for a quick start. Click “Apply” to save this setting. Type: Memory Key.
- Page 9 Door Unlocking Setting RFID Card “Del” card provides add and delete card function, Default “Normal” card) card to open the door. Remote Password...
- Page 10 Local Password...
Need help?
Do you have a question about the i61 and is the answer not in the manual?
Questions and answers