Table of Contents
Advertisement
Quick Links
Advertisement
Table of Contents

Subscribe to Our Youtube Channel
Related Manuals for Morgan MSF-16P3R


Summary of Contents for Morgan MSF-16P3R
- Page 1 Stand Fan MSF-16P3R...
- Page 2 C O N T E N T S Parts Identification Specifications Safety Precautions Operating Instructions 4 - 8 Care & Maintenance...
-
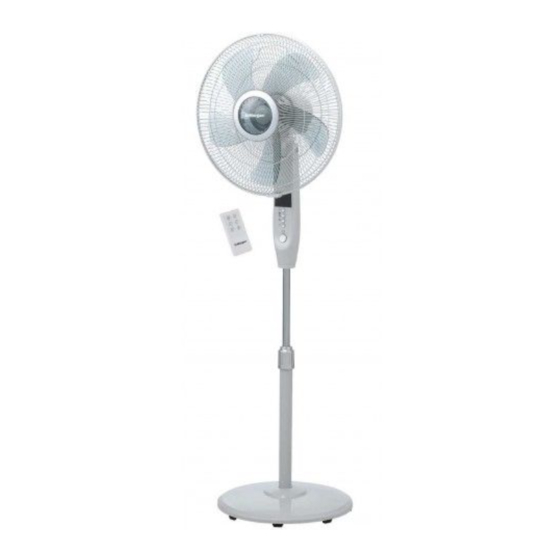
Page 3: Parts Identification
PARTS IDENTIFICATION SPECIFICATIONS Rated Voltage / Frequency 220-240V~ 50Hz Rated Wattage 16”(400mm) Size... -
Page 4: Safety Precautions
SAFETY PRECAUTIONS 1. Thank you for purchasing a quality Morgan appliance. Please keep this instruction manual close at hand for future reference. 2. Always unplug the appliance from the power supply outlet before cleaning or when not in use. 3. Do not allow children to operate this appliance and always keep it away from children’s reach to prevent scalds, electric shocks or other injuries. - Page 5 Assembly of chassis & Column Unit Unscrew the 7-shape Bolt from the Extension Pole. (Fig.1) Insert the extension pole into the chassis and tighten the 7-shape Bolt (Fig.2) From the extension pole loosen the height adjustment ring and adjust the internal pole to the desired height. (Note: If you can’t find the internal pole, it must inside the extension pole.
-
Page 6: Key Instruction
Grill & Fan Blade Assembly Unscrew the spinner clockwise (or take the spinner out from the bag) and the plastic nut counter clockwise to remove both of them. Fix the rear grill to the motor then tighten the plastic nut again. (Fig.5) Insert the blade into shaft, and make sure the rotor shaft pin is fitted into groove of the blade. -
Page 7: Mode Key
TIMER KEY When this key is touched repeatedly or kept in pressed state, the time to be set for air delivery increased step by step of each 0.5 hour and sums to 7.5 hours in 15 steps. For instance, if the fan operation is required to be set for 5.5 hours, this key must be touched repeatedly so that the pilot lamps for 0.5, 1 and 4 hours lighten together. - Page 8 SILENCE KEY In the state of non-silence, press silence button, the fan would be in silent state and the silence icon is lightened, while the indicator icons of the other wind types and wind levels would turn off. In silent state, press wind type button, blast volume (+) and(-) buttons, there would be no response, while other buttons could respond normally.
-
Page 9: Overheat Protection Of The Motor
REMOTE CONTROLLER OPERATION Point the remote controller at the receptor on body of the fan and press the desired button. The remote controller will work at distances of up to roughly five meters and the angle of 30 degree included between right and left from the receptor. -
Page 10: Care And Maintenance
CARE & MAINTENANCE 1. Be sure to unplug from the electrical supply source before cleaning. 2. Plastic parts should be cleaned with a soft cloth moisten with mild soap. Thoroughly remove soap film with dry cloth. 3. The fan requires little maintenance. Do not try to fix it by yourself. Refer it to qualified service personnel if service is needed.
Need help?
Do you have a question about the MSF-16P3R and is the answer not in the manual?
Questions and answers