Table of Contents
Advertisement
Quick Links
www.soundavo.com
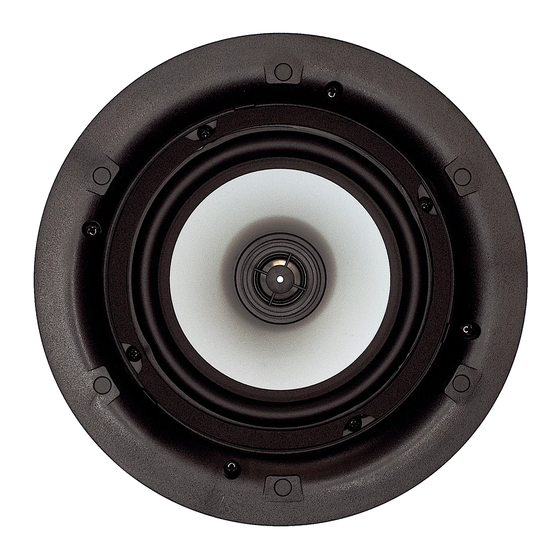
SD-6S-ALU / SD-8S-ALU
IC-640CF / IC-860CF
Dear Customer, Thank you for choosing Soundavo speaker products. Take the time to read this
manual carefully before installing your speakers. It contains tips for getting the most benefit and
instructions for using them safely. We strongly recommend that you keep the packaging and this
manual for future use.
OWNERS MANUAL
Advertisement
Table of Contents

Related Manuals for Soundavo SD-6S-ALU


Summary of Contents for Soundavo SD-6S-ALU
- Page 1 SD-6S-ALU / SD-8S-ALU IC-640CF / IC-860CF Dear Customer, Thank you for choosing Soundavo speaker products. Take the time to read this manual carefully before installing your speakers. It contains tips for getting the most benefit and instructions for using them safely. We strongly recommend that you keep the packaging and this manual for future use.
-
Page 2: Safety Warnings And Guidelines
SAFETY WARNINGS AND GUIDELINES • These speakers are intended for indoor use • Do not use cleaning fluids, solvents, or other only. chemicals to clean the speaker frames or grilles. • Do not expose these speakers to water or moisture of any kind. •... - Page 3 Wall Our In-ceiling speakers are special designed speakers are traditionally square, like windows and fine tuned by Soundavo engineering team, and doors, while ceiling speakers are tradition- provide the excellent sound quality and styling ally round, like light fixtures.
-
Page 4: Speaker Wire Preparation
SPEAKER WIRE PREPARATION Before attempting to make any connections it on each channel the same, which ensures that is best to look at the situation, get all the the volume levels, frequency ranges, and necessary materials together, and then make tonalities are identical. -
Page 5: Positioning The Speakers
POSITIONING THE SPEAKERS In-Ceiling Placement - Stereo For the Stereo Speakers setup, should be approximately 6 to 10 feet (100 to 300 cm) apart. If possible, the left and right speakers should be located the same distance from the listening position. In-Ceiling Placement - Home Theater For the Home Theater setup, the In-ceiling speakers can be used as surround speakers. -
Page 6: Installation
INSTALLATION Mounting surface preparations / Finished ceilings and walls Preparing the surfaces / finishes of walls and ceilings Before installing the speakers, it is necessary to install the cables in the intended location. Contact your dealer for more information on cable installa- tion. - Page 7 4. Cutting the hole Caution : this is the most important part of the entire installation. If you are uncertain about obstruc- tions in the mounting area, you should start by cutting a small hole within the penciled area with a drywall saw.
- Page 8 3. Make sure the mounting feet are turned inward to clear the opening and insert the speaker into the ceiling or wall. Position the speaker into the hole.
- Page 9 Note : The flange of the speaker is designed to flex and conform to any small imperfections in the wall surface. Tighten the 6 screws on the front of the baffle only enough to make the flange become snug against the ceiling or wall. As you tighten the screws, the feet will automatically flip into an outward position, thereby clamping the drywall between the feet and the flange.
-
Page 10: Painting Instructions
The surface should be cleaned with a light solvent to remove any dust or residue. Soundavo recommends a light spray-painting using 5 parts thinning agent to 1 part paint. Do not paint the grid while they are attached to the speaker, before proceeding with installation. -
Page 11: Product Specifications
PRODUCT SPECIFICATIONS SD-6S-ALU SD-8S-ALU IC-640CF IC-860CF 6.5” High Definition In-Ceiling Speakers 8” High Definition In-Ceiling Speakers Power Handling: 40W RMS / 80W Peak Power Handling: 60W RMS / 120W Peak Tweeter: 3/4” Alu. Dome Tweeter: 1” Alu. Dome • 20MM Aluminum inner magnet with coaxial •... - Page 12 The list of authorized distributors is available on the website: http://www.soundavo.com To validate your warranty, you must produce as proof of purchase the original of your invoice containing the date of your purchase and the stamp of your dealer.
Need help?
Do you have a question about the SD-6S-ALU and is the answer not in the manual?
Questions and answers