Advertisement
Table of Contents
8. Connect drip lines, unroll along the planting beds
and cut at the end of each bed. Note that drip lines
are laid along contour lines and never down-slope.
Emitters should be facing up and never against soil
to avoid sucking in particles after each irrigation
cycle.
9. Once all driplines are connected, connect water
supply, fill tank and flush main pipe and all drip lines
to remove any debris. Once this is satisfactorily
achieved, replace all plugs.
10. Open the main valve and test the system for
uniformity, operating one valve at a time.
11. Periodic maintenance by filter cleaning and flushing
driplines at each end plug is vital to avoid sludge
and particle accumulation that result in emitter
clogging.
www.davisandshirtliff.com
INSXXXA-01/22
DRIP IRRIGATION
KIT
Water Tank
Manifold
Valve
Drip Line
Endcap
Drip to drip
connector
Installation Guide
Filter
Fertigation
Unit
Mini Valve
HDPE Pipe
Start
Connector
Advertisement
Table of Contents

Summary of Contents for DAYLIFF DRIP IRRIGATION KIT
- Page 1 8. Connect drip lines, unroll along the planting beds and cut at the end of each bed. Note that drip lines are laid along contour lines and never down-slope. Emitters should be facing up and never against soil to avoid sucking in particles after each irrigation cycle.
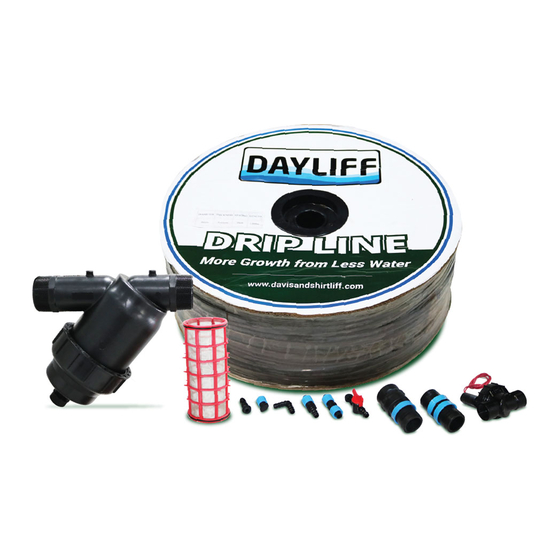
- Page 2 Screen filter installed 1.0m INTRODUCTION above ground. The Dayliff Drip kit is specially designed to accommodate various crop spacing specification and is supplied in a complete package consisting of drip and HDPE pipe fittings, ball valves and the screen filter in a box. Drip rolls and HDPE pipe roll are included separately as loose 6.
Need help?
Do you have a question about the DRIP IRRIGATION KIT and is the answer not in the manual?
Questions and answers